What is PCB Population?
Populating a PCB involves assembling electronic components onto a blank circuit board. First, gather the required parts like resistors, capacitors, and ICs. Starting with the smallest components (typically resistors), insert them into the appropriate spots on the board. After placement, solder each component and clip the excess leads. Follow with more complex components and continue until the board is fully populated and ready for testing.
What is the difference between populated and unpopulated PCB?

In this article, we’ll walk through the process of populating a PCB step-by-step. We’ll cover all the essential tools, techniques, and tips you need to know to successfully populate a PCB. Whether you’re an engineer working on a professional project or an electronics hobbyist building a personal project, this guide will help you get your PCB up and running.
Comparison of Populated and Unpopulated PCBs
| Aspect | Unpopulated PCB | Populated PCB |
|---|---|---|
| Components | None | All necessary components attached |
| Functionality | Not operational | Fully operational |
| Appearance | Bare board with copper traces | Includes resistors, capacitors, ICs, etc. |
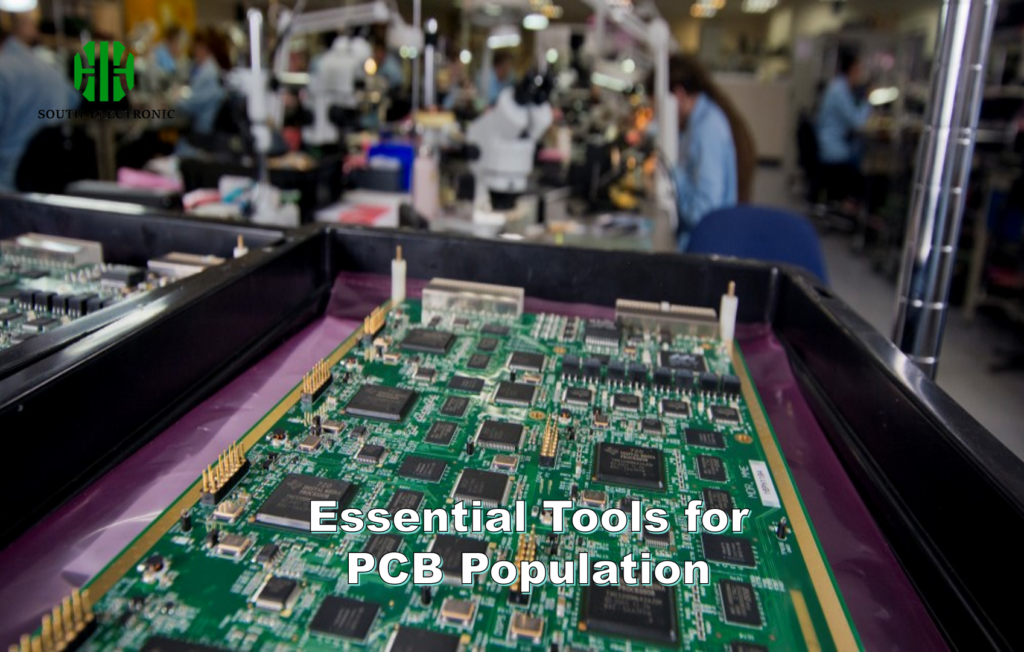
Essential Tools for PCB Population
So, you want to populate a PCB? Well, before you start, you need to gather the necessary tools for the job. Whether you’re doing it by hand or using automated methods, having the right tools will make the job easier and more accurate.

Manual Tools:
- Soldering Iron: A high-quality soldering iron is essential for making proper connections.
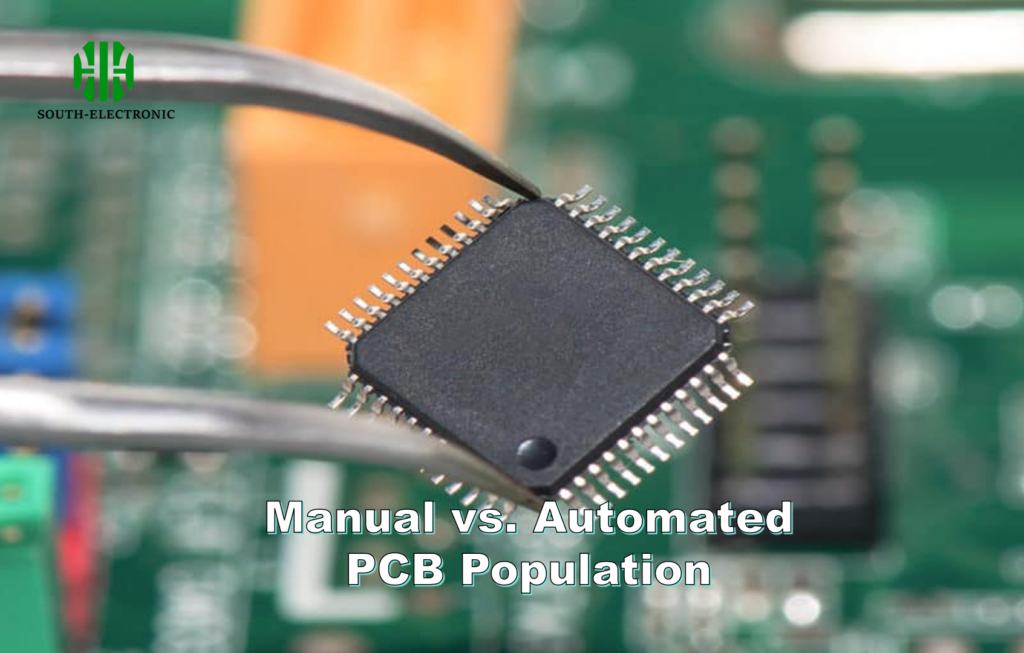
- Tweezers: Helpful for picking up small components like surface-mount devices (SMD).
- Magnifying Glass: Assists in viewing small solder joints and checking for accuracy.
- Soldering Wick or Desoldering Pump: These tools help in removing excess solder or correcting mistakes.
Automated Tools (for professional use):
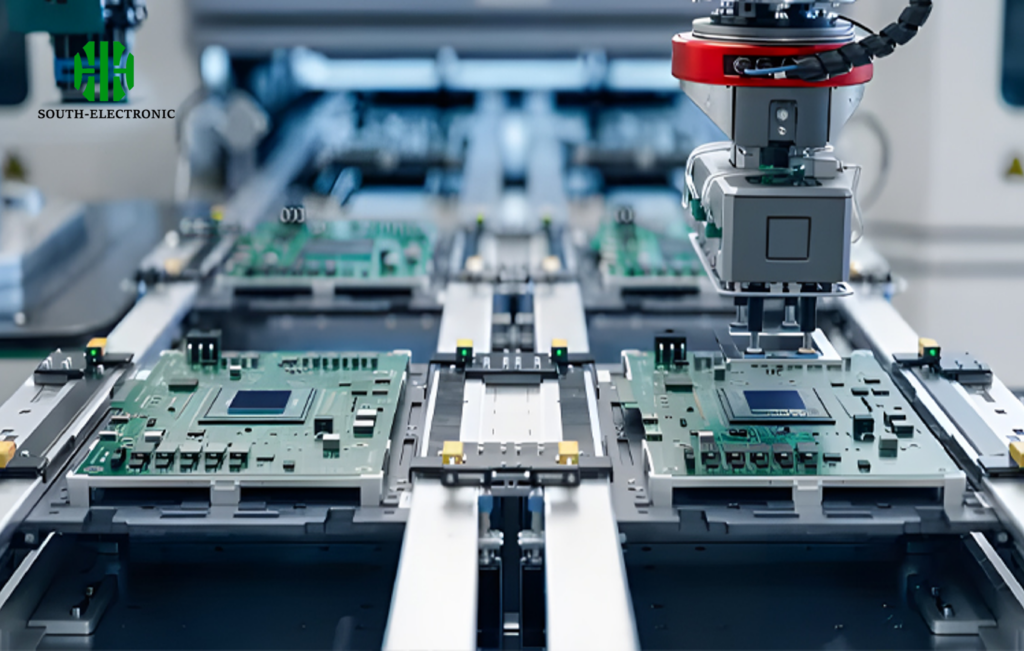
- Pick and Place Machine: Automatically places surface-mount components on the board.
- Reflow Oven: Used for mass soldering multiple SMD components simultaneously.
Manual vs. Automated PCB Population
Manual Method
The manual method of PCB population is suited for small-scale projects or hobbyists. It’s often slower but gives more control over component placement.
Automated Method
In industrial settings, automated methods, such as Surface Mount Technology (SMT) and Through-Hole Technology (THT), are used for mass production. Machines like pick-and-place automate the process of placing components onto the board.

Step-by-Step PCB Population Process
Step 1: Prepare the Board and Layout Components
Start by inspecting the PCB for any manufacturing defects. Place all components (resistors, capacitors, ICs, etc.) in their designated locations. Organize your components before starting to avoid confusion.
Step 2: Start with Resistors and Smaller Components
Begin with the smallest components, usually resistors, as they sit flat on the PCB and are easier to solder. Insert each component into its labeled position, bend the leads if necessary, and flip the board to begin soldering.
Step 3: Soldering Techniques for Beginners
Use your soldering iron to heat the joint, then feed solder to the joint between the component lead and the pad. Ensure the solder flows smoothly and avoid cold solder joints (which look dull or grainy).

Step 4: Placing Larger Components (ICs, Capacitors)
After the resistors, move on to larger components like capacitors and integrated circuits (ICs). Pay attention to polarity when placing electrolytic capacitors and diodes.
Step 5: Final Inspection and Testing
Now that you have placed and soldered all of the components, take a moment to visually inspect your work. Check for proper solder joints and make sure no components are misplaced or shorted. You can use a multimeter to check for continuity and make sure there are no broken traces.
Safety Tips and Best Practices for PCB Population
- Avoid Static Discharge: Always wear an anti-static wristband when handling sensitive components.
- Ventilation: Ensure proper ventilation in your workspace when soldering to avoid inhaling fumes.
- Check Polarity: Double-check the polarity of components like capacitors and diodes before soldering them in place.
Putting parts on a PCB is a big deal in electronics assembly. You have to be careful and do it right. Whether you’re doing it by hand or using a machine, these steps will help you do it right. With the right tools and techniques, you can put parts on a PCB for any project, from a little hobby thing to a big professional design.


