
The Ultimate Guide to Crafting Aluminum PCBs
Aluminum PCBs are the backbone of modern electronics, offering unmatched thermal management and reliability. Whether you’re a seasoned engineer or a hobbyist looking to enhance your projects, mastering the art of making Aluminum PCBs is crucial. In this comprehensive guide, we will walk you through each step of the process, from initial design to the final shipping, ensuring your PCBs are not only effective but also robust and ready for any application.
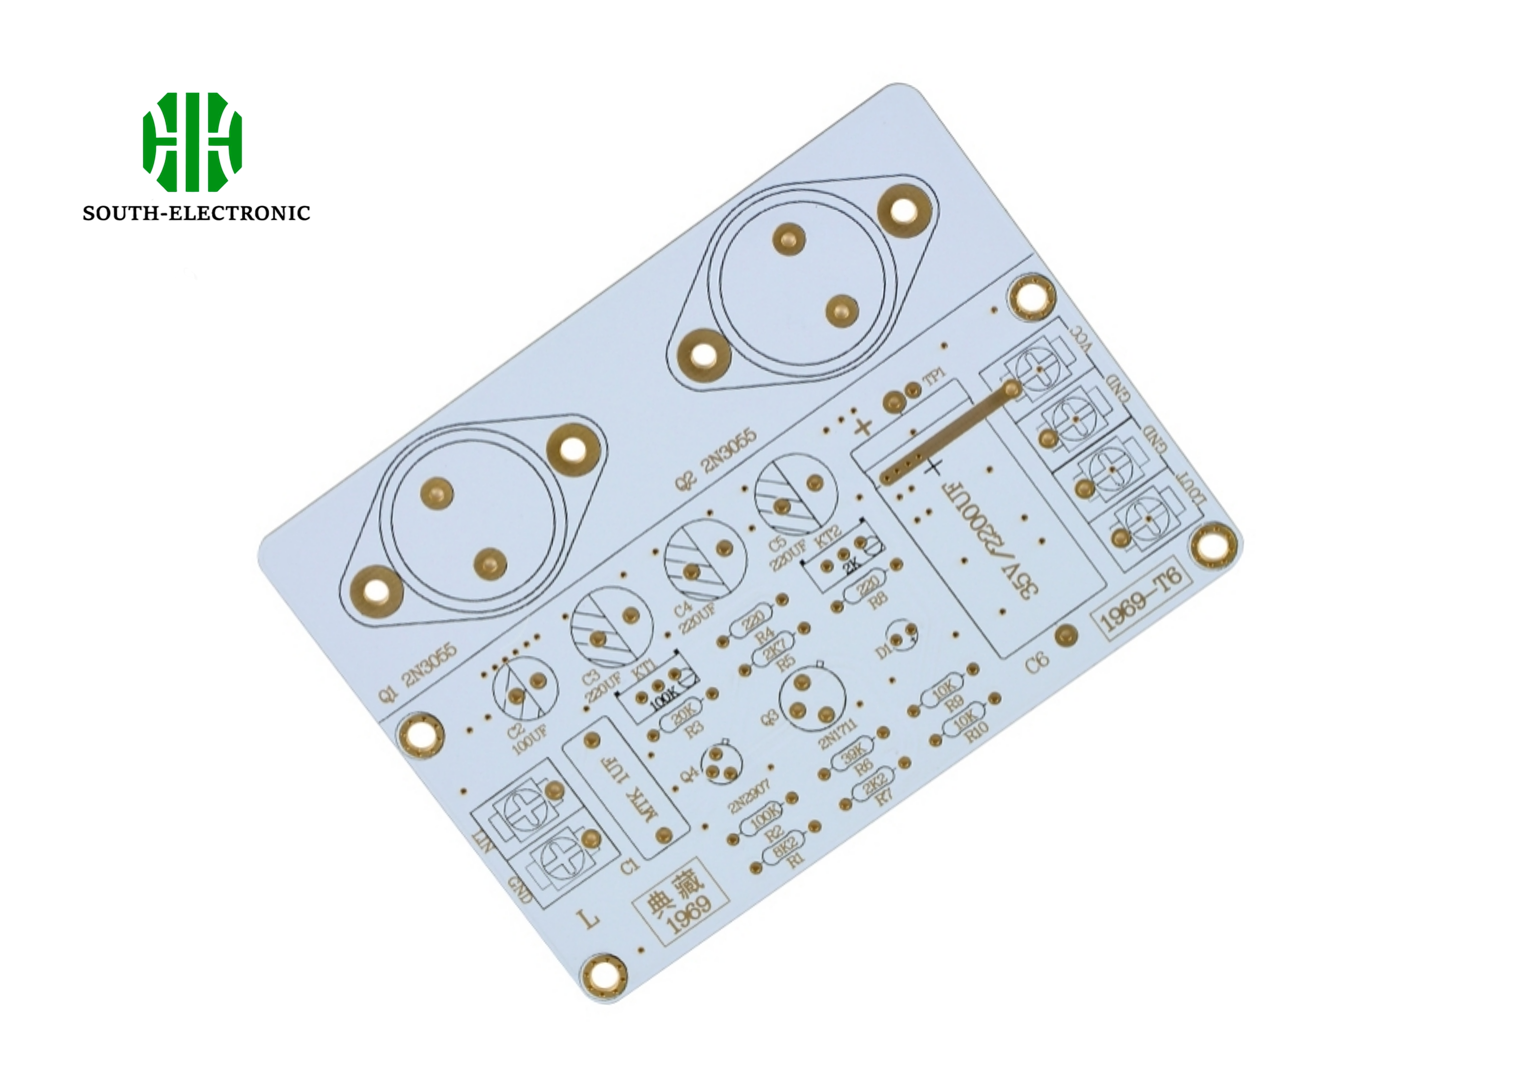
Step 1: Design and Layout Preparation
- Tools and Software: You’ll need a good PCB design software like Altium Designer, Eagle, or KiCAD. These tools have advanced features that are important for designing high-performance, error-free Aluminum PCBs.
- Design Considerations: Pay special attention to the thermal management aspect of your PCB, which is one of the main benefits of Aluminum PCBs. Make sure your layout is optimized for heat dissipation. Include heat sinks directly in your layout and plan for thermal vias that help transfer heat from the upper layers to the aluminum base.
- Precautions: Double-check all your connections and alignments. Mistakes at this stage can be expensive and can lead to poor heat management.
Step 2: Material Selection and Handling
- Picking the Right Aluminum Core: The core is usually an aluminum alloy substrate, sometimes with a thermally conductive dielectric layer that bonds it to the copper layer. The thickness and type of aluminum core can have a big impact on the performance of the PCB.
- Handling Tips: Be careful when handling the materials to avoid any surface damage, as scratches can hurt the thermal conductivity.
- Precautions: Make sure you get the materials from a reputable supplier to avoid problems with thermal performance and reliability.
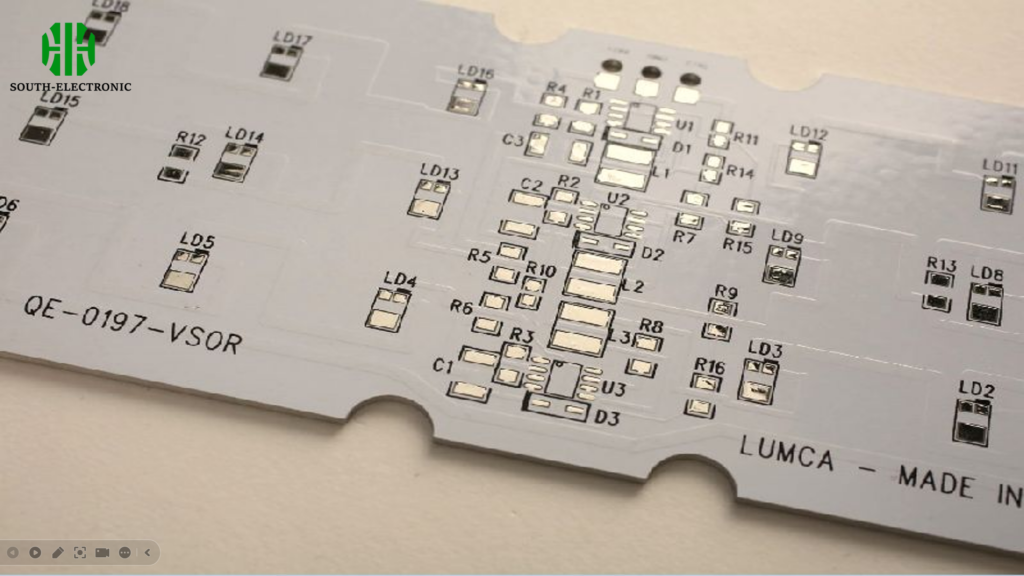
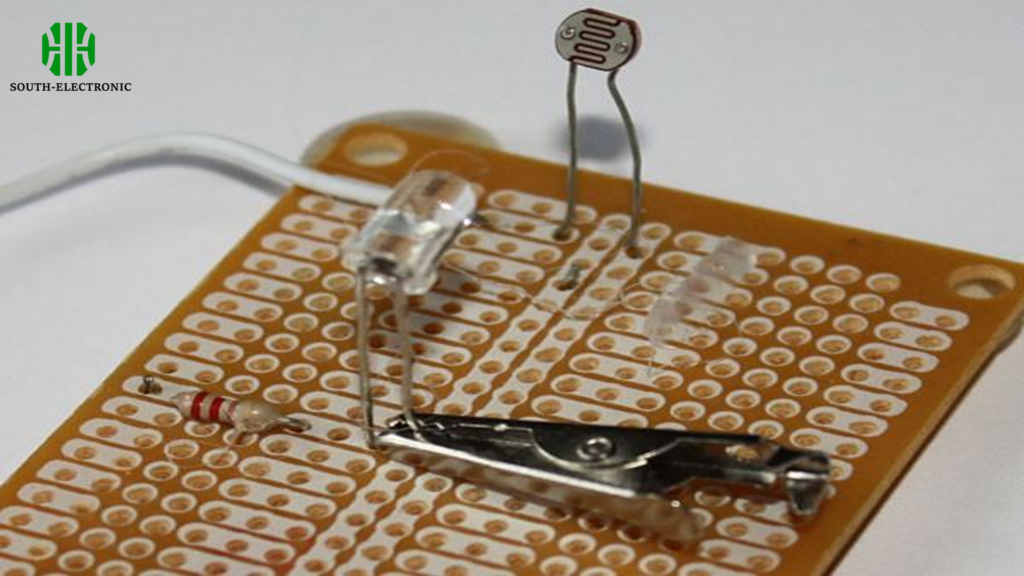
Step 3: Printing and Etching
- Printing Techniques: Use a high-resolution printer to transfer your design onto the copper layer. This will make sure that the intricate designs are accurately captured.
- Etching Process: Use an etchant like ferric chloride to remove excess copper. This step needs to be carefully controlled to avoid over-etching, which can weaken the circuit pathways.
- Precautions: Always wear protective gear during etching as the chemicals involved are corrosive and can cause harm if mishandled.

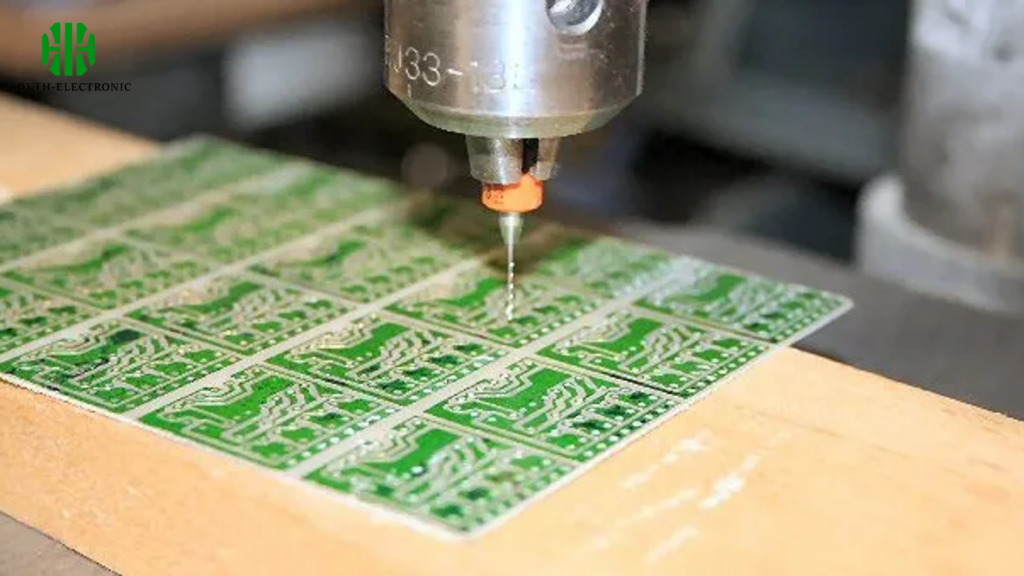
Step 4: Drilling and Machining
- Precision Drilling: Use CNC machines to drill with precision for hole placements, which is critical for component mounting and thermal management.
- Machining Details: Aluminum PCBs may require specific cutouts or slots for mounting or additional components, which must be machined accurately to fit the design specifications.
- Precautions: Double-check alignment and dimensions before proceeding to avoid misalignments that can affect assembly and functionality.
Step 5: Applying Solder Mask
- Solder Mask Application: Slap some solder mask on top of the copper traces. This is important because it keeps you from accidentally bridging solder during the soldering phase and it protects the copper from the environment.
- UV Curing: Make sure the solder mask is properly cured, usually with UV light, so it’s nice and strong and sticks to the board.
- Precautions: Don’t put on too much solder mask because it can mess with the board’s ability to get rid of heat.
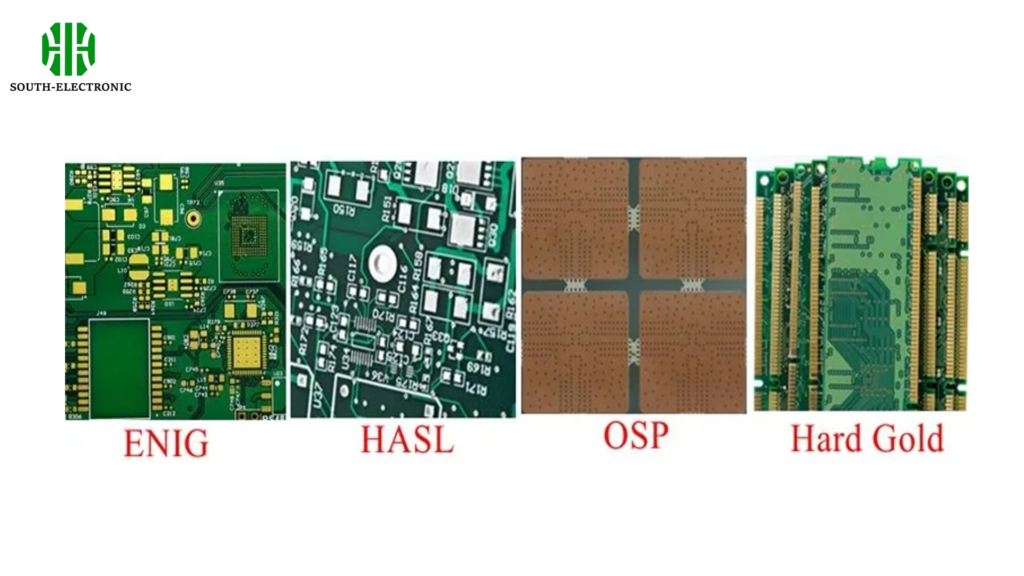
Step 6: Surface Finishing
- Picking a Finish: Choose a surface finish like HASL, ENIG, or OSP based on your needs. ENIG is a good choice for Aluminum PCBs because it has great thermal fatigue resistance.
- Consistent Application: Make sure the finish is applied consistently to avoid oxidation and keep good solderability.
- Watch Out: Make sure the surface finish and the solder you use later on are compatible so you don’t end up with weak solder joints.
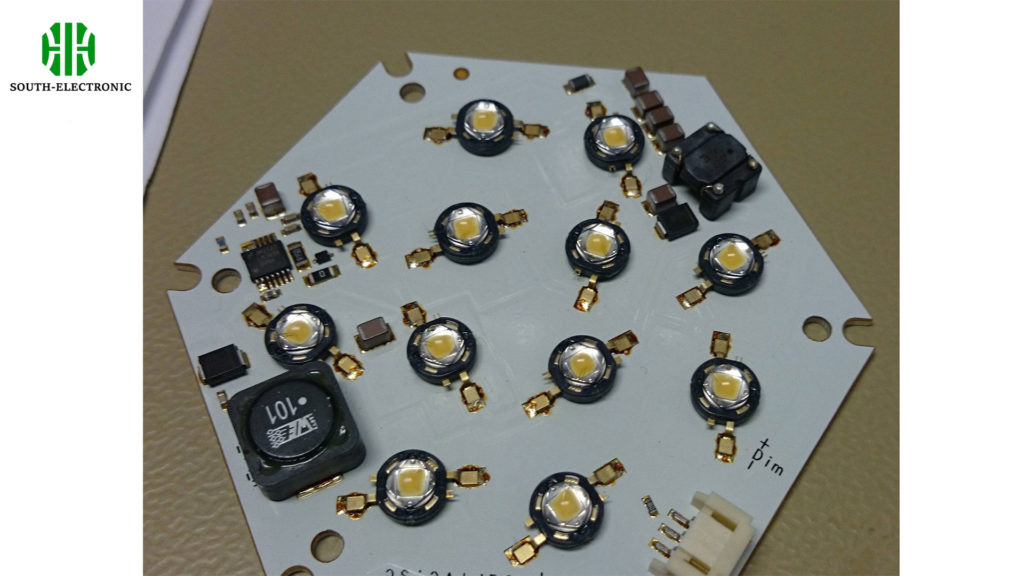
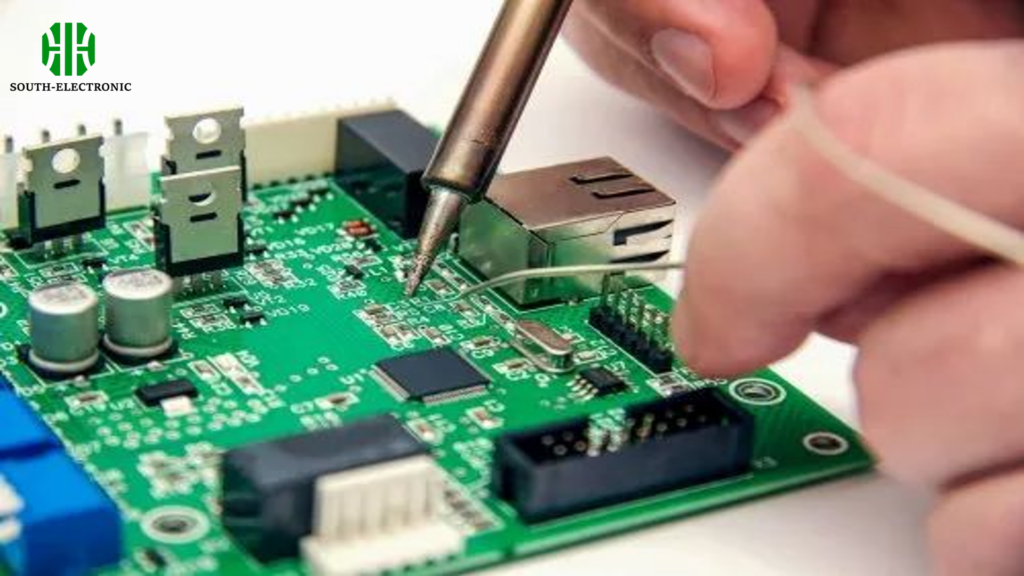
Step 7: Assembly
- Component Placement: Place your components with care, thinking about how heat moves and making sure that you cool down parts that get hot.
- Soldering Techniques: Use techniques that work well with Aluminum PCBs, which have different thermal properties. Most people use reflow soldering.
- Precautions: Don’t get your parts or the aluminum too hot when you’re soldering, or you’ll damage them.
Step 8: Testing and Quality Assurance
- Electrical Testing: Do all the electrical tests to make sure the PCB works like it should. The most common tests are continuity and isolation tests.
- Thermal Testing: Aluminum PCBs are used for their thermal properties, so do thermal cycle testing to make sure the PCB can handle the thermal stresses during operation.
- Precautions: Use good testing equipment to find any little problems that you can’t see just by looking at the board.

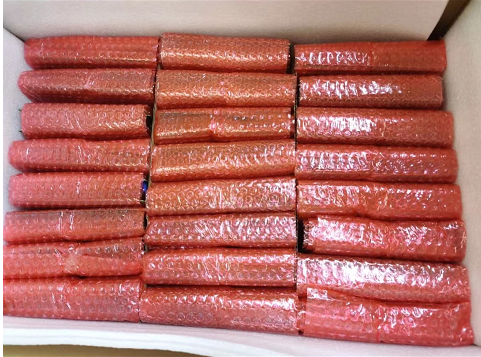
Step 9: Packaging and Shipping
- Secure Packaging: Make sure you use anti-static and cushioning materials to package the PCBs so they don’t get damaged during shipping. You don’t want them to get banged up or zapped with static electricity.
- Documentation: Give your customers detailed instructions on how to handle, assemble, and maintain the PCBs. You want them to be able to use the boards without any problems.
- Precautions: Put clear labels on the packaging that tell people how to handle and ship the PCBs. You don’t want anything bad to happen to them while they’re being transported.
Conclusion
Making Aluminum PCBs isn’t just about following steps; it’s about understanding the intricate dance between design, materials, and processes to create a product that meets the highest standards of quality and efficiency. With this guide, you’re ready to embark on the journey of making your own Aluminum PCBs, equipped with the knowledge to tackle challenges and innovate in your designs. Thanks for joining us on this detailed exploration, and may your endeavors in electronics be fruitful and innovative!

