What is a Cold Solder Joint?
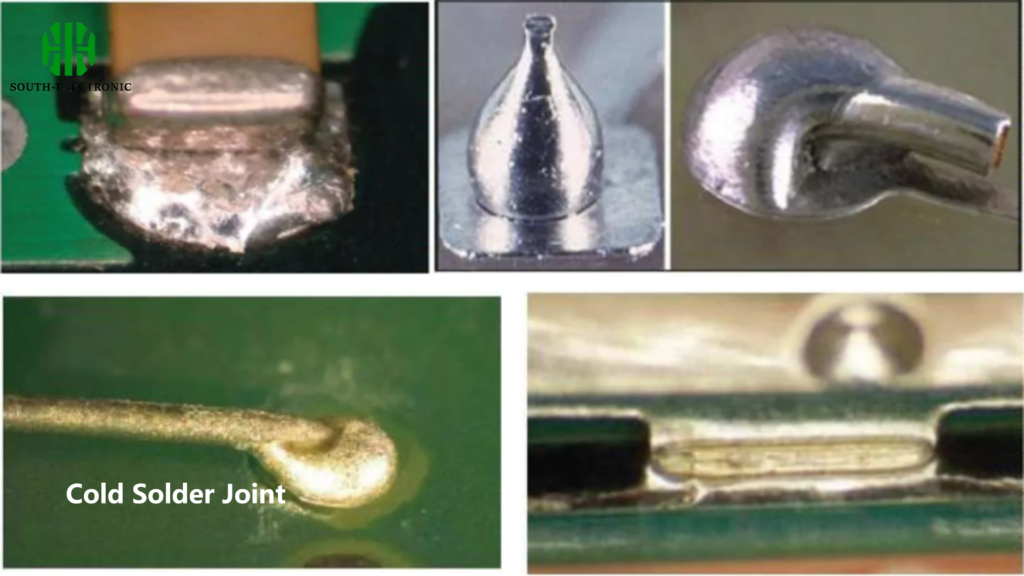
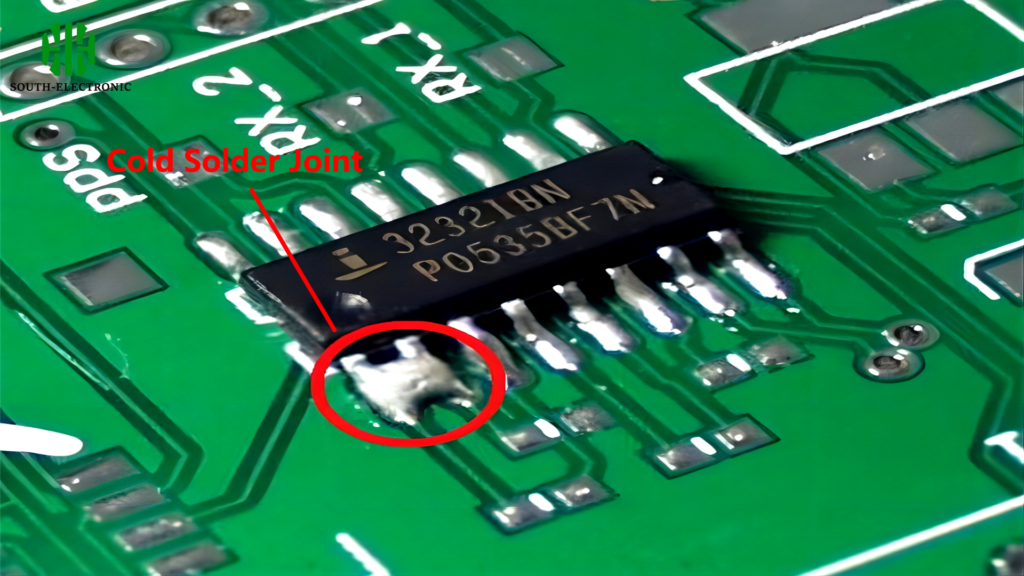
A Cold Solder Joint occurs when the solder fails to properly melt and flow around the joint components, resulting in a weak and unreliable connection. Typically, these joints appear dull, grainy, and rough compared to the shiny, smooth appearance of a good solder joint.
What Causes a Cold Solder Joint ?
Several factors can lead to the formation of cold solder joints:
- Insufficient Heat Application: If the soldering iron is not hot enough or is not applied long enough, the solder will not properly flow.
- Disturbed Solder Before Cooling: Moving the soldered components before the solder has fully solidified can prevent it from creating a solid bond.
How to Detect and Identify a Cold Solder Joint ?
Cold solder joints can usually be identified by their lumpy or blob-like appearance. They may also exhibit cracks or voids. Here are the most common methods for detecting these defects:

| Characteristic | Good Solder Joint | Cold Solder Joint |
| Appearance | Smooth and shiny | Rough and dull |
| Electrical Connectivity | Excellent conductivity | Poor conductivity |
| Mechanical Strength | Strong and durable | Weak and brittle |
| Risk of Failure | Low | High |
- Visual Inspection: This straightforward approach involves looking for joints that appear dull, grainy, or rough, unlike the shiny, smooth appearance of a good solder joint.
- X-ray Inspection: For more complex assemblies where joints are not visible externally, X-ray inspection provides a non-destructive way to examine solder joints.
- Microsectioning: This destructive testing method involves cutting through the solder joint to examine its internal structure under a microscope.
- Thermal Cycling: This test repeatedly heats and cools the assembly, stressing the solder joints and revealing weak ones through cracking or failure.
- Electrical Testing: Techniques like continuity testing and resistance measurement can help identify cold solder joints by detecting abnormal electrical behavior.
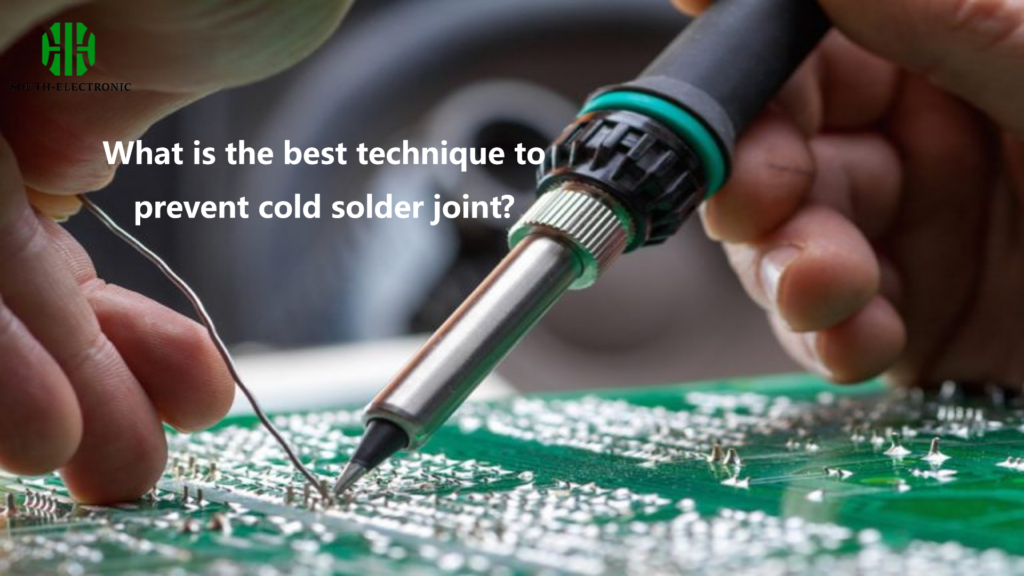
What is the best technique to prevent Cold Solder Joint ?

Here are several effective ways to prevent Cold Solder Joints, making your soldering process more reliable:
- Proper Soldering Iron Temperature: Ensure that the soldering iron is heated to the correct temperature. Typically, a temperature of 600-700°F (315-371°C) is recommended for most soldering tasks.
- Use High-Quality Solder: Invest in good quality solder that melts evenly and cleanly. Solder with a rosin-core is commonly recommended because it helps improve the flow and bonding of the solder.
- Clean Surfaces Before Soldering: Oxidation and contaminants on the surfaces of components can prevent the solder from adhering properly. Cleaning the surfaces with a solvent or a specially designed flux can make a significant difference in solder quality.
- Adequate Use of Flux: Flux is used to clean the metal surfaces during the soldering process. It removes oxides and prevents reoxidation while soldering. Applying an appropriate amount of flux can greatly improve the quality of the solder joints.
- Proper Soldering Technique: Use the right technique by heating both the pad and the component lead equally before applying solder. This ensures that the solder flows correctly around the connection, forming a good bond.
- Avoid Moving the Components: Keep the component and wire steady as the solder cools and solidifies. Movement during this phase can result in a weak or cold solder joint.
Related articles recommended


