
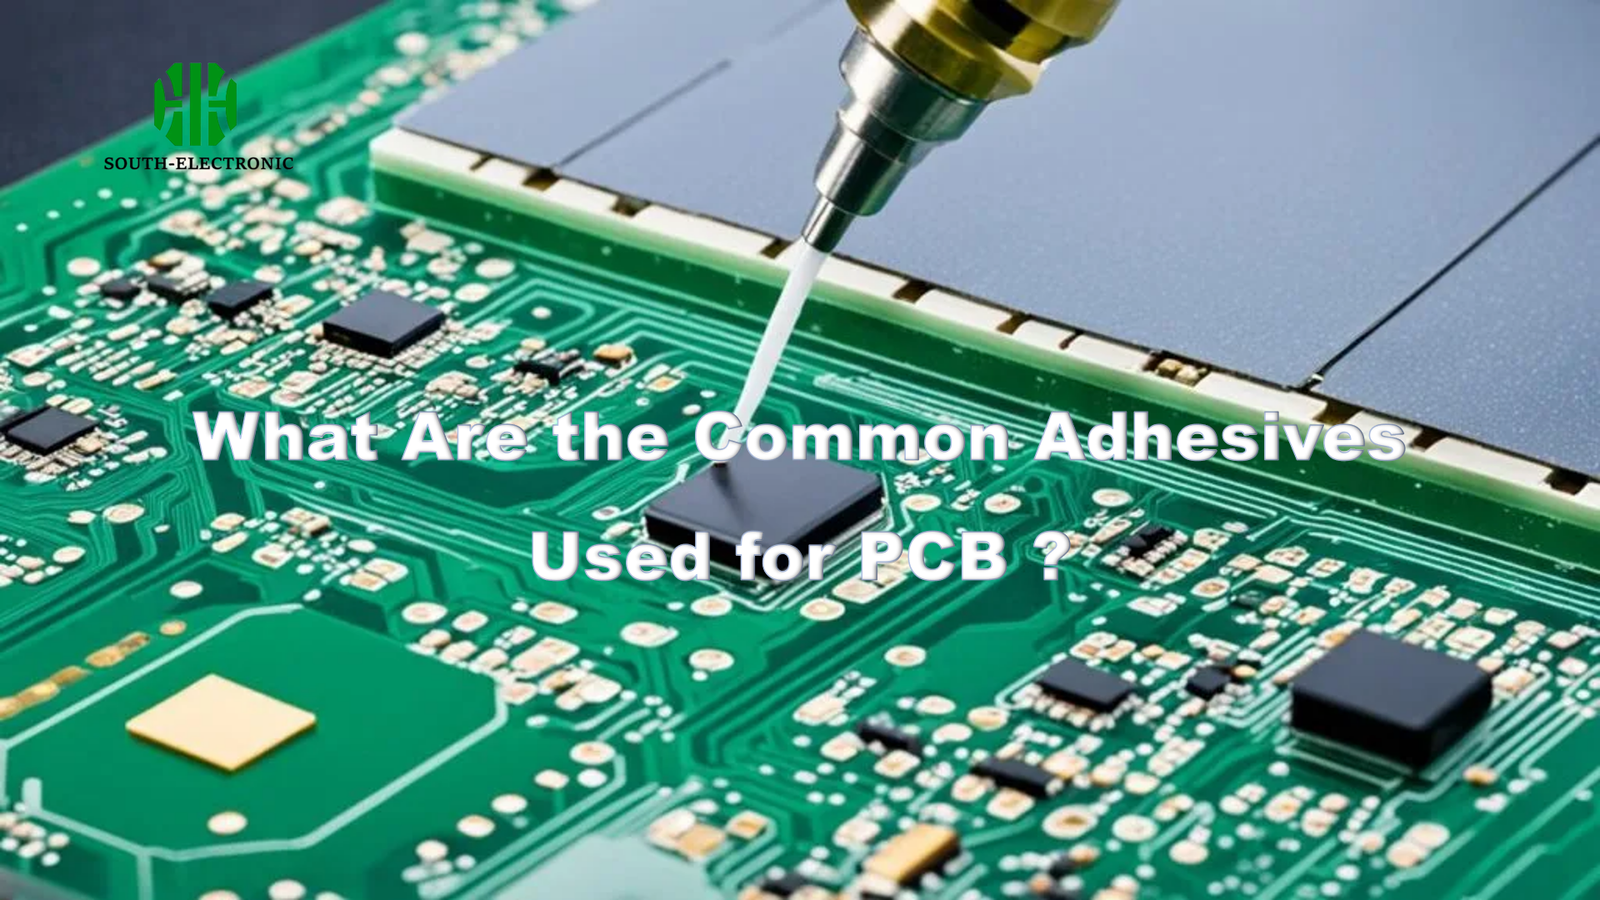
Ever struggled with cracked solder joints or overheated components? Your adhesive choice could be silently sabotaging your electronics. Circuit boards demand more than generic glue to survive real-world conditions.
Circuit boards require specialized adhesives like epoxy, acrylic, silicone, UV-curable compounds, conductive pastes, and thermal interface materials to ensure electrical stability, mechanical strength, and resistance to heat/environmental stress during operation.
Selecting the wrong adhesive can lead to catastrophic failures – but how do engineers pick the right solution? Let’s examine the key adhesive types and their make-or-break roles in electronics manufacturing.
Why Do Circuit Boards Require Specialized Adhesives in Electronics Manufacturing?
Imagine a smartphone dying after one summer day at the beach. Standard superglue fails where specialized adhesives[^1] succeed through tailored chemical formulations.
Circuit boards need adhesives that withstand operating temperatures up to 150°C, resist moisture/vibration, and maintain electrical insulation. Generic adhesives degrade or conduct electricity unpredictably under these conditions.
Three Non-Negotiable Performance Requirements
- Thermal Endurance
Adhesives must survive:
| Temperature Range | Failure Risk |
|---|---|
| -40°C to +125°C | Component detachment |
| 150°C+ | Chemical breakdown |
-
Electrical Integrity
Epoxy formulations prevent current leakage between tightly packed traces. I once repaired a glucose monitor where conductive adhesive residue caused false readings. -
Mechanical Bonding
Vibration resistance testing shows:
| Adhesive Type | Survived G-Force |
|---|---|
| Cyanoacrylate | 5G |
| Modified Epoxy | 15G |
Specialty adhesives maintain >90% bond strength after 500 thermal cycles – a requirement no hardware can compromise on.
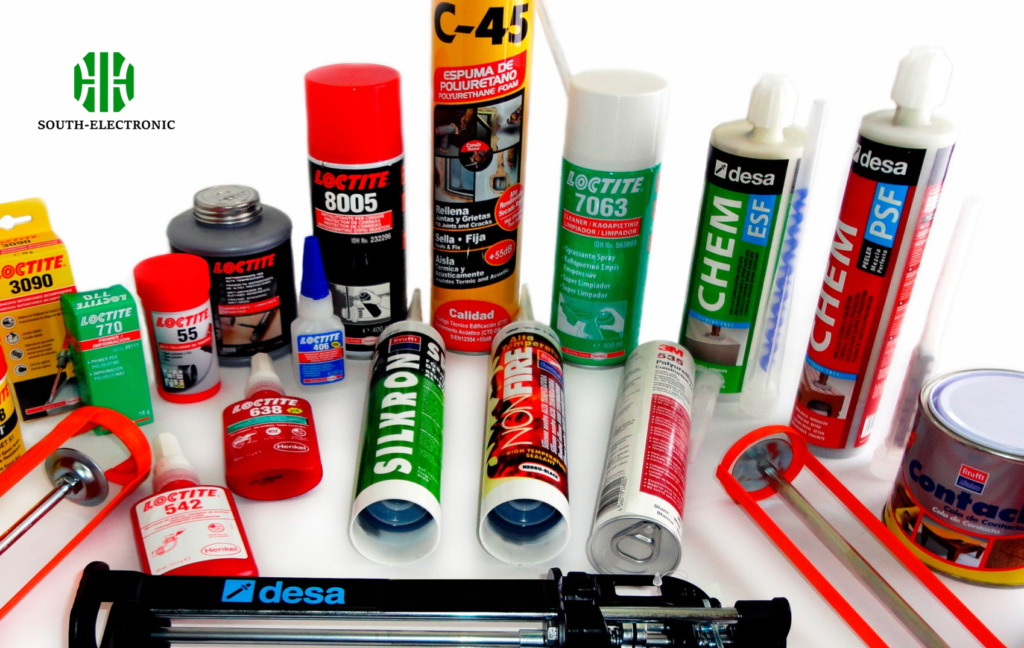
What Are the 6 Most Critical Adhesive Types for PCB Assembly & Repair?
Picture a surgeon’s tool tray – each adhesive serves specific lifesaving functions in PCB operations. Missing one could doom the patient (your device).
The six essential PCB adhesives are epoxy resins[^2], acrylics, silicones, UV-cure adhesives, conductive pastes[^3], and thermal interface materials[^4]. Each addresses distinct electrical, thermal, and mechanical challenges.
Adhesive Toolkit Breakdown
| Type | Key Function | Real-World Use Case |
|---|---|---|
| Epoxy Resins | Component anchoring | CPU socket reinforcement |
| Acrylics | Fast curing | High-volume SMT assembly |
| Silicones | Flexible sealing | Automotive ECU protection |
| UV-Cure | Precision bonding | Micro LED alignment |
| Conductive Pastes | Electrical paths | Antenna connections |
| Thermal Pads | Heat transfer | GPU heatsink attachment |
Epoxy remains the workhorse for through-hole components, with 72% of manufacturers using it for transformers and connectors. During a recent router repair, UV-curable adhesive proved indispensable for reseating 0402 capacitors without soldering.
How to Choose Between Epoxy vs. Acrylic vs. Silicone Adhesives for Your PCB?
Choosing adhesives resembles picking winter gear – epoxy is your heavy parka, acrylic the spring jacket, silicone the waterproof shell.
Epoxy suits high-stress permanent bonds, acrylic enables rapid production cycles, and silicone excels in flexible moisture-prone environments. Each has distinct cure times and temperature thresholds.
Performance Comparison Table
| Property | Epoxy | Acrylic | Silicone |
|---|---|---|---|
| Cure Time | 2-24 hrs | 2-10 min | 6-24 hrs |
| Max Temp | 150°C | 120°C | 200°C |
| Flexibility | Rigid | Semi-rigid | Highly flexible |
| Chemical Resistance | Excellent | Good | Moderate |
| Typical Cost | $0.30/g | $0.25/g | $0.50/g |
For outdoor LED displays, silicone’s UV resistance outperforms epoxy. But in vibration-heavy industrial PCs, epoxy’s rock-solid bond prevents connector failure. Acrylic dominates smartphone assembly lines where 90-second cure times enable 500 boards/hour output.
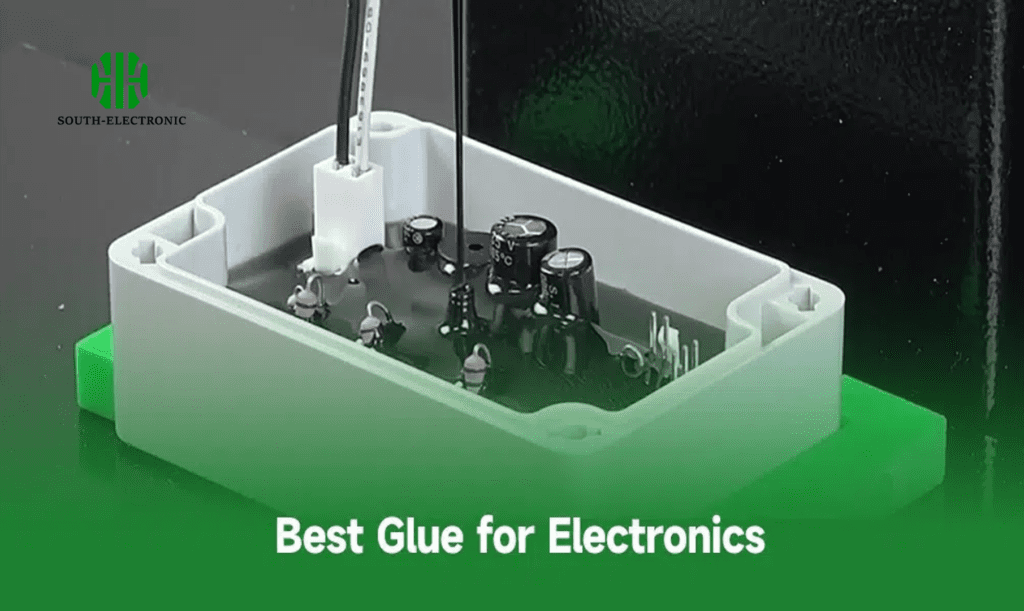
How to Properly Apply and Cure Adhesives for Optimal PCB Performance?
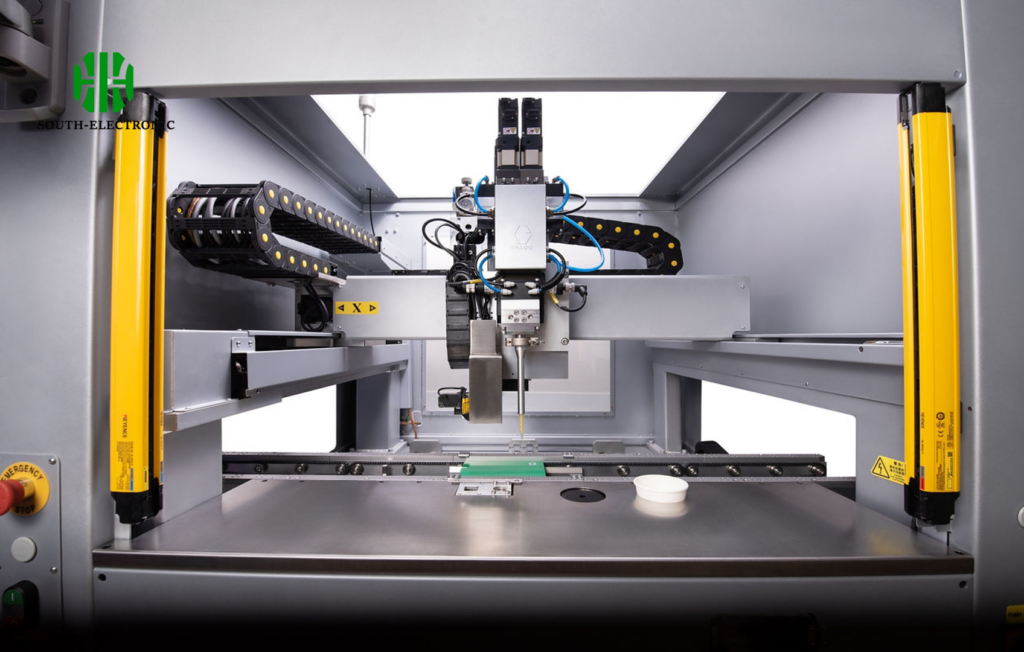
Applying PCB adhesive[^5] isn’t like spreading jam – precision dispensing and controlled curing separate professional results from DIY disasters.
Successful application requires surface preparation, precise dispensing (needle vs. jet), and strict humidity/temperature control during curing. Rushing cure times causes 43% of field failures according to IPC data.
Critical Application Parameters
Dispensing Methods
- Syringe (manual prototypes)
- Jet (high-speed SMT lines)
- Screen print (large areas)
Curing Checklist
- Degrease surfaces with isopropyl alcohol
- Maintain 30-50% RH during application
- Follow cure schedule exactly:
| Adhesive | Temp | Time |
|---|---|---|
| Epoxy | 80°C | 1 hr |
| Acrylic | RT | 5 min |
| UV | N/A | 60 sec |
I learned the hard way that impatiently baking epoxy at 100°C causes bubble formation. Now use thermal cameras to verify even heat distribution during oven curing.
Conclusion
Choosing and applying PCB adhesives requires understanding operational demands, material properties, and precision techniques. Match adhesive type to environmental needs and follow strict curing protocols for reliable electronic performance.
[^1]: Explore this link to understand the importance of specialized adhesives in electronics and how they enhance performance and reliability.
[^2]: Explore the advantages of epoxy resins in PCB assembly, including their durability and effectiveness in high-stress applications.
[^3]: Learn how conductive pastes create electrical connections in PCBs, essential for effective circuit functionality.
[^4]: Discover the importance of thermal interface materials in managing heat in electronic devices, crucial for performance and longevity.
[^5]: Explore this resource to learn essential techniques for applying PCB adhesive effectively, ensuring optimal performance and reliability.

