
The significance of designing Walkie Talkie
Creating a DIY walkie-talkie is a rewarding project that blends technical skills with practical application. This guide provides a comprehensive, step-by-step process to create your very own walkie-talkie, covering all the necessary components, assembly instructions, troubleshooting tips, and ways to optimize your device.
Materials Needed for DIY Walkie Talkie
Before starting, gather all the materials you’ll need. Here’s a table summarizing the essential components:
| Component | Description |
|---|---|
| nRF24L01+ Transceiver | A 2.4GHz wireless transceiver module used for communication between devices. |
| Push-to-Talk (PTT) Button | A button used to activate the transmitter on the walkie-talkie. |
| Speaker and Microphone | Used for audio input and output. |
| Resistors and Capacitors | Essential for controlling current and voltage in the circuit. |
| PCB Board | The base where all components will be soldered. |
| Battery (9V or similar) | Powers the walkie-talkie. |
| Wires and Connectors | Necessary for connecting different components. |
| Soldering Kit | For securely attaching components to the PCB board. |
Step-by-Step Assembly Guide
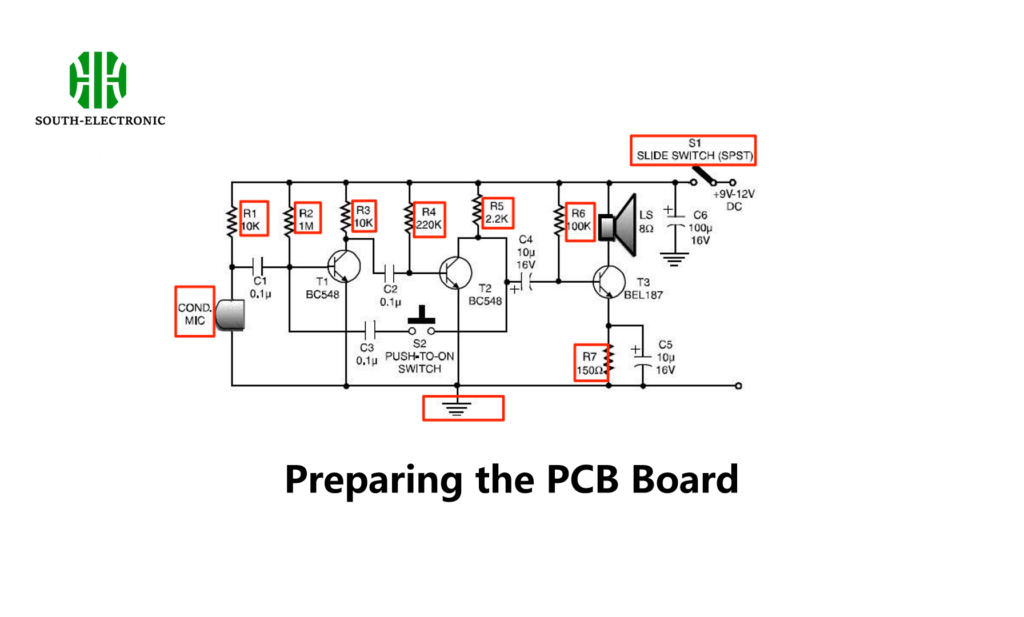
Step 1: Preparing the PCB Board
Start by organizing all your components on the PCB board. Make sure to place the nRF24L01+ transceiver module in a central location, as it will connect to multiple components.
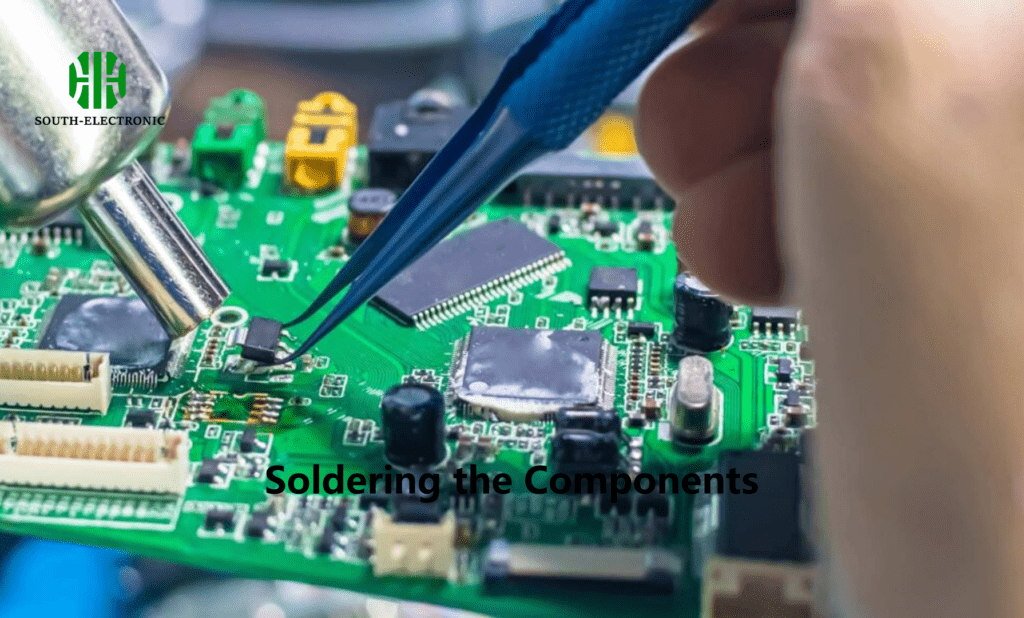
Step 2: Soldering the Components
Carefully solder each component onto the PCB board. Begin with smaller components like resistors and capacitors, then move on to larger components such as the transceiver, speaker, and microphone.
Tip: Use a multimeter to check the connections as you go to ensure there are no short circuits.
Step 3: Connecting the PTT Button
The Push-to-Talk (PTT) button is crucial for transmitting your voice. Connect it between the microphone and the transceiver. Ensure the button is easily accessible on the exterior of the walkie-talkie casing.

Step 4: Integrating the Speaker and Microphone
Solder the speaker and microphone to the appropriate connections on the transceiver module. The microphone will capture your voice, while the speaker will output the received audio signals.

Step 5: Powering the Circuit
Connect the battery to the PCB board’s power terminals. Ensure the battery is secure and can be easily replaced if necessary. You can add a power switch between the battery and the circuit to extend battery life.

Step 6: Testing the Circuit
Before enclosing everything in a case, test the circuit. Check if the transceiver successfully sends and receives signals by pairing it with another walkie-talkie or transceiver.
Troubleshooting Common Issues
When building a DIY walkie-talkie, you might encounter some issues. Here are some common problems and how to fix them:
| Issue | Possible Cause | Solution |
|---|---|---|
| No sound from the speaker | Poor solder connections or loose wires | Recheck soldering and ensure tight connections. |
| Transceiver not sending signals | Incorrect wiring or faulty component | Verify the wiring diagram and replace any faulty components. |
| Battery drains quickly | Power leakage or high power consumption | Add a power switch or use a more efficient power source. |
How to Make Different Walkie-Talkies Work Together?
To make different walkie-talkies communicate with each other, they must be on the same channel and settings. Here’s how to sync two devices:
- Set to the Same Channel: Ensure both walkie-talkies are tuned to the same frequency or channel.
- Check for CCTCSS Blocking: Disable Continuous Tone Coded Squelch System (CCTCSS) if one device is not communicating properly.
- Test Communication: Test the walkie-talkies over a short distance first, then gradually increase the range to ensure consistent communication.

How to Extend the Range of Your Walkie Talkie
If you need to increase the range of your walkie-talkie, consider these modifications:
- Antenna Upgrade: Replacing the standard antenna with a high-gain one can significantly boost the range.
- Use of Signal Repeaters: Signal repeaters can amplify the signal and extend the range of your walkie-talkie, especially in areas with obstacles.
- Optimizing Power Output: Increasing the power output can also help, but be cautious as this might reduce battery life.
If you’re an engineer looking for a challenging project, a hobbyist exploring new electronics, or a student learning about radio communication, this guide will show you how to build your own device. Remember to follow safety precautions, and don’t hesitate to experiment with different configurations to optimize your walkie-talkie.
I hope this guide inspires you to start your own DIY walkie-talkie project. Happy building!


