

How to Harvest Electronic Components?
Step 1:Selecting boards for the harvest
- Source Selection: Choose old electronics such as radios, computers, or televisions as your source boards. Look for devices that are no longer functional or have been discarded.
- Board Assessment: Examine the boards for components that are commonly useful, like capacitors, diodes, resistors, ICs, and connectors. Prioritize boards with easily accessible components that require minimal desoldering.
Step 2:Prepare the required tools and materials
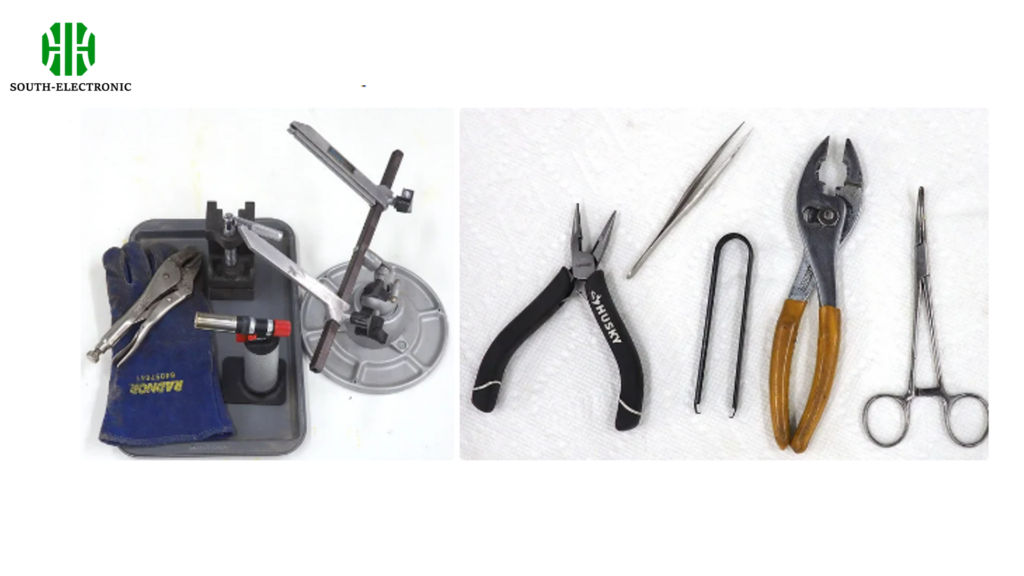
- Tools: Gather a soldering iron, desoldering pump, solder wick, pliers, screwdrivers, and wire cutters.
- Materials: Ensure you have an anti-static wrist strap, safety glasses, and containers for sorting and storing harvested components.
- Workspace: Set up a clean, well-lit, and well-ventilated workspace to carry out the harvesting process.
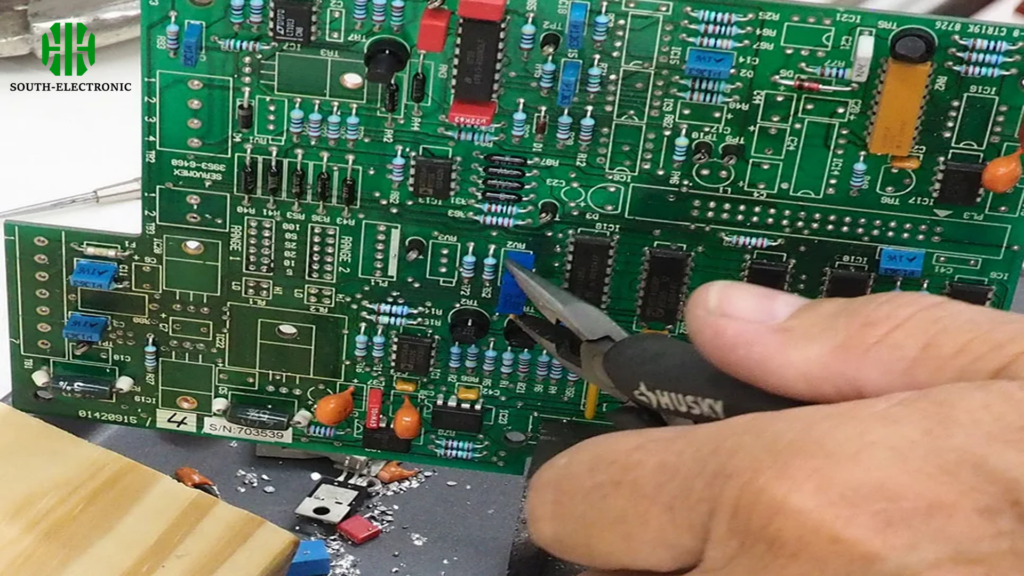
Step 3:Easy components are removed first
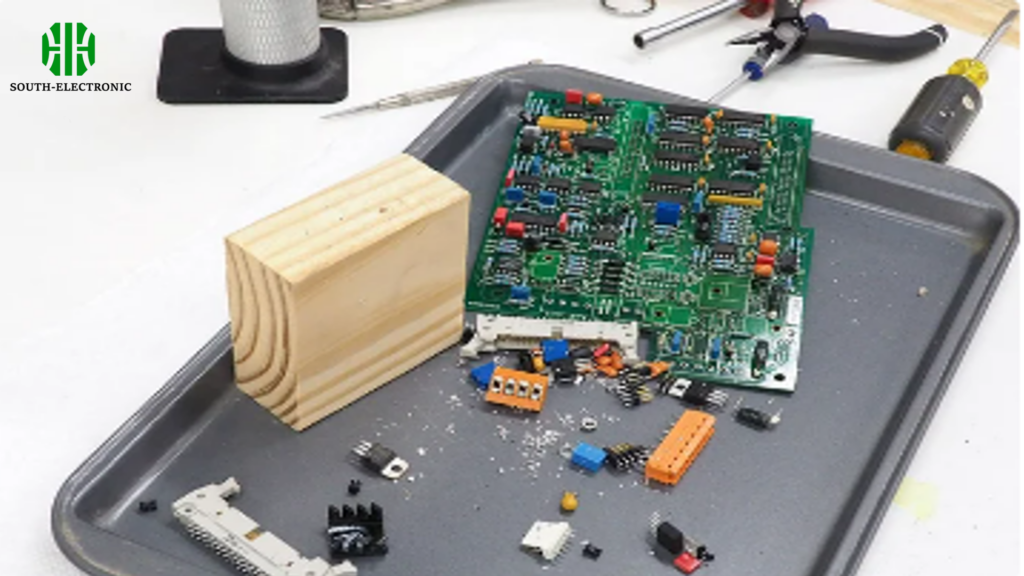
- Tactics: Begin with components that are easy to remove, such as large capacitors and connectors. These components usually have fewer pins and require less heat to desolder.
- Method: Use the soldering iron to heat the solder and a desoldering pump or wick to clear the solder from the pins, making the removal process easier.
Step 4:Remove smaller components
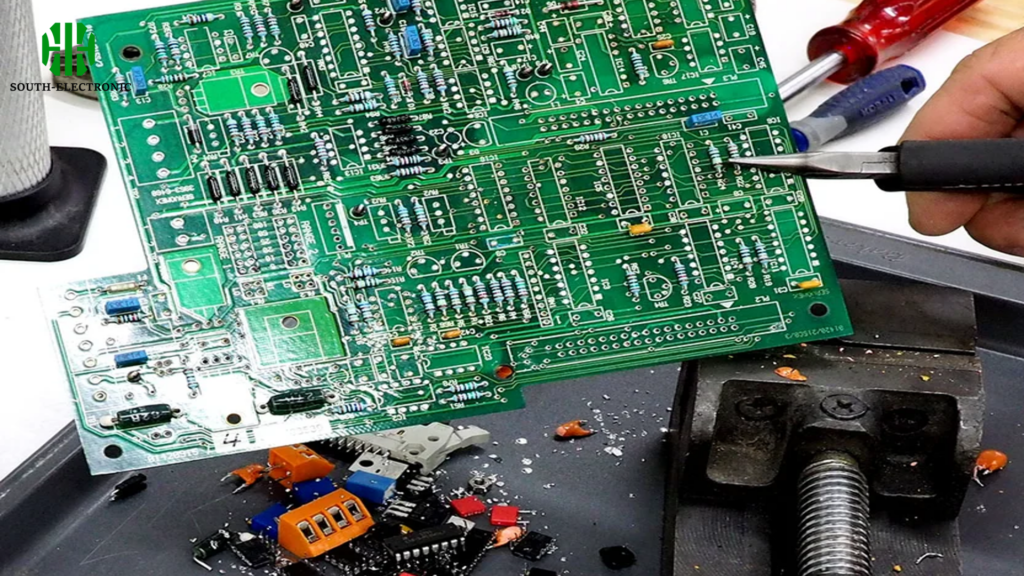
- Precision Needed: Shift focus to smaller components like resistors, small capacitors, and diodes. These components might be more fragile.
- Handling: Use a higher precision soldering tip and magnifying equipment if necessary to avoid damaging the components and the board.
Step 5:Remove the Larger ICs
- Approach: Integrated Circuits (ICs) can be challenging due to their multiple pins and potential heat sensitivity.
- Technique: Apply heat evenly and use a desoldering gun or high-quality solder wick to remove these components effectively without causing damage.
Step 6:Give the SMT Parts the Brush-Off
- SMT Removal: Surface-mounted technology (SMT) components are smaller and require careful handling.
- Desoldering: Use a hot air rework station to gently lift these parts after the solder has been heated and liquefied.
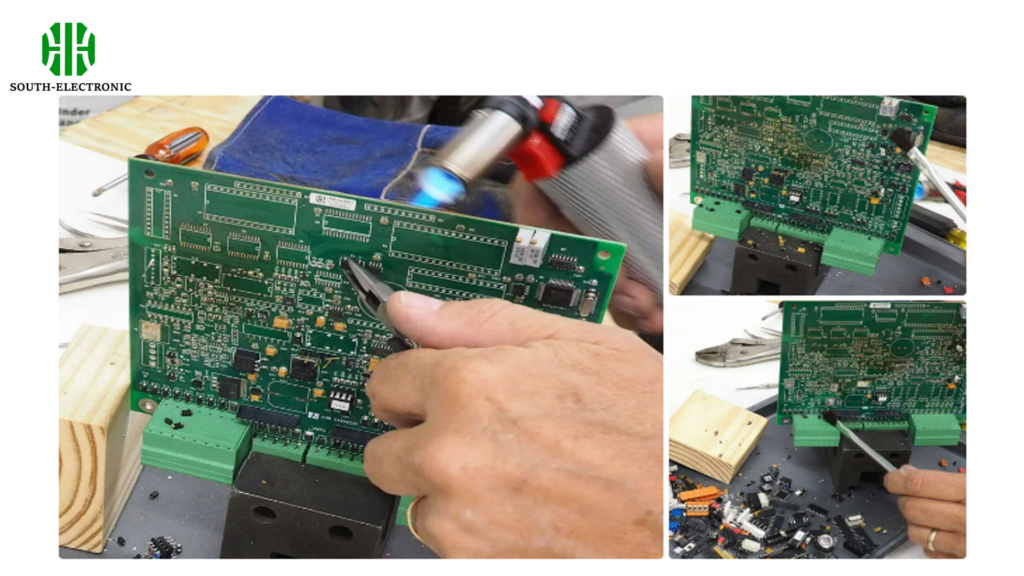
Step 7:Cleaning Off the Board

- Cleaning: Once all valuable components have been removed, clean the board with isopropyl alcohol to remove any residual solder or flux.
- Inspection: Check the board for any remaining valuable components or materials.
Step 8: Component function testing

- Testing Setup: Use a multimeter, capacitor tester, or other specific testing tools to check the functionality of each component.
- Documentation: Keep records of the tested components’ functionality for easier usage in future projects.
Harvesting electronic components is a valuable skill. It saves money and reduces electronic waste. As you get better at selecting, desoldering, and testing components, you’ll improve your DIY projects and help the environment.

