
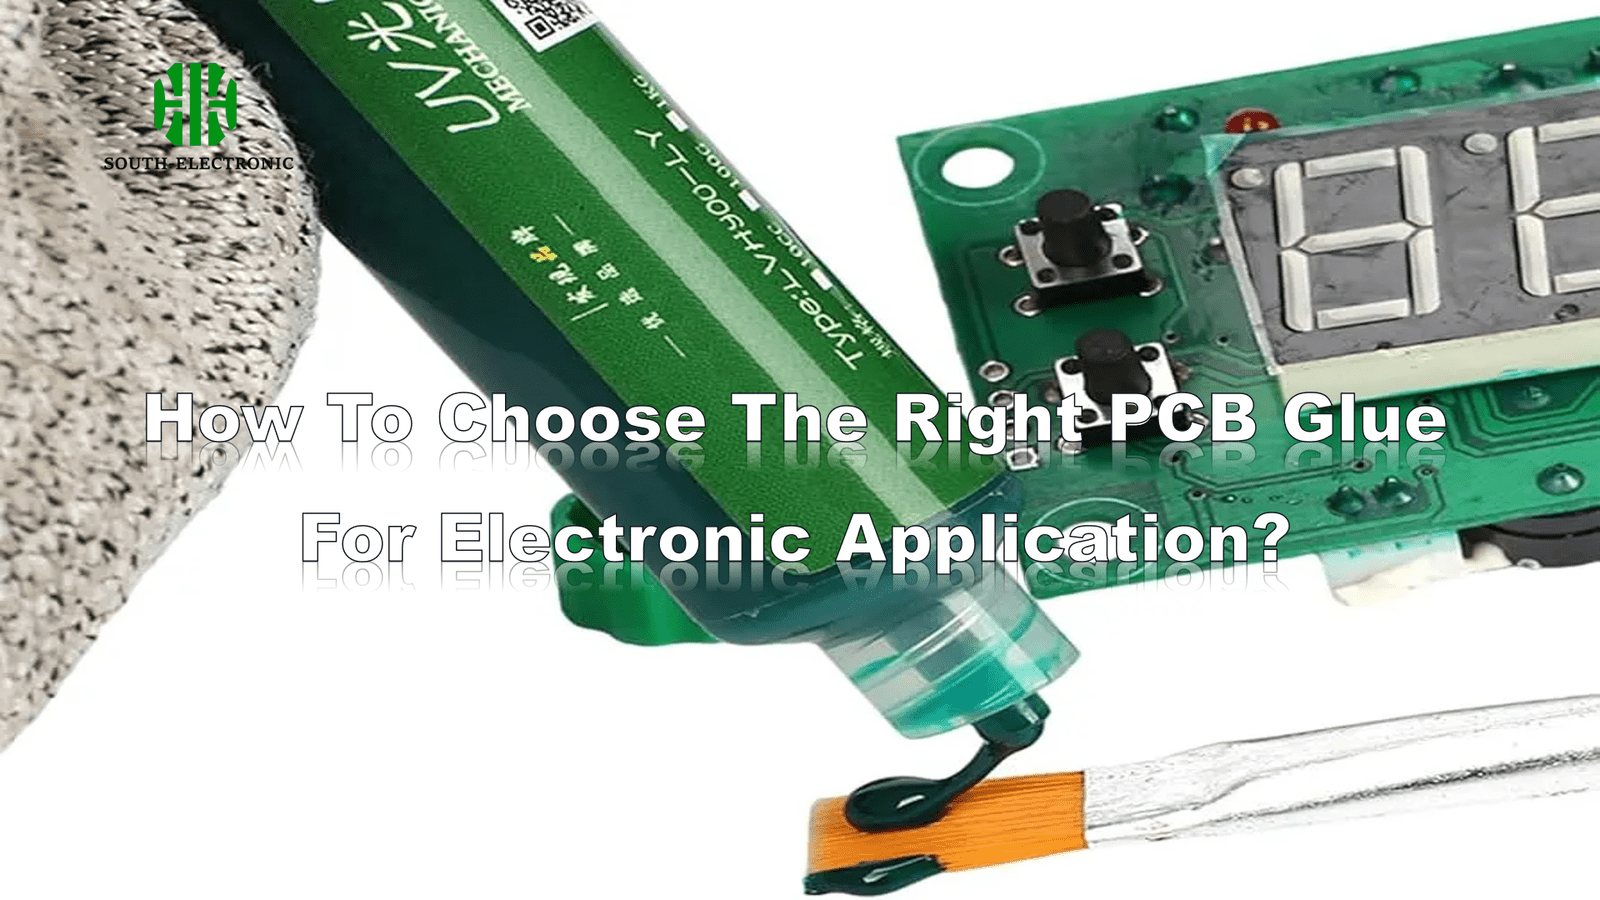
Seeing your circuit board fail because of adhesive issues feels frustrating. Loose components or cracked joints ruin devices. Discover how proper PCB glue selection prevents these nightmares in 40 seconds.
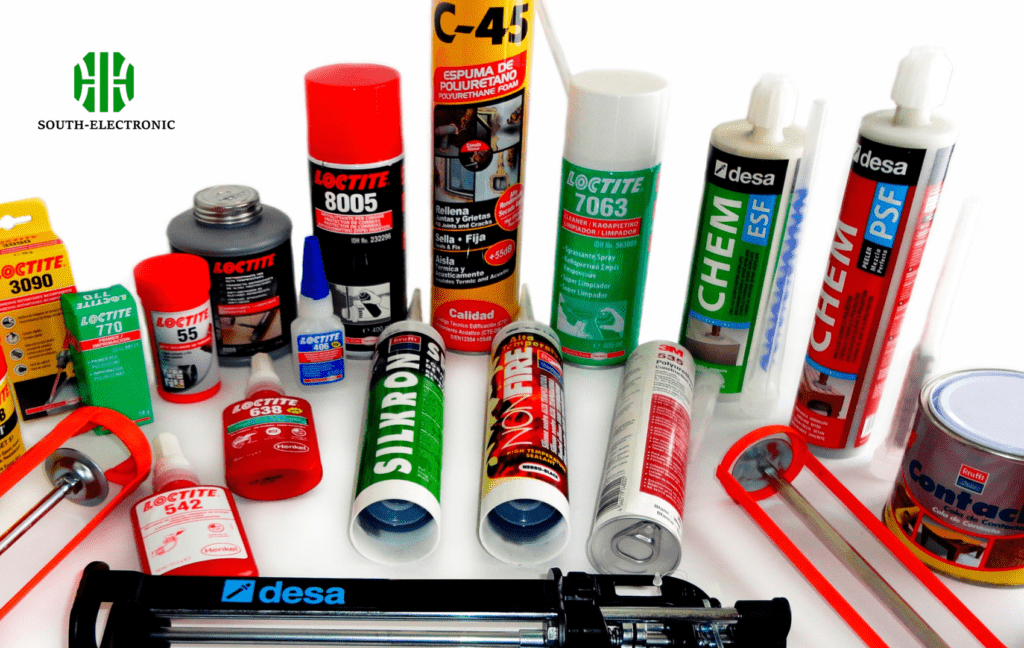
Choose PCB glue by evaluating strength needs, operating temperatures, vibration levels, cure speed, and environmental exposure. Epoxy offers strong bonds for harsh conditions, silicone handles extreme heat well, and cyanoacrylate works for quick fixes without conductivity needs.
Picking the right adhesive matters. Now let’s explore best practices for application steps. Following my guidance avoids common assembly errors.
What are the best practices for applying and curing different PCB adhesives?
Glue disasters happen fast. A messy epoxy application once ruined my prototype board. Avoid this pain by preparing surfaces correctly.
Prepare surfaces by cleaning with isopropyl alcohol before applying adhesive. Follow manufacturer cure times strictly. Use precise dispensing tools to control glue amounts. Epoxy needs mixing accuracy while cyanoacrylate works with quick dots.

Three Critical Application Stages
Handling adhesives has three key phases:
Pre-Application Checks
- Degrease all surfaces
- Verify shelf life isn’t expired
- Test adhesive on scrap material first
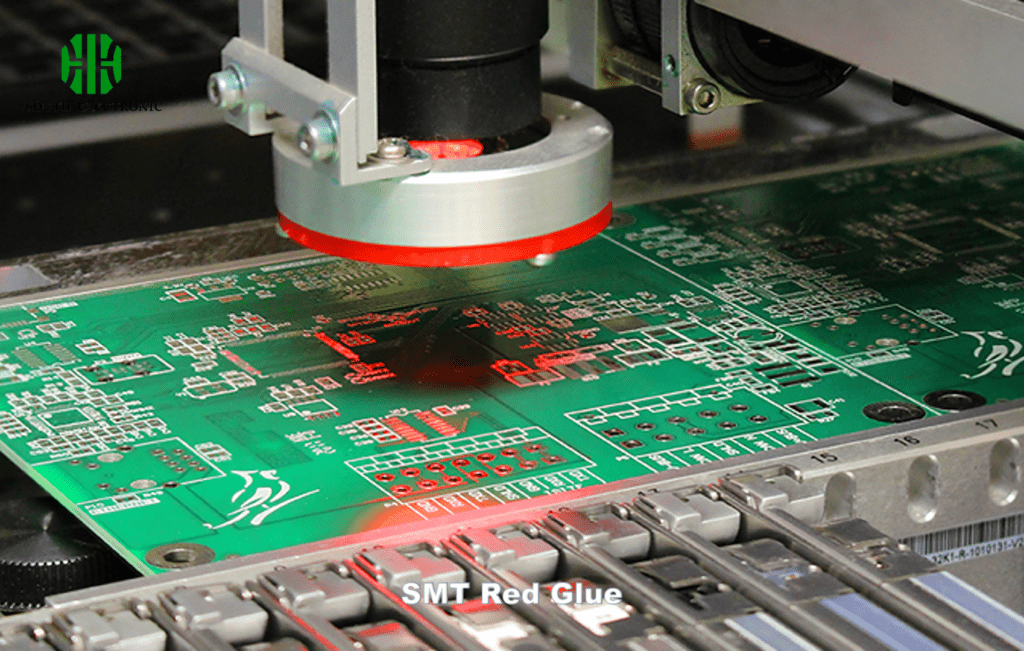
| During Application | Adhesive Type | Dispensing Tool | Special Handling |
|---|---|---|---|
| Epoxy | Dual syringe mixer | Mix 1:1 ratio completely | |
| Silicone | Caulking gun | Avoid skin contact | |
| Cyanoacrylate | Precision needle | Use in ventilated area |
Post-Application Validation
- Never move parts during curing
- Check full hardness development
- Verify no electrical leakage occurs
My prototyping failures taught me oven-cured epoxies need gradual cooldowns. Rushing causes micro-cracks under components. Always track humidity levels too. High moisture slows curing dramatically. Strict process control prevents rework disasters later.
How to overcome PCB glue challenges with heat dissipation, vibration, and harsh environments?
Thermal glue failures cause immediate frustration. Overheated boards trigger shutdowns. Protecting circuits requires strategic material choices.
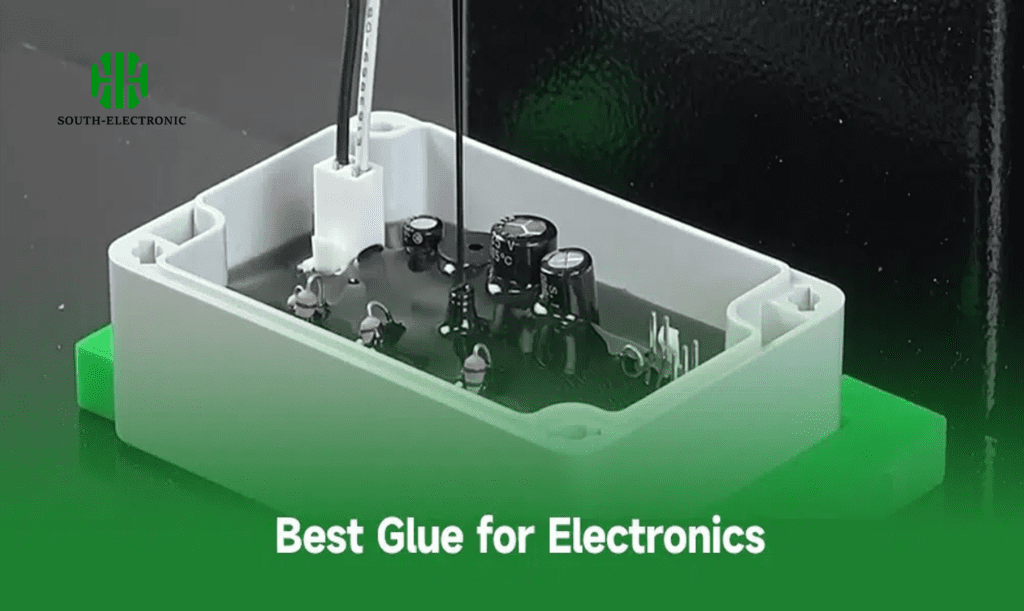
Combine thermal pads with silicone-based adhesives for heat control. Use flex-resistant epoxy under high vibration components. Add conformal coatings over adhesive joints in wet environments blocking moisture ingress effectively.
Environment-Specific Solutions
Addressing extreme conditions needs targeted approaches:
Heat Management Focus
Silicone adhesives transfer heat away better than other types. Adding aluminium oxide fillers boosts conductivity. Never block ventilation paths with adhesive. Test thermal cycling performance early.
Vibration Resistance
| Strategy | Implementation Example |
|---|---|
| Flexible Bonding | Silicone seals hold moving parts |
| Shock Absorption | Rubberized epoxy isolates joints |
| Reinforcement | Epoxy anchors connectors firmly |
Harsh Exposure Defense
Salt spray ruins coastal electronics. I use marine-grade epoxy after regretting standard glue failures. Chemical factories need fluoropolymer-based adhesives blocking acid fumes. Validate temperature ratings exceed operating ranges by 20%.
How to safely remove PCB glue without damaging components?
Scraping glued components feels nerve-wracking. I chipped an IC doing this last year. Chemical methods save sensitive parts.
Apply acetone carefully for cyanoacrylate removal. Heat epoxy bonds slightly above their rating using a thermal gun. Use peelable silicone formulas for serviceable bonds avoiding removal struggles completely.
Removal Method Comparison
Choose method based on adhesive type:
Chemical Solvents
- Acetone dissolves instant glues fast
- Epoxy requires methylene chloride gels
- Silicone resists solvents requiring cutting
Thermal Techniques
Heat guns soften epoxies at 150°C+. Touch components briefly to avoid damage. Thermal shock cracks ceramic parts. Gradually heat boards with multiple passes.
| Mechanical Removal Guide | Tool | Best For | Risk Level |
|---|---|---|---|
| Plastic scraper | Surface residues | Low | |
| Dental pick | Small glue dots | Medium | |
| Chisel | Large epoxy lumps | High |
Always test removal methods near board edges first. Use flux remover after solvents since residues cause conductivity issues. Component legs snap easily under pressure. My golden rule: work slower than seems necessary.
Conclusion
Match adhesive properties like strength and temperature handling to your specific electronic application needs. Test everything. This prevents future device failures reliably.


