
Dirty PCBs cause malfunctions and failures. Don’t risk damaging sensitive components with wrong cleaning methods. I discovered a safe manual technique that preserves electronics.
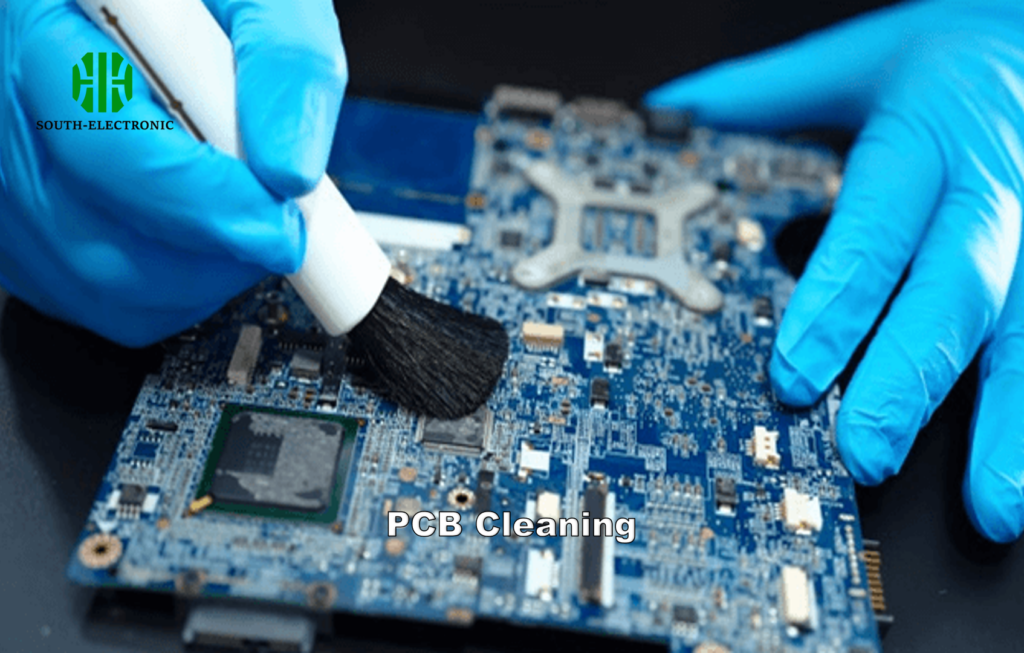
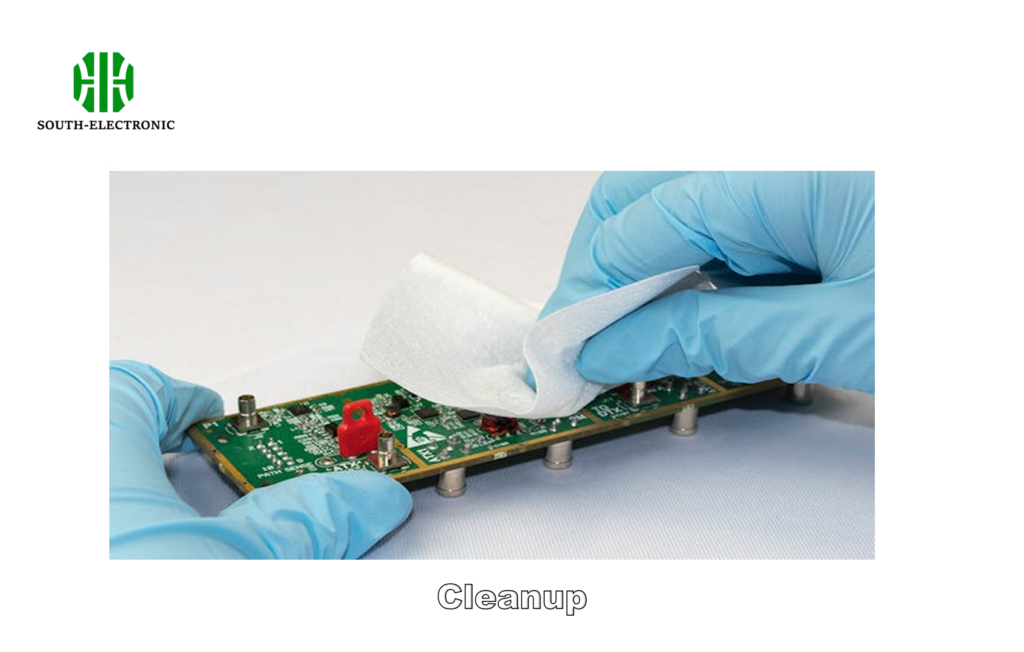
Disconnect power and remove the PCB first. Use a soft brush with isopropyl alcohol or PCB cleaner for gentle scrubbing. Rinse lightly with distilled water, then dry thoroughly using compressed air or lint-free cloth before reassembly.
Proper PCB cleaning demands attention at every stage. Let’s explore key techniques and troubleshooting for perfect results every time.
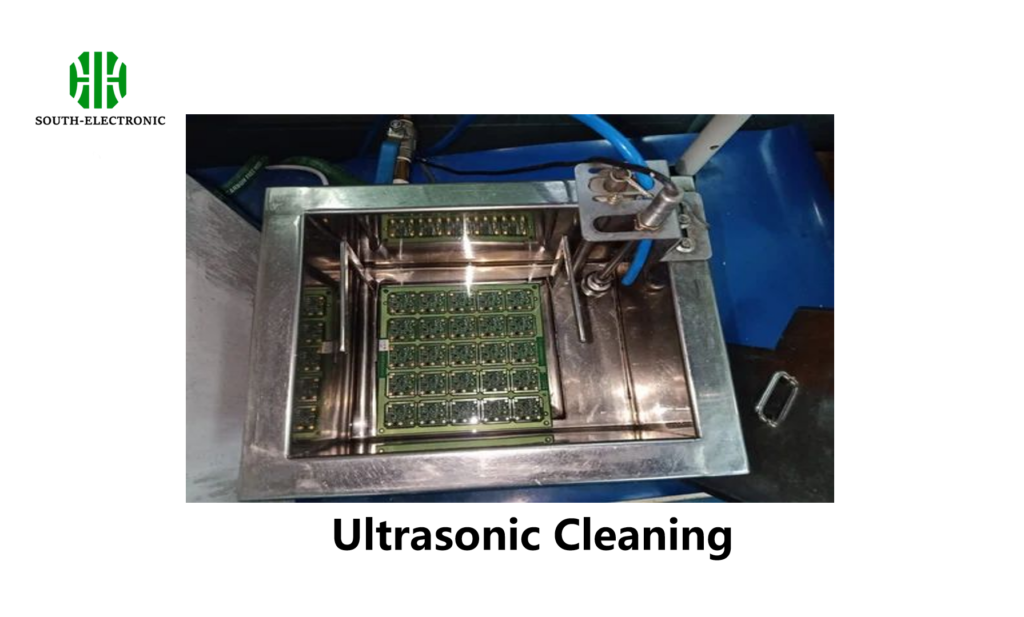
Is ultrasonic PCB cleaning effective?
Ultrasonic cleaners promise deep cleaning but threaten fragile boards. Can this method safely revive electronics without component destruction?
Ultrasonic cleaning works well for sturdy industrial boards but harms delicate consumer electronics. It risks dislodging surface-mount components with intense vibrations and forces moisture into sealed parts.
Understanding ultrasonic cleaning risks
Ultrasonic waves create microscopic bubbles in liquid that violently collapse near surfaces. This cavitation effect cleans but damages electronics. Three factors determine risk level:
| PCB Vulnerability | Ultrasonic Risk | Safer Alternative |
|---|---|---|
| Surface-mount parts | High (vibration damage) | Hand brushing |
| Ceramic/magnetic parts | Medium (cracking risk) | Cotton swab dabbing |
| Plated holes/components | Low (if below 40kHz) | Low-pressure spraying |
My prototype drone controller failed after ultrasonic cleaning – capacitor legs snapped unexpectedly. Low-power settings rarely help; safer hand methods exist for home repair work. Avoid unless cleaning unpopulated boards or heavy industrial parts. Manual control minimizes accidents with delicate resistors and connectors.
How to avoid wrecking your board while cleaning?
Common cleaning mistakes permanently destroy functional circuits. What simple precautions guarantee component protection?
Always start with power disconnected and PCB removal. Use soft-bristle brushes with controlled pressure near connectors. Verify chemical compatibility with sensitive materials first.
Critical damage-prevention steps
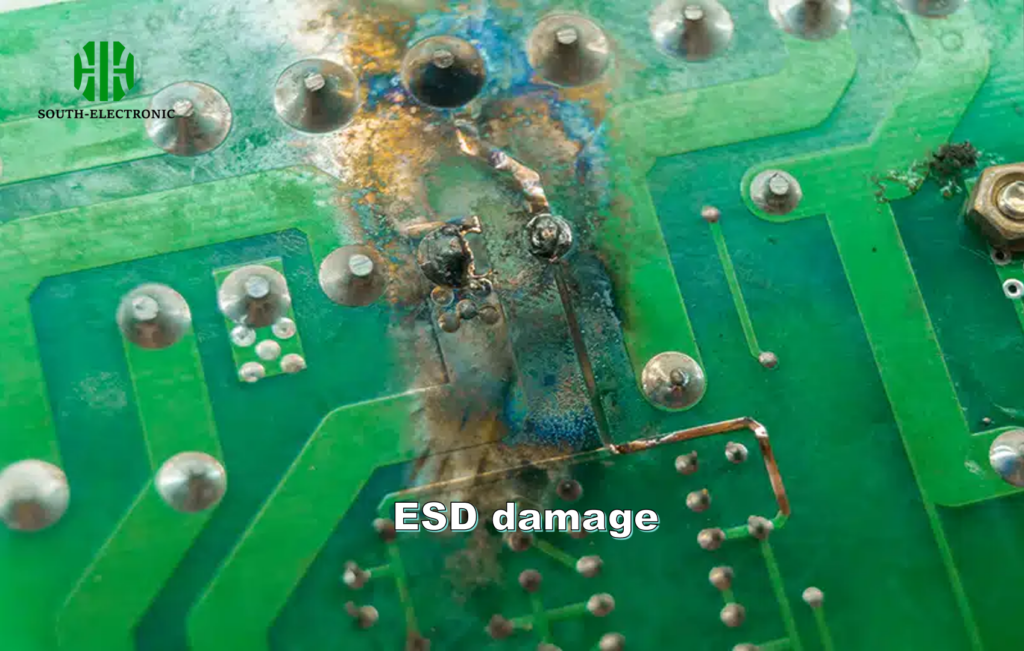
Board destruction usually comes from liquid exposure or physical stress. Three safety layers must work together during cleaning:
-
Chemical Safety
Isopropyl alcohol under 90% concentration leaves residues. Avoid household cleaners – ammonia streaks traces destroys copper traces over time. Flux cleaners work best for solder residue removal. -
Mechanical Safety
Apply brush pressure away from component legs, not toward them. Hold boards by edges – flexing cracks internal layers. Clip long fingernails to prevent accidental scratches. -
Drying Protocol
Moisture causes instant shorts and long-term corrosion. Compressed air must be oil-free and angled obliquely across boards. For stubborn moisture, bake at 65°C for 20 minutes before visual inspection.
My keyboard PCB revival failed when water infiltrated under a chip. Now I always pre-check for hidden cavities where liquids collect. Microscope examination after cleaning catches escaped water drops before reassembly. Patience beats costly mistakes every time.
How to troubleshoot PCB cleaning issues like stubborn residues, corrosion, and special cases?
Sticky residues and green corrosion defy normal cleaning. What when regular methods fail to restore your board?
Target stubborn flux with specialized solvents like MG Chemicals Super Wash. Copper corrosion needs vinegar solution neutralization before alcohol cleaning. Water-damaged boards require distilled water rinse then 72-hour drying.
Advanced problem solving
Different contamination types demand tailored responses. Match solutions to symptoms:
| Issue Type | Initial Treatment | Escalation Step | Absolute Avoid |
|---|---|---|---|
| Hardened Flux | Flux remover + toothbrush | Acetone swab testing | Scratching with metal tools |
| White Corrosion | Distilled water rinse | Vinegar dip (2min max) | Baking soda solutions |
| Water Damage | 99% IPA bath | Ultrasonic (40kHz only) | Power application wet |
| Conformal Coating | Coating-specific removers | Professional services | General solvents |
My game console refused to turn on after cleaning. Hidden corrosion under BGA chips required microscope inspection and careful vinegar application. Always have distilled water ready for immediate post-vinegar rinsing. Cotton swabs work better than brushes reaching under components. Test new solvents on unimportant board sections first.
Conclusion
Hand-cleaning PCBs safely requires gentle tools and proven techniques. Avoid moisture and force while prioritizing thorough drying for consistent results every time.

