
Your PCB stopped working. Frustration builds as deadlines loom. Replacement costs shock you. I’ve fixed dozens like this using proven steps. Save time and money right now.
Repair a damaged PCB by identifying the issue, gathering tools like a soldering iron, removing faulty parts, cleaning the area, then fixing traces/pads with copper tape or conductive ink. Always test connections afterward.
Ready to fix your board? I’ll guide you through the most critical repairs and tough decisions. Let’s start with frequent issues.
What are the top 5 most common PCB repairs?
Ever opened a device to find hidden damage? Five problems cause 80% of PCB failures. Recognizing them saves hours of headaches.
Broken traces[^1], cracked solder joints, corroded pads, damaged vias, and blown capacitors dominate PCB repairs. Each requires specific tools and methods to restore functionality safely.
Critical Repair Breakdown
Use this table to diagnose your issue quickly:
| Fault Type | Causes | Fix Tool | Difficulty |
|---|---|---|---|
| Trace Damage | Physical stress | Copper tape + soldering | Medium |
| Solder Joint Cracks[^2] | Heat cycles | Soldering iron | Easy |
| Pad Corrosion | Moisture exposure | Conductive ink | Hard |
| Via Failure | Drilling errors | Jumper wire | Medium |
| Capacitor Blowout | Overvoltage | Replacement capacitor | Easy |
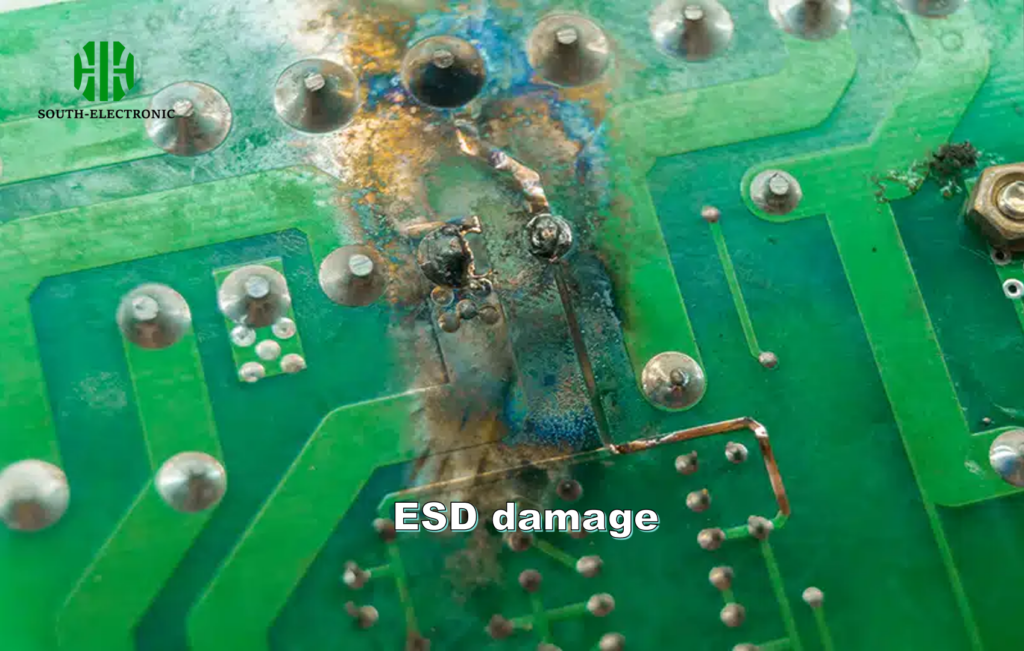
Trace damage happens when flexing snaps thin copper pathways. I use a multimeter to find breaks. Copper tape bridges gaps when soldered carefully. Solder joint cracks appear as hairline fractures—just reflow the connection. Corrosion destroys copper pads completely. Here, conductive ink redraws the circuit path. Dead vias need jumper wires routed between layers. Blown capacitors[^3] bulge visibly. Swap them with matching voltage parts first.
Is it Worth Repairing vs. Replacing Components?
Does fixing a tiny resistor seem pointless? Wrong choice costs hundreds. I learned this replacing a whole board that needed one $0.50 fuse.
Repair components when damage is isolated (e.g., one burnt trace). Replace the entire PCB if multiple key systems fail or replacement parts cost more than new supplies.
Cost-Effectiveness Guide
Consider three factors before deciding:
| Situation | Repair? | Replace? | Why? |
|---|---|---|---|
| Single damaged trace | Yes | No | 5-minute fix with tape/solder |
| Cracked central CPU pad | No | Yes | Risk of permanent board failure |
| Obsolete rare part | Maybe | Maybe | Find compatible substitutes first |
Simple issues like broken traces are cheap repairs. Copper tape fixes them fast. But critical IC pads often crack irreversibly—attempting repairs wastes time. For rare parts, hunt alternatives online. If unavailable, a new PCB becomes inevitable. I once salvaged a vintage amplifier by modifying capacitor dimensions. Check prices first: if new resistors cost $2 but shipping is $15, repair existing ones. Always weigh labor time versus part costs.
How Do You Know If Your PCB Repair Actually Worked?
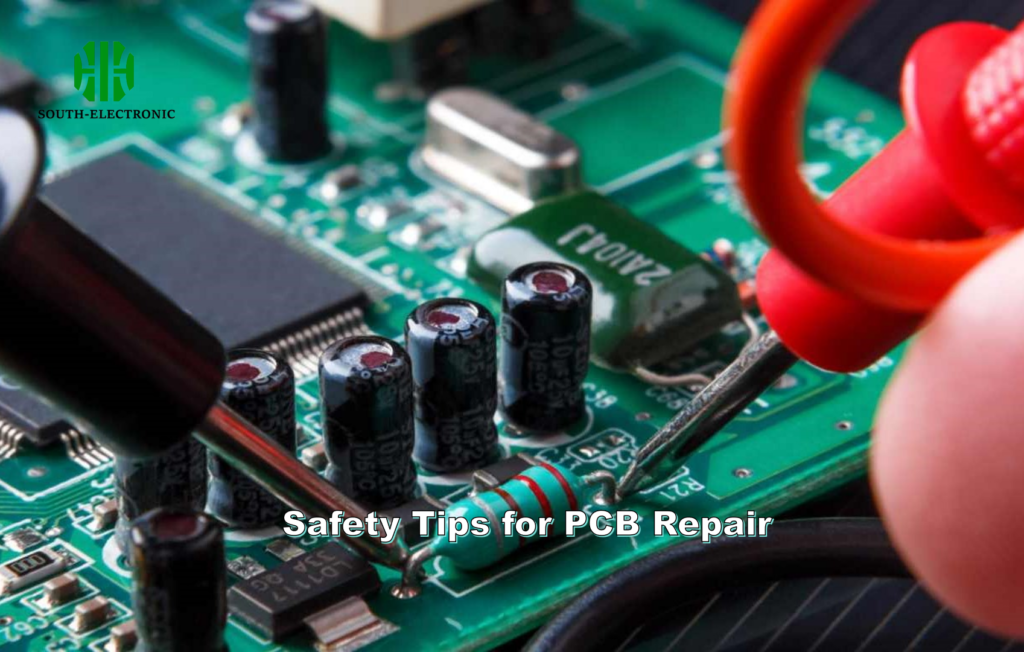
Fixed a board only to see sparks? Scary failures happen without testing. I test every repair twice before reassembly.
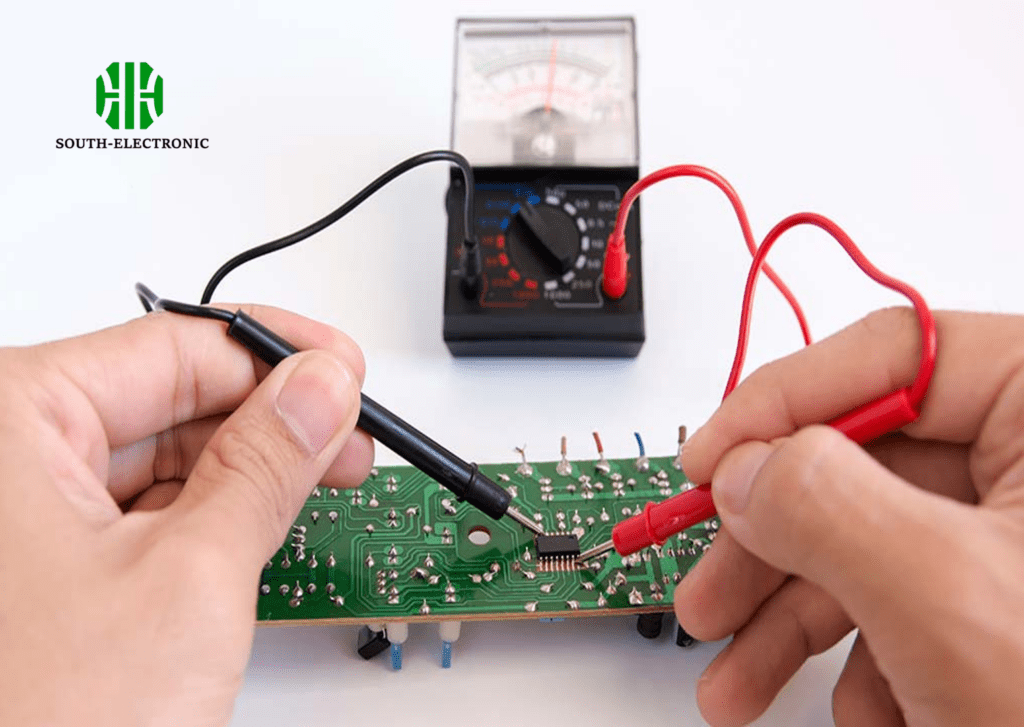
Verify PCB repairs with continuity tests using a multimeter. Power the board briefly and check for overheating joints or odd sounds before long-term use.

Validation Checklist
Run these post-repair diagnostics:
| Test Method | Pass/Fail Sign | Tool Needed |
|---|---|---|
| Continuity Check | Beep sound on multimeter | Digital multimeter |
| Voltage Test | Steady readings | Bench power supply |
| Thermal Inspection | No hot spots after 3 minutes | Thermal camera/hand |
| Function Trial | Normal operation | Actual device load |
Continuity testing finds hidden breaks. Touch probes along the repair path—beeps confirm connections. Apply power at low voltage while watching for smoke. Place your finger near soldered joints: warmth means shorts. Finally, reconnect peripherals. If previously fried ports now read USB devices correctly, you succeeded. I test complex boards in stages—first basic power flow, then component responses.
Conclusion
PCB repairs demand precision but save money. Identify damage, choose fixes wisely, and always test results. Now fix that damaged board confidently.
[^1]: Understanding the causes of broken traces can help you prevent future issues and improve your repair skills.
[^2]: Learning effective methods to repair solder joint cracks can save you time and money on PCB repairs.
[^3]: Identifying and replacing blown capacitors is crucial for restoring your PCB’s performance.

