

Tired of messy solder joints or accidentally burning your workbench? Using a soldering iron without proper knowledge risks damaged projects and safety hazards. I learned this the hard way—let’s avoid those mistakes together.
Start by gathering essential tools like a soldering iron, solder wire, and safety goggles. Heat the iron, clean its tip, and apply solder smoothly to create strong electrical connections. Always work in a ventilated area to avoid toxic fumes.
Whether you’re fixing electronics or crafting jewelry, mastering your soldering iron unlocks countless DIY possibilities. Ready to dive deeper? Let’s break down each step for flawless results.
What Tools and Safety Gear Do You Need Before Soldering?
Ever grabbed a hot soldering iron without gloves? I have—and trust me, preparation matters. Missing even one tool can turn a simple repair into a disaster.
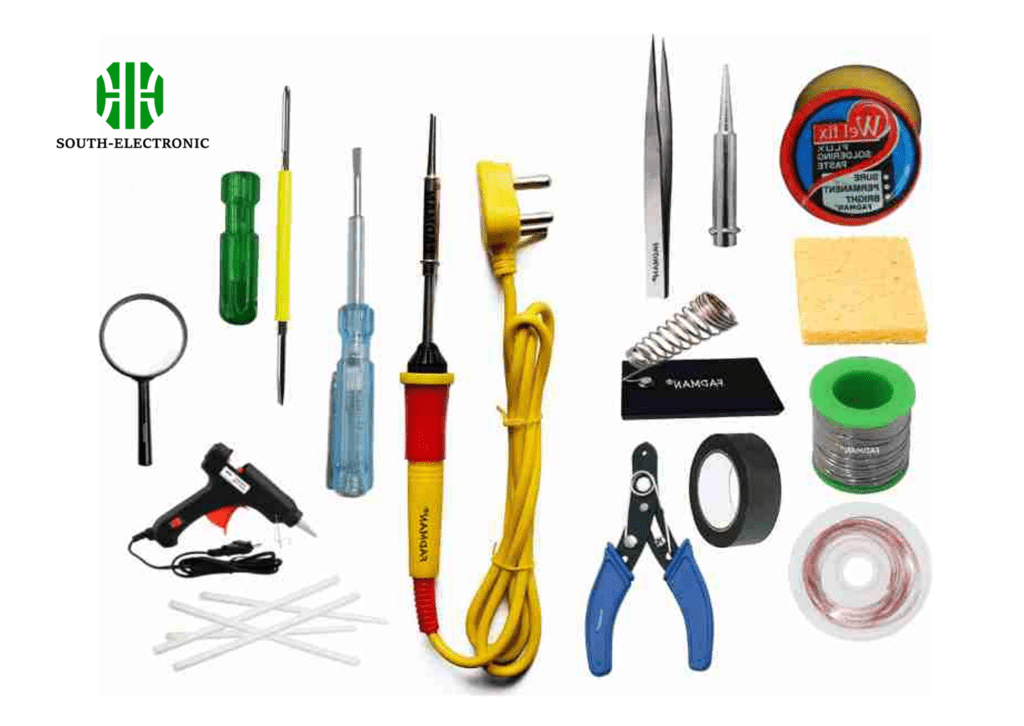
You’ll need: a soldering iron (25-60W), lead-free solder, tweezers, wire cutters, a brass sponge, and safety goggles. For ventilation, use a fume extractor or open windows. Always wear heat-resistant gloves.
Tools Checklist and Safety Priorities
Organize your workspace by separating tools and safety gear:
| Tools | Safety Gear |
|---|---|
| Soldering iron | Safety goggles |
| Solder wire (60/40) | Heat-resistant gloves |
| Brass sponge | Fire extinguisher |
| Third hand tool | Fume extractor |
Start with a quality soldering station—avoid cheap “stick” irons. Budget-friendly stations like the Hakko FX888D offer adjustable temperatures for precise control. Store solder in a dry place to prevent oxidation. Replace cracked gloves immediately—even small burns ruin productivity.
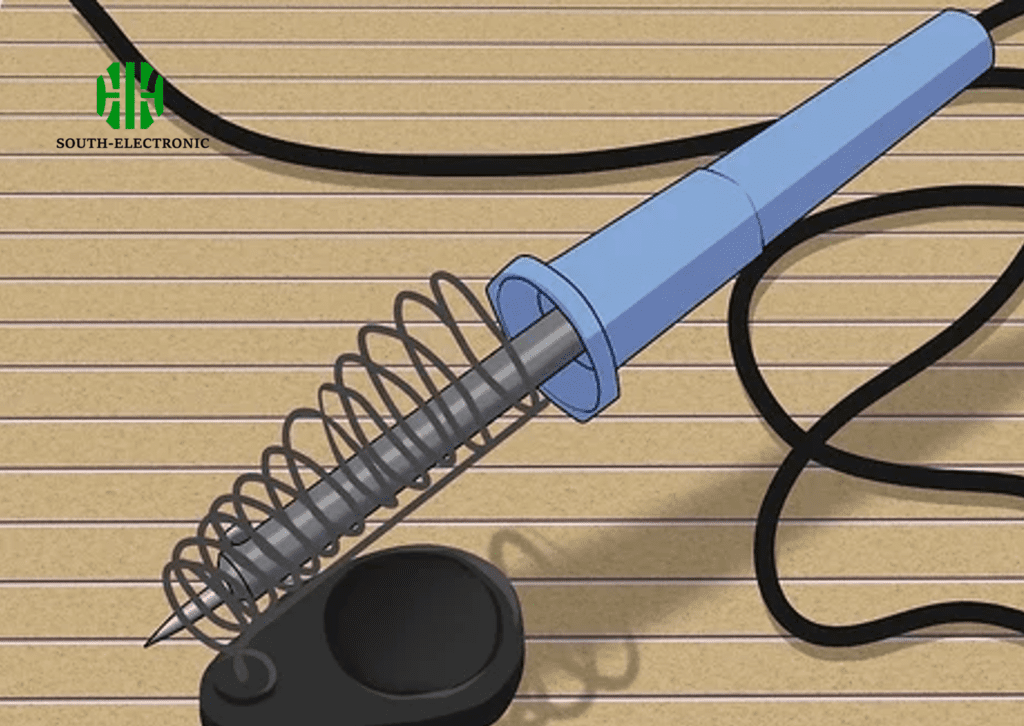
How to Set Up and Heat Your Soldering Iron Correctly?
Ever seen solder bubble instead of melt? Incorrect heating causes this. I once ruined a circuit board by rushing this step.
Plug the soldering iron into a grounded outlet. Set the temperature: 315°C (600°F) for lead-free solder, 260°C (500°F) for leaded. Let it heat for 3-5 minutes. Clean the tip with a damp sponge first.
Temperature Guide and Maintenance
Match tips to tasks:
| Tip Type | Ideal Temperature | Best For |
|---|---|---|
| Chisel | 315°C | Wires, connectors |
| Needle | 260°C | Precision PCB work |
| Hoof | 370°C | Heavy-gauge metals |
Always “tin” the tip before use: coat it with solder to prevent oxidation. If smoke appears, lower the temperature. Unplug the iron after 30 minutes of inactivity to extend its life.
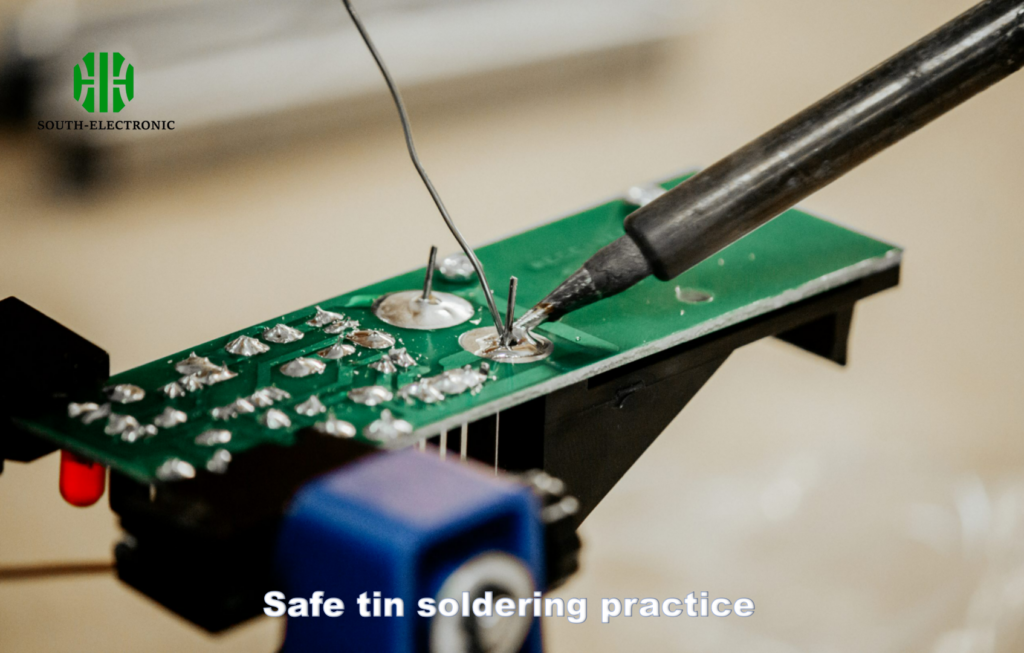
What Are the 5 Essential Steps for a Perfect Solder Joint?
A cold joint looks dull and cracks easily—a problem I faced while building my first amplifier. Follow these steps to avoid weak connections.
Clean surfaces, heat both parts, apply solder to the joint (not the iron), let it cool naturally, and inspect for shine. Use flux to improve flow and remove debris with isopropyl alcohol.

Step-by-Step Soldering Process
- Prep Work: Sand wires or PCB pads until shiny.
- Position: Hold parts steady with a third hand tool.
- Heat: Touch the iron to the joint for 2-3 seconds.
- Apply Solder: Feed solder wire until it melts evenly.
- Cool: Don’t blow on it—uneven cooling weakens bonds.
Troubleshooting tip: Reheat lumpy joints and add flux. For thick wires, increase the iron’s temperature by 20°C increments. Always use lead-free solder for plumbing repairs.
Which Soldering Iron Tip Should You Use for Different Projects?
Using a needle tip for thick wires is like cutting steak with a butter knife—frustrating and ineffective. Match your tip to the job.
Chisel tips handle wires and connectors. Needle tips suit small electronics. Use a bevel tip for surface-mount components and a hoof tip for stained glass or thick metals.

Tip Selection Guide
| Project Type | Recommended Tip | Reason |
|---|---|---|
| Circuit boards | Needle | Precision for tiny components |
| Automotive wiring | Chisel | Broad surface heats wires faster |
| Jewelry making | Hoof | Retains heat for thicker metals |
| Plastic repairs | Wedge | Distributes heat evenly |
Clean tips weekly with tip cleaner paste. Store them in silicone sleeves to prevent oxidation. Rotate worn-out tips—replace them when coating wears off.
Conclusion
Mastering your soldering iron requires the right tools, temperature control, and steady technique. Start small, prioritize safety, and experiment with tips to tackle any project confidently. Happy soldering!

