What is a Pedal PCB?
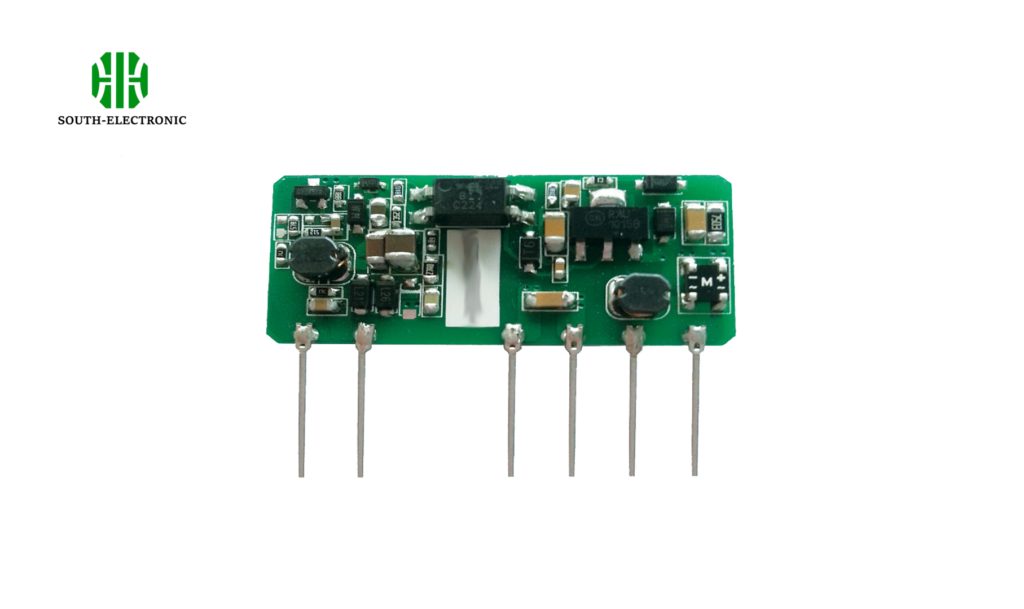
A Pedal PCB is a printed circuit board used in guitar effects pedals, serving as the foundation for the pedal’s electronic circuitry. Building a pedal PCB involves selecting the right PCB, sourcing components, soldering parts onto the board, and testing the assembled pedal.
Key Features of Pedal PCBs
When choosing a pedal PCB, several key features should be considered:
| Feature | PedalPCB | GuitarPCB | Madbean Pedals | PCB Guitar Mania |
|---|---|---|---|---|
| Component Layout | Optimized for DIY | Beginner-friendly | Advanced projects | Boutique designs |
| Material Quality | High | Moderate | High | High |
| Size and Shape | Various sizes | Compact designs | Customizable | Various sizes |
| Compatibility | Wide range | Specific effects | Wide range | Wide range |

Do Pedal PCB kits include everything I need to build a pedal?
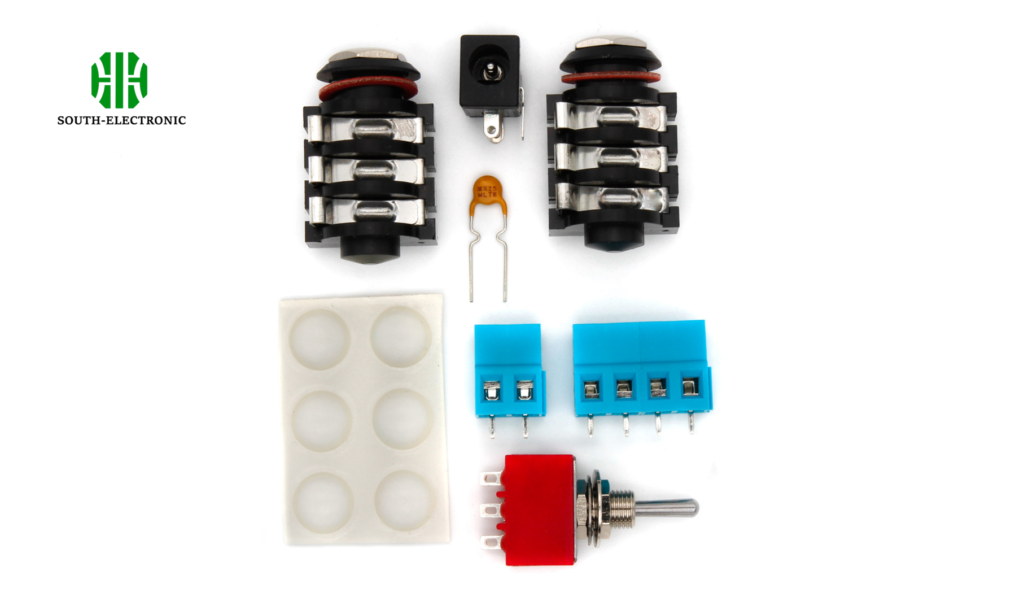
Pedal PCB kits generally focus on the electronic components needed to build a pedal. A typical kit would include:
- The PCB itself
- All necessary electronic components such as resistors, capacitors, and transistors that fit the specific circuit design.
However, there are a few things that you usually need to source separately:
- Enclosure: The metal or plastic case that houses the electronics.
- Knobs for potentiometers: These can be highly personal in terms of style and color.
- Power supply: Most pedals require a 9V DC power supply, which is seldom included.
- Tools: Soldering iron, wire cutters, and other basic electronics tools are not included but are necessary to assemble the pedal.
It’s advisable to read the product descriptions carefully to understand what is and isn’t included in any kit, and check if there are any additional items you might need to complete your build.

Tips for Building Pedal PCBs
Building a pedal PCB can be a rewarding project. Here’s a step-by-step guide:
- Select the PCB: Choose a PCB that matches the desired effect.
- Gather Components: Source all necessary components, including resistors, capacitors, transistors, and ICs.
- Prepare Tools: Ensure you have soldering tools, wire cutters, and a multimeter.
- Solder Components: Carefully solder each component onto the PCB, following the layout diagram.
- Test the Circuit: Use a multimeter to check connections and ensure everything is functioning correctly.
- Assemble the Pedal: Place the PCB in the enclosure, connect the input/output jacks, and test the pedal with a guitar.


