Is It Possible to Repair Damaged PCB Tracks by Hand?
Repairing a damaged PCB track by hand is entirely possible and can save both time and money. The most common method is to solder a copper wire over the broken trace. Alternatively, you can use conductive ink or copper tape. By following the steps outlined in this article and taking the necessary precautions, you can effectively restore damaged PCBs and extend their lifespan.
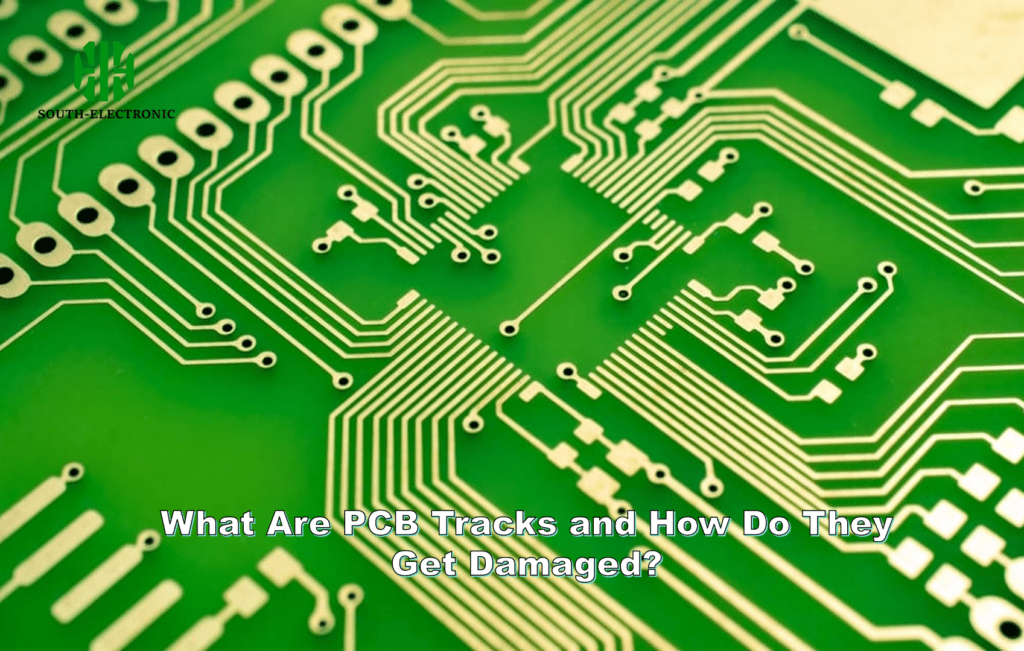
What Are PCB Tracks and How Do They Get Damaged?

PCB tracks are the pathways through which electrical signals travel, connecting components on the board. Damage to these tracks can occur due to:
- Excessive heat
- Corrosion
- Mechanical stress
- Accidental scratches or improper handling during assembly or repair
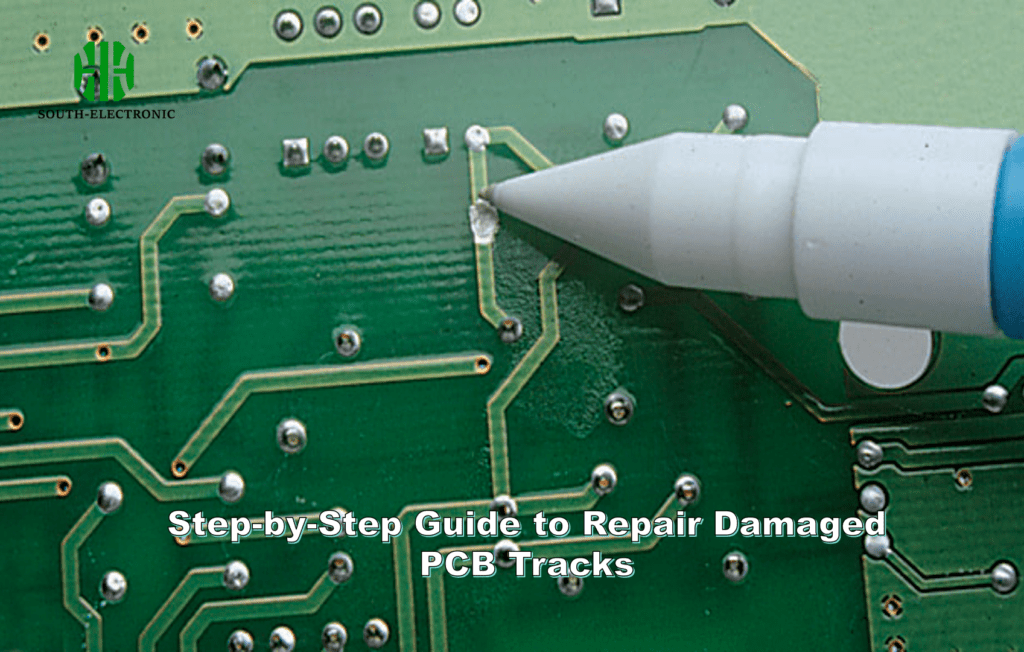
Step-by-Step Guide to Repair Damaged PCB Tracks
Here’s a simple step-by-step guide on how to repair PCB tracks manually:
Tools You Will Need
- Soldering iron
- Copper wire or conductive ink pen
- Solder
- Multimeter
- Flux
- Tweezers
- Blade or scalpel
- PCB cleaning solution (optional)

Step 1: Diagnose the Damage
Before starting, inspect the PCB to locate the broken or damaged trace. Use a multimeter in continuity mode to test if there is a connection between both ends of the track.
Step 2: Scrape and Clean the Broken Track
Use a blade or scalpel to scrape away the protective coating on the copper track. Expose about 3-5 mm of clean copper on both sides of the break.
Step 3: Prepare the Copper Wire
Take a thin copper wire (ideally 32-34 gauge) and cut a piece slightly longer than the broken trace. Tin the wire by applying a small amount of solder to it, ensuring better conductivity.
Step 4: Solder the Copper Wire to the PCB
- Apply a small amount of flux to the exposed copper on the PCB.
- Place the tinned copper wire over the break and solder it to both ends of the exposed copper trace.
- Ensure the solder joints are clean and smooth to avoid short circuits.
Step 5: Test the Repair
After the repair, use a multimeter to check if there is continuity across the repaired track. If the track is properly connected, the multimeter will beep or show a low resistance value.
Alternative Methods for Repairing PCB Tracks

Sometimes, you may not have access to copper wire or a soldering iron. Here are a few alternative methods:
1. Conductive Ink Pen:A conductive ink pen can be used to draw a new track over the broken one. This method is suitable for small or intricate tracks that are difficult to solder.
2. Copper Tape:Copper tape is another quick fix for broken PCB tracks. Cut a piece of tape, lay it over the broken area, and solder the ends to the existing copper track.
Comparison of PCB Track Repair Methods
| Method | Tools Required | Advantages | Disadvantages |
|---|---|---|---|
| Copper Wire & Solder | Soldering iron, wire, flux | Strong, long-lasting | Requires soldering skills |
| Conductive Ink | Conductive pen | Quick, no soldering needed | Less durable |
| Copper Tape | Copper tape, soldering iron | Easy to use, good conductivity | Limited strength, may peel off |
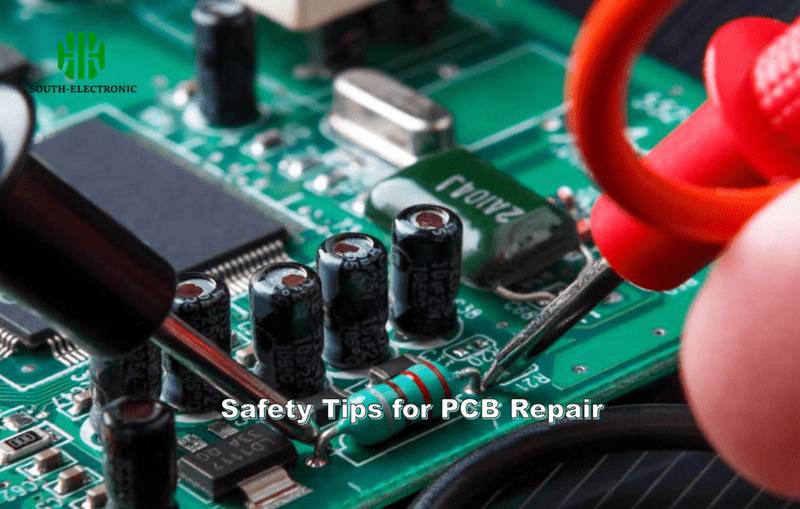
Safety Tips for PCB Repair

When working with PCBs, it’s important to follow these safety tips:
- Avoid Static Discharge: Always ground yourself before touching a PCB to prevent static electricity damage.
- Work in a Ventilated Area: Soldering produces fumes that can be harmful, so work in a well-ventilated space.
- Wear Safety Gear: Protective gloves and goggles are recommended to avoid burns or eye injuries.
How to Prevent PCB Track Damage in the Future
Handle with Care: Avoid applying too much pressure on the board during repairs or assembly.
Use Heat Protection: When soldering, apply heat only for a few seconds at a time to prevent overheating.
Regular Maintenance: Periodically inspect boards for corrosion or wear, especially in harsh environments.


