
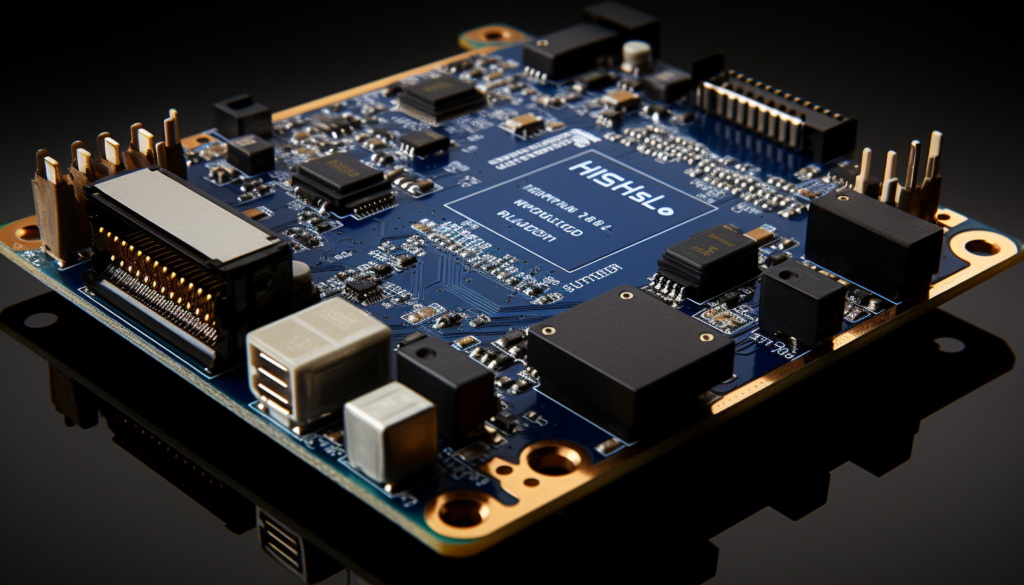
مقدمة
في عالم مركبات ثنائي الفينيل متعدد الكلور، تظهر دائرة كهربائية قصيرة، غالبًا ما يشار إليها باسم قصر كهربائي، عندما يكون هناك اتصال غير مقصود بين عقدتين لا ينبغي أن تكونا متصلتين كهربائيًا بشكل مثالي. يسهل هذا الارتباط الشاذ تدفق التيار الكهربائي دون عوائق على طول مسار غير مخطط له، وغالبًا ما يتم التحايل على الدوائر المقصودة. مثل هذه الأحداث لا تضر فقط بوظيفة ثنائي الفينيل متعدد الكلور ولكنها يمكن أن تعجل بحدوث أعطال كارثية في الجهاز الإلكتروني الذي يسكنه.
الأسباب الشائعة لدوائر PCB القصيرة
- عيوب التصميم: في بعض الأحيان، يكون الجاني موجودًا على لوحة الرسم. إذا لم يتم التفكير بشكل جيد في تخطيط ثنائي الفينيل متعدد الكلور، فقد ينتهي بك الأمر بمسارات قريبة جدًا من بعضها البعض، مما يؤدي إلى ظهور مقاطع قصيرة.
- أخطاء التصنيع: حتى أفضل التصاميم يمكن أن تقع ضحية لحوادث التصنيع. إذا لم يتم حفر لوحة PCB بشكل صحيح أو حدث انزلاق أثناء التجميع، فقد يتسبب ذلك في حدوث اتصالات غير مقصودة.
- مشكلات المكونات: يمكن أن تؤدي المكونات المعيبة أو الموضوعة بشكل غير صحيح إلى إنشاء شورتات. تخيل أن مكثفًا تم توصيله بالخلف أو مقاومًا قرر إيقافه – يمكن أن يسبب ذلك صداعًا كبيرًا.
- الأضرار المادية: قد يؤدي سقوط الأداة، أو استخدام قدر كبير جدًا من القوة، أو حتى العوامل البيئية مثل الرطوبة إلى إتلاف لوحة PCB فعليًا والتسبب في حدوث قصور.
دليل لتحديد وإصلاح دائرة قصر ثنائي الفينيل متعدد الكلور
- التقييم الأولي: ابدأ بفحص بصري دقيق لثنائي الفينيل متعدد الكلور. أنت تبحث عن علامات واضحة للتلف، مثل تغير اللون أو المكونات المحترقة أو اتصالات اللحام الخاطئة. يمكن لهذا الفحص الأولي أن يسلط الضوء في كثير من الأحيان على موضع القصير.
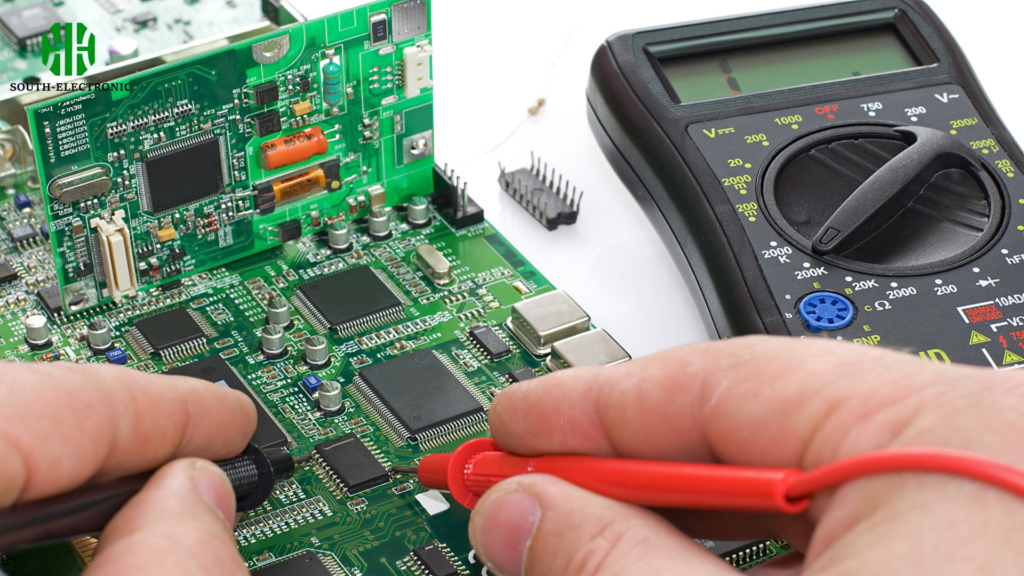
- استخدم مقياسًا متعددًا: استخدم هذه الأداة التي لا غنى عنها في وضع اختبار الاستمرارية. التحقيق بشكل منهجي في نقاط مختلفة على ثنائي الفينيل متعدد الكلور. يمكن أن تكون إشارة الاستمرارية غير المتوقعة كاشفة لموقع البيع.
- عزل المكونات: قم بفصل المكونات بشكل منهجي بالقرب من الدائرة القصيرة المشتبه بها. يساعد هذا النهج التدريجي في تحديد المكون أو المسار الدقيق الذي يسبب المشكلة.
- الإصلاح أو الاستبدال: بمجرد تحديده، قد يتضمن المسار إلى التصحيح إعادة لحام الوصلات السائبة، أو استبدال المكونات المعيبة، أو إعادة توجيه المسارات التالفة. الدقة واليد الثابتة هما حلفاؤك هنا.
- اختبار ما بعد الإصلاح: بعد التصحيح، تعد مرحلة الاختبار الشامل أمرًا بالغ الأهمية. أعد فحص لوحة PCB باستخدام المقياس المتعدد، وقم، إن أمكن، بتشغيلها في بيئة خاضعة للرقابة لضمان استعادة الوظائف.
متى يجب البحث عن خدمات إصلاح احترافية?
- التعقيد يطغى: إذا كان PCB مكتظًا بكثافة أو يحتوي على لوحات متعددة الطبقات، فقد تكون الخبرة المهنية مطلوبة.
- المعدات عالية القيمة: بالنسبة للأجهزة الباهظة الثمن أو المهمة، قد تكون المخاطرة بإصلاحها بواسطة هواة أكثر خطورة من نفعها.
- الإخفاقات المتكررة: إذا فشلت محاولات الإصلاح بشكل متكرر، فمن الحكمة أن تلجأ إلى الفطنة المهنية.
احتياطات السلامة أثناء التعامل مع مركبات ثنائي الفينيل متعدد الكلور التالفة
- افصل الطاقة: تأكد من فصل PCB تمامًا عن أي مصدر طاقة. هذا غير قابل للتفاوض من أجل السلامة.
- ارتداء معدات الحماية: ارتداء القفازات ونظارات السلامة. يمكن أن يتضمن إصلاح ثنائي الفينيل متعدد الكلور التعرض للأشياء الحادة والأبخرة الضارة المحتملة.
- التهوية الكافية: إذا كنت تقوم باللحام أو التعامل مع المكونات المحترقة، فاعمل في منطقة جيدة التهوية لتجنب استنشاق الأبخرة الضارة.
- الاحتياطات الثابتة: استخدم الأساور أو الحصائر المضادة للكهرباء الساكنة. مركبات ثنائي الفينيل متعدد الكلور معرضة للأضرار الساكنة، الأمر الذي يمكن أن يؤدي إلى تفاقم المشاكل القائمة.
خاتمة
إن التغلب على تعقيدات الدوائر القصيرة لثنائي الفينيل متعدد الكلور يتجاوز مجرد التصحيح؛ إنه عنصر أساسي يتردد صداه في الأداء الوظيفي الدائم والاعتمادية لعدد كبير من الأجهزة الإلكترونية التي تعد جزءًا لا يتجزأ من أسلوب حياتنا المعاصر. إن التعامل مع هذه التعقيدات ليس مجرد عملية ميكانيكية؛ إنه يجسد مسعى محوريًا يحافظ على طول العمر التشغيلي والاتساق لمختلف الأجهزة الإلكترونية المدمجة في حياتنا اليومية.
إن الالتزام الصارم بالممارسات المثالية في تصميم وتصنيع ثنائي الفينيل متعدد الكلور ليس أمرًا مستحسنًا فحسب؛ إنها ضرورة قاطعة. البقاء على اطلاع بالتطورات التكنولوجية المتطورة، وفهم التفاصيل الدقيقة لمنهجيات اللحام الناشئة، والتعمق في تكوينات التصميم الطليعية – كل هذه الجوانب تتضافر لإثراء خبرة الفرد الشاملة في هذا المجال المتخصص.

