How to Solder Wires to a Circuit Board?
To solder wires to a circuit board, start by preparing your tools and workspace. Tin the wires and the soldering iron tip, position the wire on the circuit board pad, and apply heat with the soldering iron. Feed solder into the joint, remove the heat, and let the joint cool naturally for a strong connection.
What You Need to Get Started
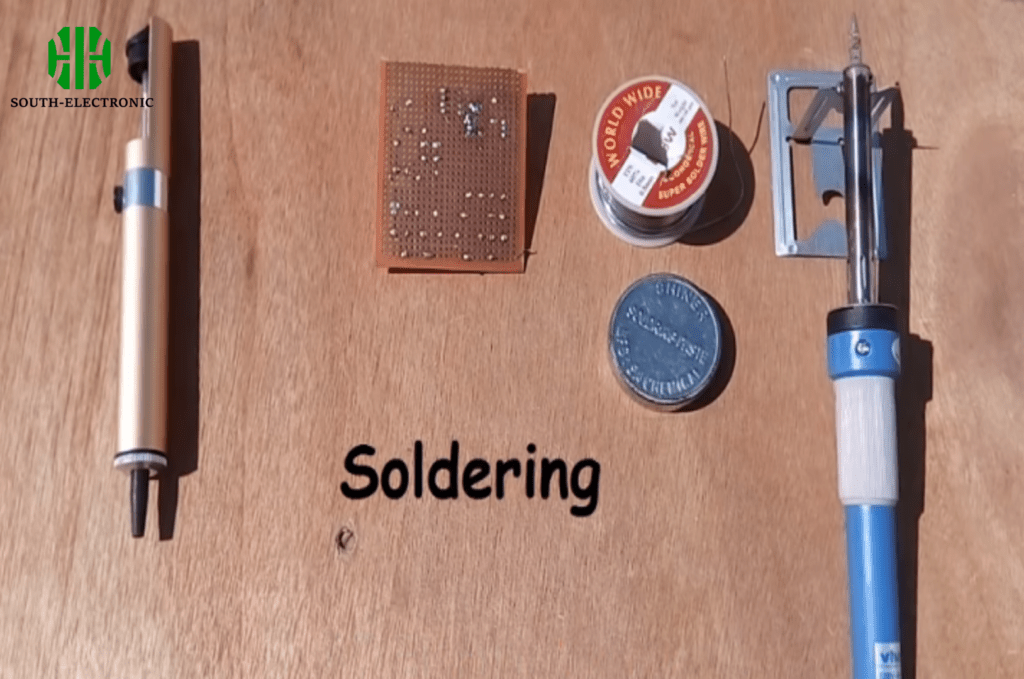
Before you begin, it’s essential to gather all the necessary tools and materials. Having everything prepared will save you time and ensure a smooth soldering process. Here’s what you’ll need:
- Soldering iron: Preferably with adjustable temperature control to manage different soldering tasks effectively.
- Solder: Choose the right type for your application. Rosin-core solder is commonly used for electronics due to its flux core, which aids in the soldering process.
- Wire strippers: Essential for removing the insulation from the wires without damaging the conductive material.
- Helping hands: These are adjustable clamps that hold your work in place, freeing up your hands for more precise soldering.
- Soldering iron stand: A safe place to rest your hot soldering iron when not in use.
- Sponge or brass wire cleaner: Used to clean the soldering iron tip to ensure good thermal transfer.
- Flux: Helps to clean the surfaces and improve the flow of solder, resulting in better joints.
- Safety glasses: Protect your eyes from splashes of hot solder and fumes.
- Ventilation: Use a fan or fume extractor to remove harmful fumes from your workspace.
Safety Precautions When Soldering
Soldering can be hazardous if proper safety measures are not taken. Here are some important safety tips to keep in mind:
- Wear safety glasses: Protect your eyes from hot solder splashes and fumes that could cause serious injury.
- Work in a well-ventilated area: Soldering produces fumes that can be harmful if inhaled. Use a fan or fume extractor to ensure good ventilation.
- Avoid touching the hot soldering iron: The tip of the soldering iron can reach extremely high temperatures, causing severe burns if touched.
- Keep flammable materials away: Ensure your workspace is free from flammable substances that could ignite if they come into contact with the hot soldering iron.
- Wash your hands after soldering: Lead-based solder can be toxic, so it’s important to wash your hands thoroughly after handling it to avoid ingestion.
Step-by-Step Guide to Soldering Wires to a Circuit Board
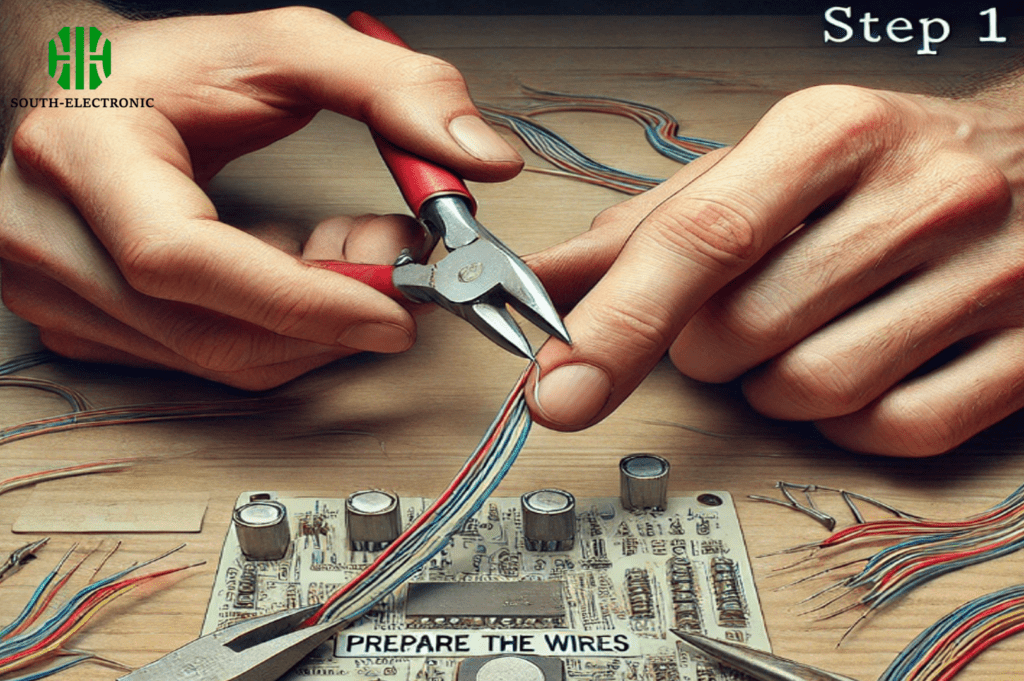
Step 1: Prepare the Wires
- Strip the insulation: Use wire strippers to remove about 1/4 inch of insulation from the ends of the wires.
- Tin the wire ends: Apply a small amount of solder to the exposed wire ends to coat them with a thin layer of solder.
Step 2: Prepare the Soldering Iron
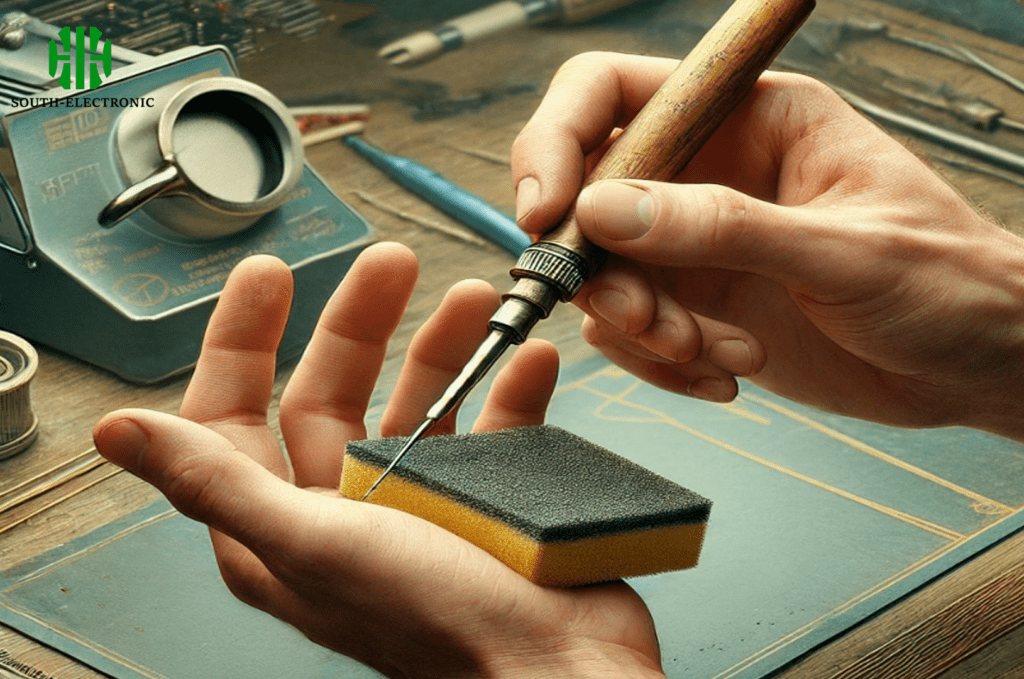
- Clean the tip: Use a sponge or brass wire cleaner to clean the soldering iron tip.
- Tin the tip: Apply a small amount of solder to the tip to ensure good heat transfer.
Step 3: Position the Wire
- Place the wire on the pad: Position the tinned wire on the circuit board pad.
- Use helping hands: Use helping hands or clamps to hold the wire in place.
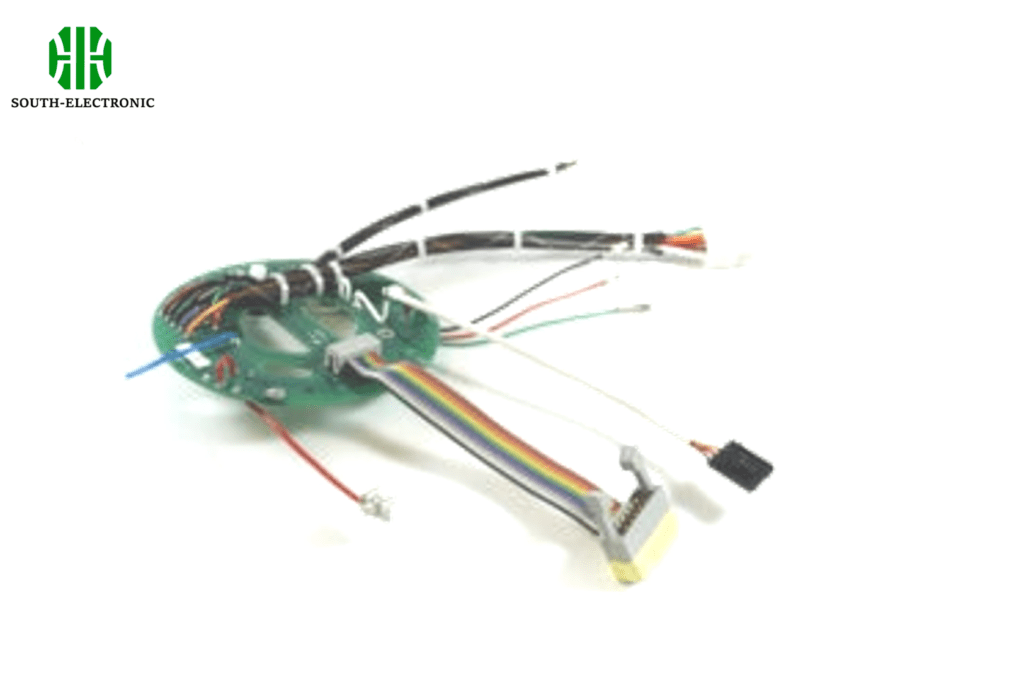
Step 4: Apply Heat and Solder
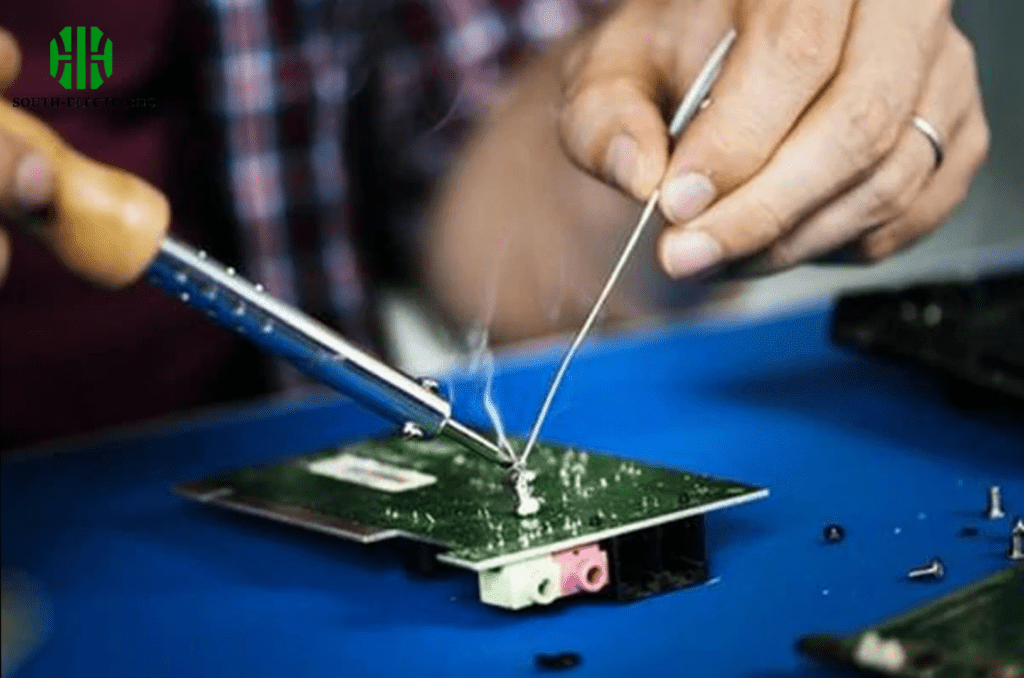
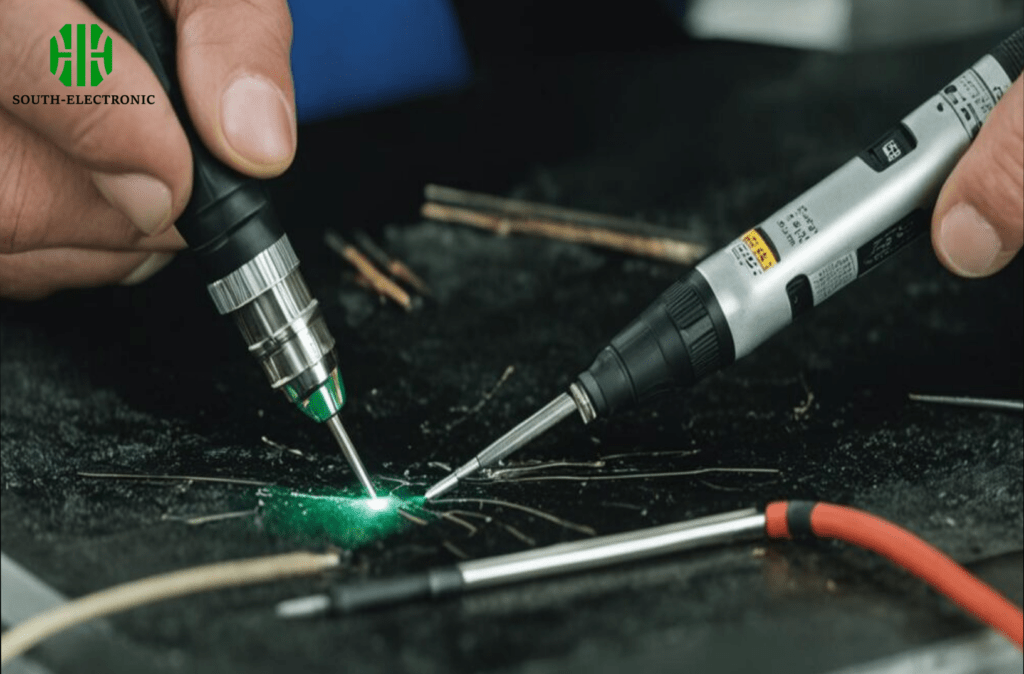
- Heat the joint: Place the soldering iron tip on the joint, heating both the wire and the pad.
- Apply solder: Feed solder into the joint, allowing it to flow and form a good connection.
- Remove the iron: Remove the soldering iron and let the joint cool naturally.
Step 5: Inspect the Joint
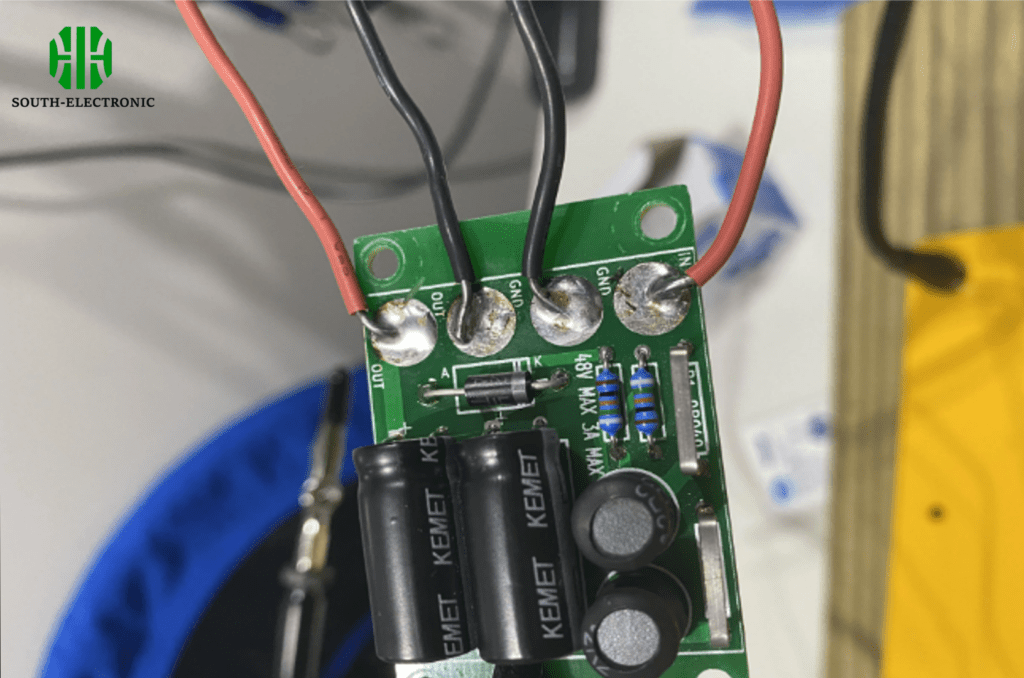
- Check for a shiny, smooth joint: A good solder joint should be shiny and smooth.
- Rework if necessary: If the joint is dull or cracked, reheat and add more solder as needed.
Common Mistakes and How to Avoid Them
Here are some common mistakes and how to avoid them:
| Mistake | Description | Solution |
|---|---|---|
| Cold Joints | Joint appears dull and weak | Ensure both surfaces are heated properly |
| Solder Bridges | Excess solder connects adjacent joints | Use less solder and remove excess with a desoldering wick |
| Excessive Solder | Too much solder applied | Apply solder sparingly and only as much as needed |
| Insufficient Heat | Joint does not form properly | Use the correct temperature and allow enough heating time |
For professional-quality solder joints, consider these tips:
- Use flux: Flux helps the solder flow and improves joint quality.
- Maintain the right temperature: Use an adjustable soldering iron to control the heat.
- Practice steady hand control: Keep your hands steady to avoid mistakes.
- Clean the tip frequently: A clean tip ensures better heat transfer and joint quality.
Tips for Achieving the Best Results
For professional-quality solder joints, consider these tips:
- Use flux: Flux helps the solder flow and improves joint quality.
- Maintain the right temperature: Use an adjustable soldering iron to control the heat.
- Practice steady hand control: Keep your hands steady to avoid mistakes.
- Clean the tip frequently: A clean tip ensures better heat transfer and joint quality.


