PCBs are the heart and soul of every electronic gizmo, from simple gadgets to complex machinery. One thing that often confuses newbies and even pros is all the markings you find on PCBs. These markings are crucial for identifying, assembling, and troubleshooting electronic components.
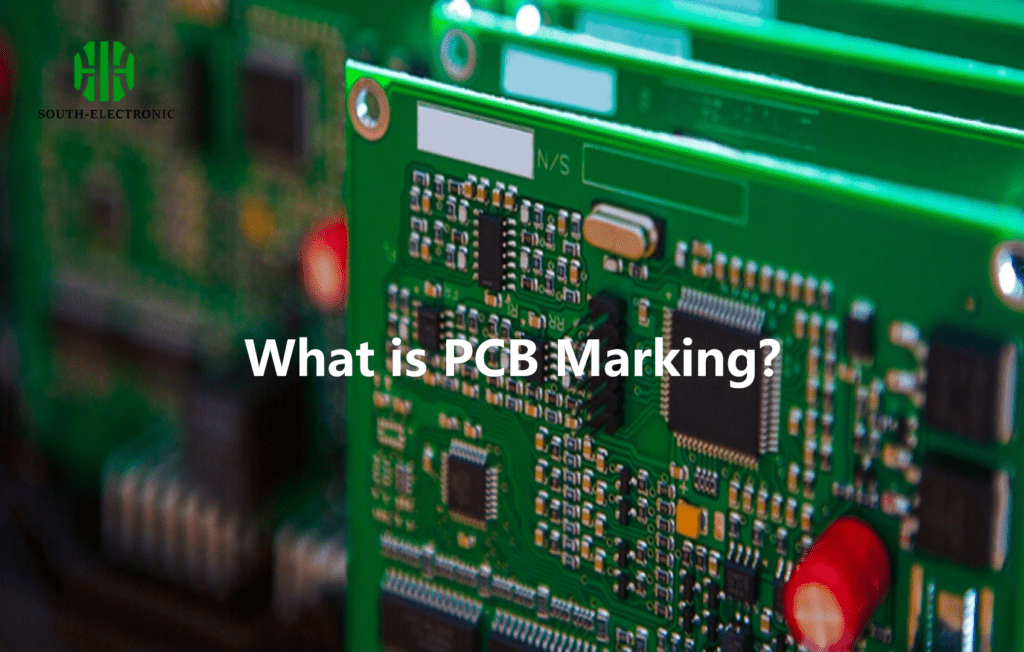
What is PCB Marking?
PCB markings are the symbols, numbers, and alphanumeric codes printed on circuit boards to tell you what kind of component it is, which way it goes, which way it’s supposed to go, and whether it’s certified. They make sure you put the components in the right place and help you find the right parts when you’re trying to fix something. Common markings are letters and numbers for resistors, capacitors, and ICs.
Importance of PCB Markings
Understanding PCB markings is crucial for the following reasons:
- Correct Component Placement: Markings indicate where each component should be placed and in what orientation.
- Polarity Indication: Markings like “+” and “-” ensure that polarized components like capacitors and diodes are placed correctly.
- Compliance: Markings show if the board meets standards such as RoHS (Restriction of Hazardous Substances) and UL (Underwriters Laboratories).
Common PCB Symbols and Their Meanings
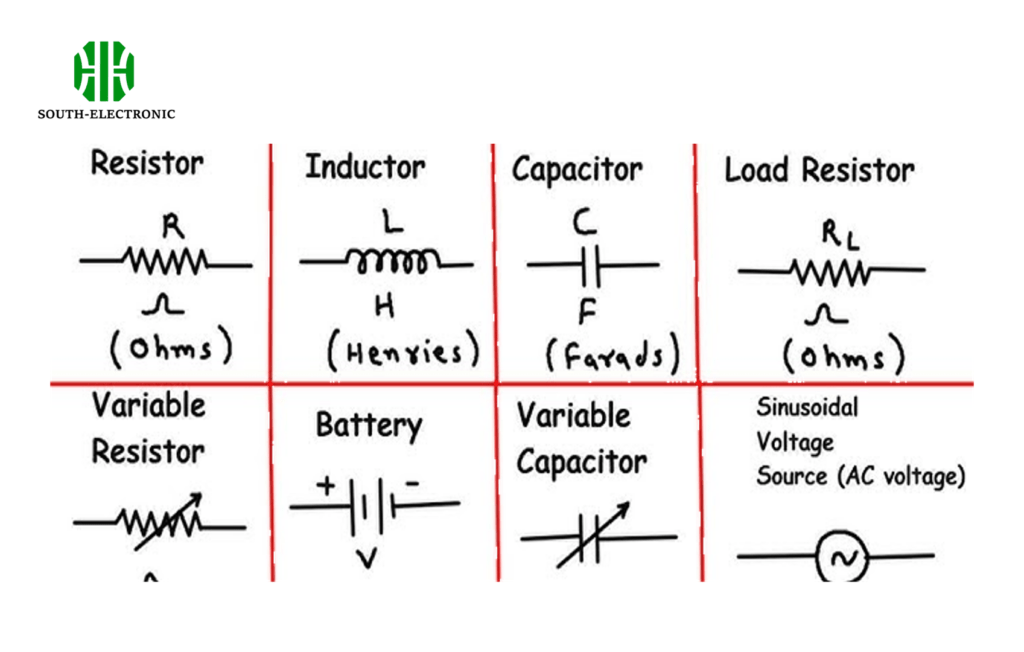
Resistor, Capacitor, and Inductor Markings
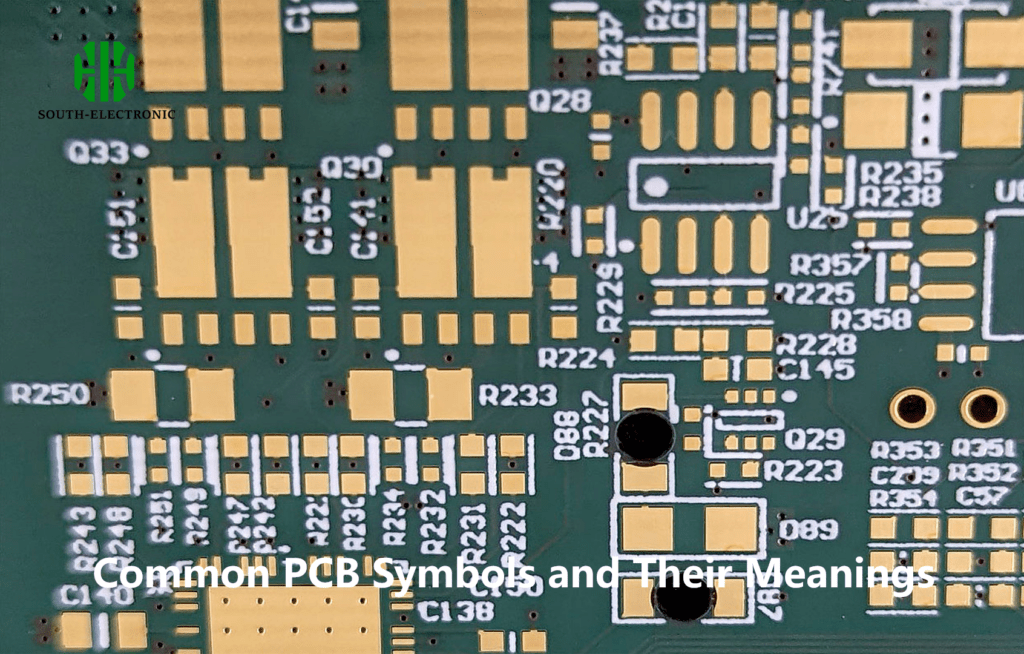
Each component on a PCB is assigned a unique reference designator, usually a letter followed by a number. Here’s what these designators mean:
| Component | Symbol/Letter Code | Explanation |
|---|---|---|
| Resistor | R | Controls current by providing resistance. |
| Capacitor | C | Stores electrical charge. |
| Inductor | L | Stores energy in a magnetic field. |
| Diode | D | Allows current to flow in one direction. |
| Transistor | Q | Amplifies or switches electronic signals. |
| Integrated Circuit (IC) | U | A miniaturized set of electronic circuits. |
How to Read PCB Markings?
To read PCB markings, you need to understand the codes and symbols printed next to each component. Most PCBs use standard marking schemes that follow international guidelines.
Reference Designators
Each part on a PCB has a reference designator, which is a combination of letters and numbers. The letter tells you what type of part it is (e.g., “R” for resistor), while the number tells you where it is on the board (e.g., “R1” for the first resistor, “C1” for the first capacitor, and so on).
Common Reference Designators and Their Meanings
| Reference Designator | Component | Description |
|---|---|---|
| R | Resistor | Limits current flow in the circuit. |
| C | Capacitor | Stores and releases electrical energy. |
| L | Inductor | A coil of wire used to store energy in a magnetic field. |
| D | Diode | Allows current to flow in only one direction. |
| Q | Transistor | Amplifies or switches electrical signals. |
| U | Integrated Circuit (IC) | Contains a set of interconnected circuits. |
For example, “C1” refers to the first capacitor on the PCB, and “R1” refers to the first resistor.
Polarity Markings
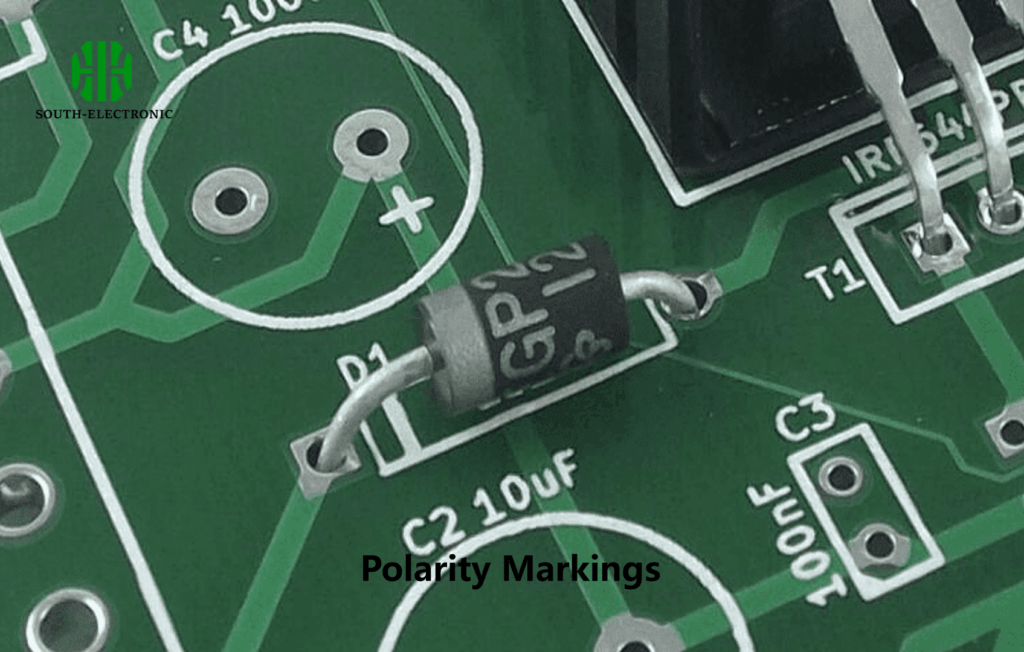
Polarity is crucial for components like capacitors and diodes, which must be installed in the correct orientation to function properly. On the PCB, you’ll often see a “+” and “-” marking that shows where the positive and negative terminals should be connected.
Example:
- Capacitors: Electrolytic capacitors typically have a “+” or “-” marking to indicate polarity.
- Diodes: Diodes have a line marking on one end, indicating the cathode (-).
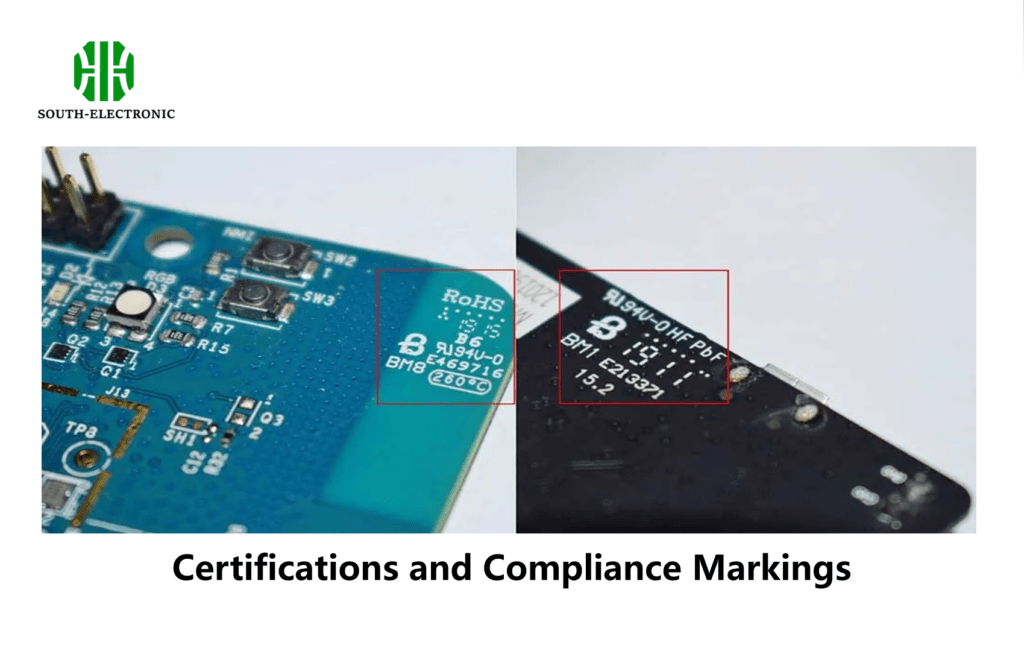
Certifications and Compliance Markings
Many PCBs have markings related to safety and environmental compliance. These markings ensure that the board meets industry standards and certifications.
Common Certifications:
- RoHS Compliance: Indicates that the board is free from hazardous substances like lead.
- Marking: “RoHS” symbol, usually found on eco-friendly boards.
- UL Certification: Ensures that the PCB has been tested for safety under UL standards.
- Marking: A “UL” logo with a unique identification number.
How to Interpret PCB Numbers?
PCB numbers help you differentiate between boards and versions. Typically, there are two key numbers:
- Part Number: Identifies the specific PCB design.
- Serial Number: A unique code that identifies the individual board, useful for tracking in mass production.
PCB numbers can be found printed on the top or bottom layer of the board, usually in the corner.
Example:
- Part Number: Represents the design and configuration of the board.
- Serial Number: Tracks the manufacturing batch or the individual board.
These marks tell you where to put the parts, which way they go, and that you’re following the rules. If you know what the numbers, letters, and symbols mean, you can work faster, fix problems better, and make sure your boards work right.


