
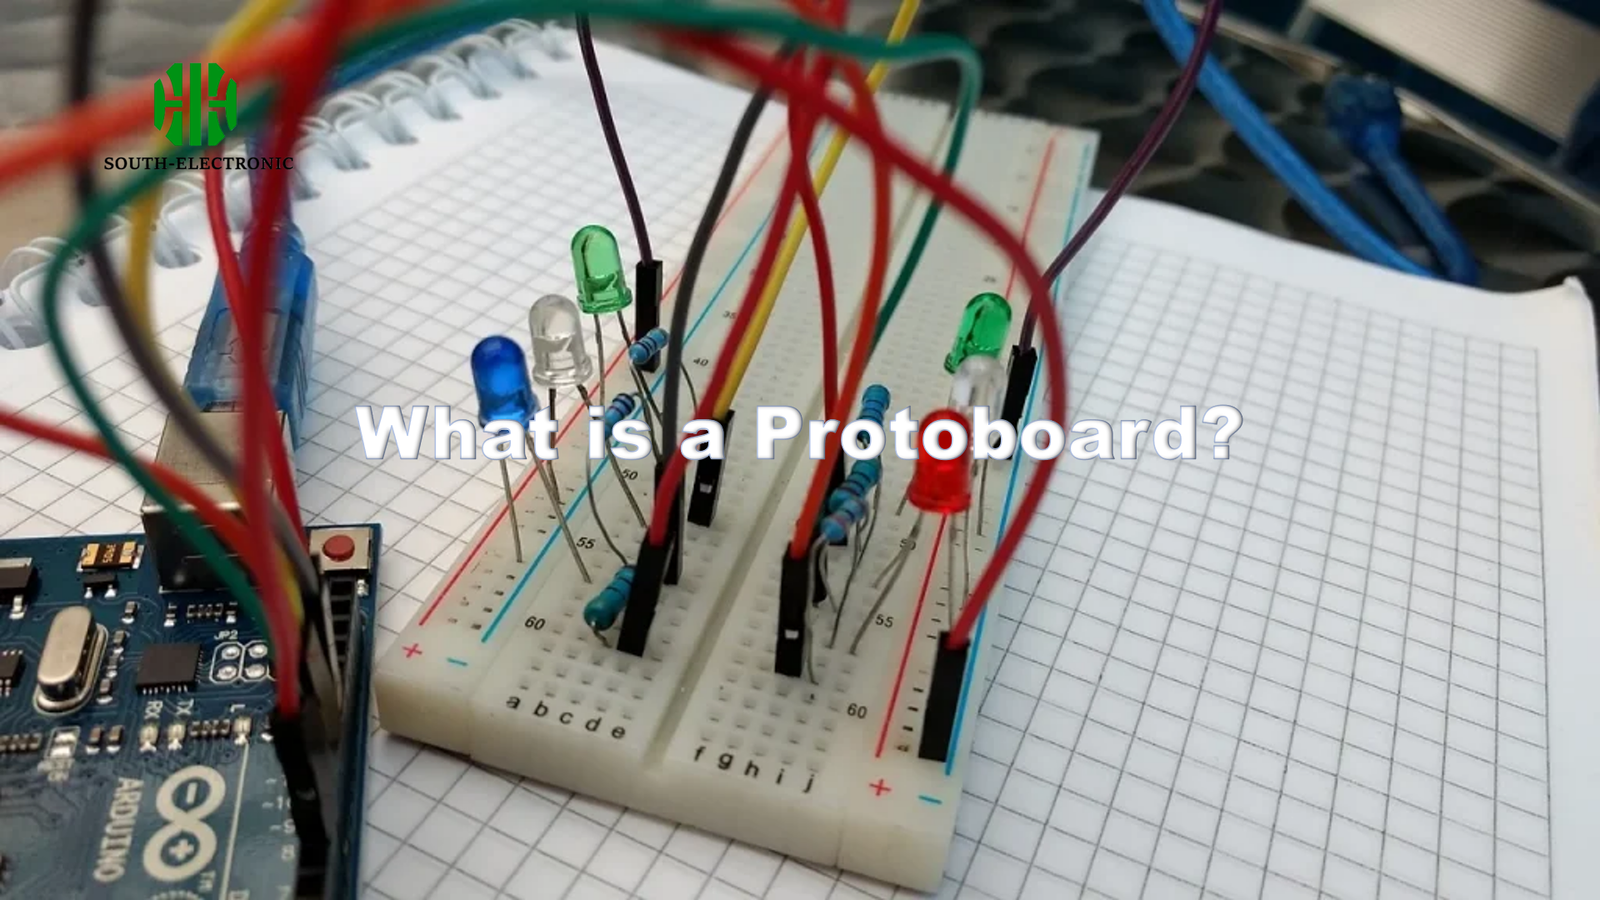
Building circuits feels scary? Messy wires cause headaches? You need the right tools. I use breadboards and protoboards daily. They help me tame the chaos.
Breadboards let you connect components without solder for quick testing. Protoboards need soldering but create permanent circuits. Both are essential for different stages of electronics projects.
Understanding these differences changes everything. Let’s explore key questions that trip up beginners.
Do you need to solder for protoboard vs. breadboard?
Frustrated by loose wires failing mid-test? I’ve been there too. Soldering anxiety causes many to avoid circuits. The truth might surprise you.
Breadboards require no soldering at all. Protoboards need solder for every connection. This difference shapes your entire workflow.

Why Soldering Matters
Breadboard construction
- Internal metal clips hold components
- Springs create temporary contacts
- Zero solder needed ever
- Ideal for quick changes
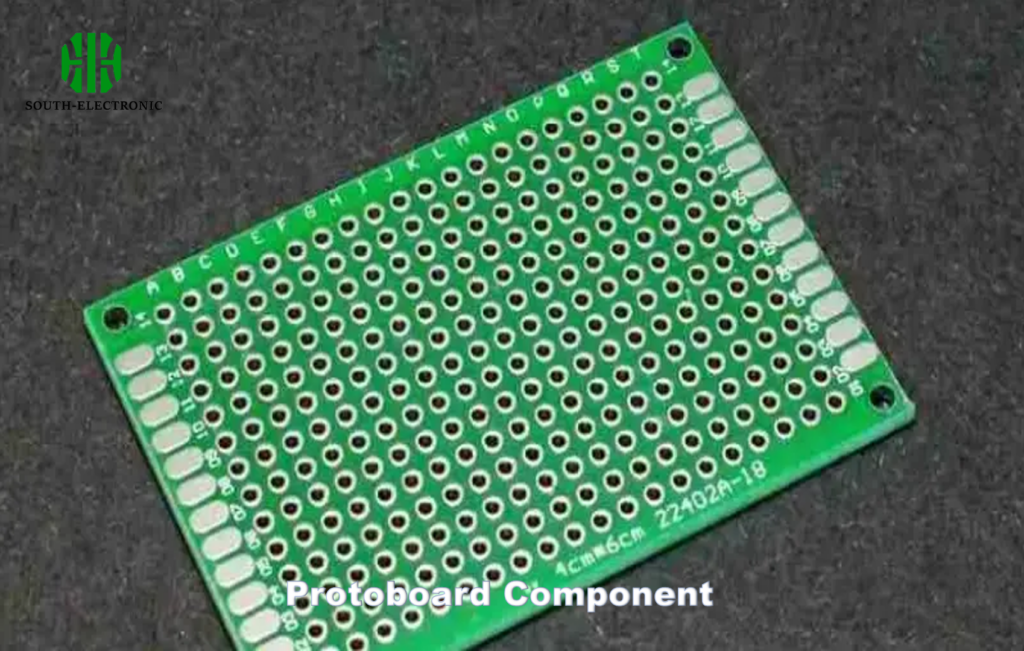
Protoboard requirements
- Holes lack connection mechanisms
- Copper pads need manual bonding
- Soldering creates chemical weld
- Permanent circuit only solution
I once ruined a prototype skipping solder. The lesson stuck harder than my failed joints.
| Feature | Breadboard | Protoboard |
|---|---|---|
| Soldering Needed | None | Always Required |
| Connection Type | Temporary clip | Permanent bond |
| Component Swaps | Instant | Irreversible |
| Best Use Case | Quick experiments | Final versions |
Breadboards simplify testing new ideas. Protoboards lock in working designs. My successful gadgets always go through both stages.
Should you use a protoboard or breadboard for your next project?
Wasting weeks on wrong platforms? I’ve burned both time and parts. Choosing poorly derails progress. Your project stage decides this question perfectly.
Breadboards suit experimental phases best. Protoboards excel for final builds. Match the tool to your current development goal.
Project Phase Matching
When Breadboards Win
- Testing new concepts fast
- Trying multiple configurations
- Troubleshooting faulty designs
- Learning electronics basics
When Protoboards Shine
- Creating finished products
- Needing physical durability
- Ensuring reliable connections
- Building portable devices
My LED cube failed three times on breadboard. It finally worked permanently on protoboard.
| Project Stage | Ideal Platform |
|---|---|
| Initial concept | Breadboard |
| Component tests | Breadboard |
| Design validation | Breadboard |
| Final assembly | Protoboard |
| Field deployment | Protoboard |
Always start movable and end fixed. This sequence saved my drone controller.
When and how to move from breadboards to protoboards?
Circuit success vanishes during transfer? Many abandon projects here. Transitioning too early causes frustration. Too late risks failure. Timing matters immensely.
Shift when designs pass repeated tests. Move methodically using clear steps. My first successful transfer took three attempts.
Successful Migration Steps
When to Transition
- After 5+ successful test runs
- While avoiding frequent changes
- When compactness becomes critical
- Before enclosure installation
Transfer Techniques
- Photograph breadboard layout
- Map component placements first
- Add wires shortest paths possible
- Solder one section completely
- Verify connectivity immediately
My coffee timer worked on breadboard for weeks. Moving to protoboard prevented loose wires.
| Step | Key Action | Common Mistake |
|---|---|---|
| 1 | Record prototype connections | Skipping documentation |
| 2 | Prepare identical components | Using different parts |
| 3 | Place core ICs centrally | Crowding board edges |
| 4 | Add supporting components | Mixing power/signal paths |
| 5 | Solder systematically | Rushing multiple joints |
Patience prevents problems. Double-check each step like I do.
Conclusion
Breadboards enable quick, flexible experimentation. Protoboards provide permanent, reliable solutions. Master both stages to create electronics successfully.

