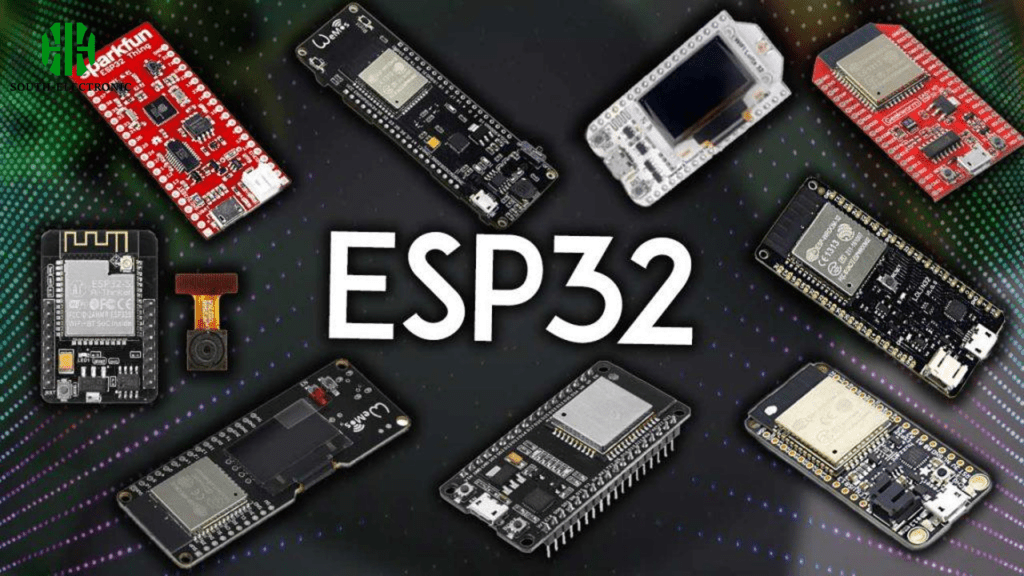
Ever struggled with expensive IoT gadgets? Frustrated by connectivity limits? Meet ESP32: your tiny tech superhero. It solves big project headaches on a small budget.
ESP32 is a cheap but powerful chip with built-in Wi-Fi and Bluetooth. It’s popular because it packs huge features like energy efficiency and many programming pins at half the price of rivals.
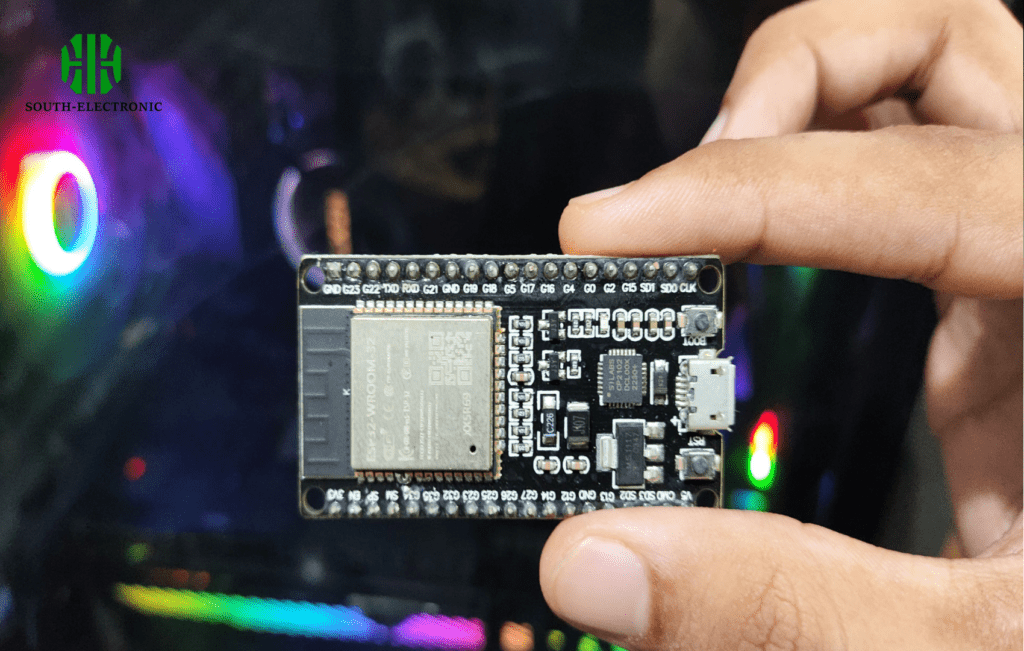
I see so many questions arise when starting with ESP32. The choices can feel overwhelming. But don’t worry. We’ll break it all down step by step.
Which ESP32 development board should I buy?
Overwhelmed by ESP32 board options? Feeling decision fatigue? I’ve tested them all. Find your perfect match below.
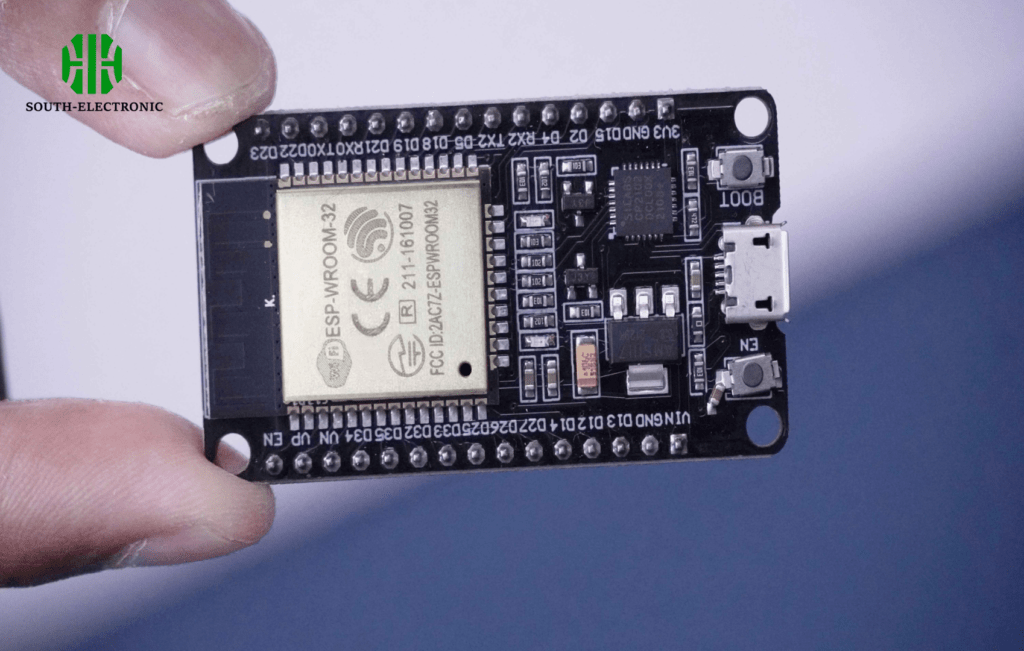
Look at project needs first. Key factors are built-in displays, battery charging ports, and antenna types. I recommend boards matching your skill level.
Match your project needs
Choosing becomes simple when you ask three things:
| Feature | Beginner Pick | Advanced Pick | Why I Recommend |
|---|---|---|---|
| Price | Under $10 | $15-$25 | Start cheap, upgrade later |
| Special Parts | Basic GPIO pins | OLED/LoRa support | Add-ons simplify projects |
| Ease of Use | Pre-soldered headers | Breadboard friendly | Avoid soldering frustrations |
New users must avoid "bare module" versions. These need extra parts. I always buy DevKit-C boards first. They work out the box. My first robot used this – saved weeks of setup. Consider wireless range too. Boards with external antennas perform better outdoors. Projects crash without stable signals. Always look for USB-C ports too. Micro-USB cables break easily. These tiny choices save big trouble later.
How to set up an ESP32 development environment in 15 minutes?
Tired of complicated software installs? Wasting hours troubleshooting? I felt that too. You’ll be coding in minutes with this guide.
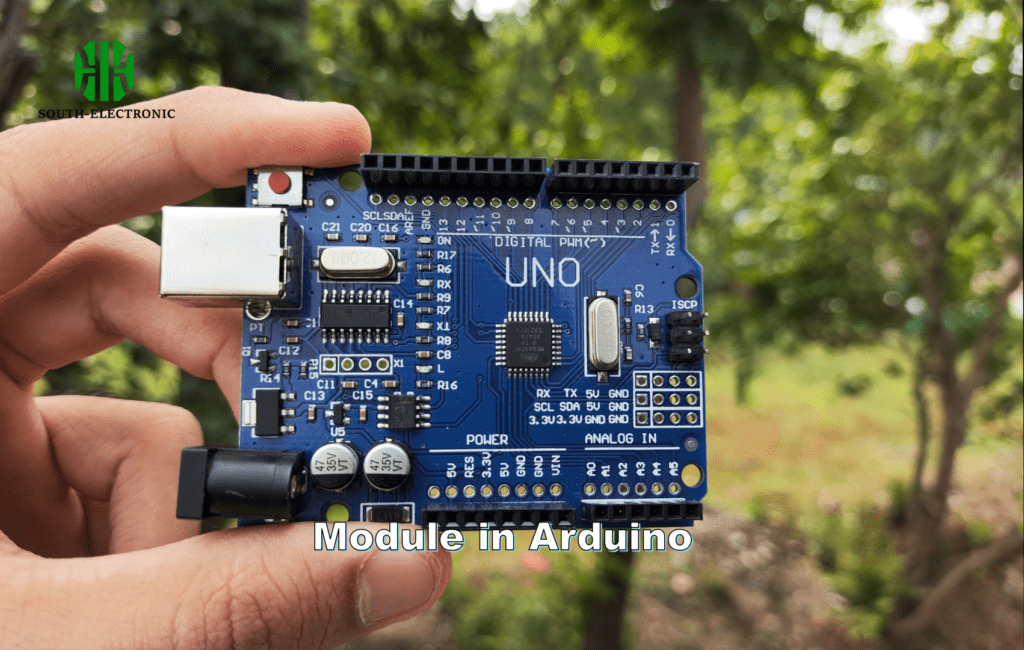
Just use Arduino IDE. Download it, add the ESP32 board URL, select your model. Your system is ready.
Follow foolproof steps
Quick setup depends on these four actions:
| Step | Task | Why It Matters |
|---|---|---|
| 1 | Install USB drivers | Stops connection failures |
| 2 | Paste board URL | Gives access to ESP32 tools |
| 3 | Select "DOIT DevKit V1" | Sets right configurations |
| 4 | Run blink test | Confirms everything works |
Always install CP210x drivers first. Missing this caused my first failure. Use the "blink example" for testing. Seeing the LED flash instantly builds confidence. Bluetooth debugging wastes time. Stick to USB. It’s faster for beginners. Close other programs during setup too. They hog resources needed for installing libraries. I keep a toolkit folder with all downloads ready before starting.
What hidden challenges come with using ESP32, and how to fix them?
Stubborn ESP32 problems ruined my projects. Random reboots? Connection drops? You’re not alone. Here’s proven solutions.
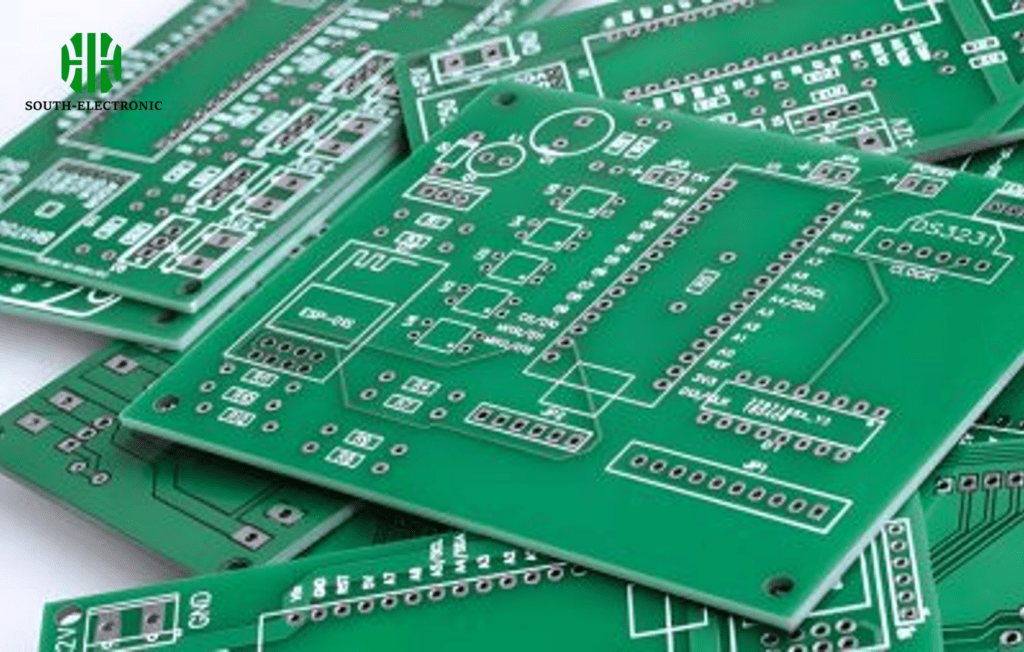
Watch power supply quality. Use bypass capacitors and short wires. This stops 90% of crashes.
Conquer common issues
Beware these three big traps:
| Challenge | Symptoms | My Fix |
|---|---|---|
| Power spikes | Random resets | Add 10μF capacitor near power pins |
| Wi-Fi interference | Data packet loss | Change router channel settings |
| Coding conflicts | Functions freeze | Disable unused libraries |
Deep sleep mode consumes almost no electricity. But I’ve lost data without proper wake-up triggers. Set sleep durations carefully. Bluetooth fighting with Wi-Fi crashed my home sensor. Solve this by disabling Bluetooth when unused in code. Libraries cause most lockups. Only install ones you need. I maintain a backup script because flashing failures happen when memory fills up.
Can ESP32 handle IoT projects better than Raspberry Pi?
Debating ESP32 vs Raspberry Pi? Faced this dilemma for my greenhouse monitor. One wins for basic projects. Consider the details.
Choose ESP32 if you need low power or real-time control. Pick Raspberry Pi for complex tasks needing video or Linux. Both work well.
Optimal project matching
They shine in totally different scenarios:
| Factor | ESP32 Advantage | Raspberry Pi Strength |
|---|---|---|
| Power use | Runs months on batteries | Needs constant electricity |
| Cost | $5-$10 per unit | $35-$75 minimum |
| Response speed | Instant sensor reactions | Potential OS delays |
| Complexity | Simple sensor networks | Full computer tasks like video feeds |
My irrigation system runs on ESP32. It costs five times less than Raspberry Pi. No wasted parts. Remember: Raspberry Pi overheats in confined spaces. ESP32 stays cool. But avoid ESP32 for image recognition. It lacks processing muscle. For email alerts, use Raspberry Pi instead. Battery issues cripple long-term IoT setups. ESP32 uses micro amps during sleep mode. This outperforms Raspberry Pi every time.
Conclusion
ESP32 gives you advanced features with simple approaches. Remember your project goals when choosing hardware. Start today, step by step.

