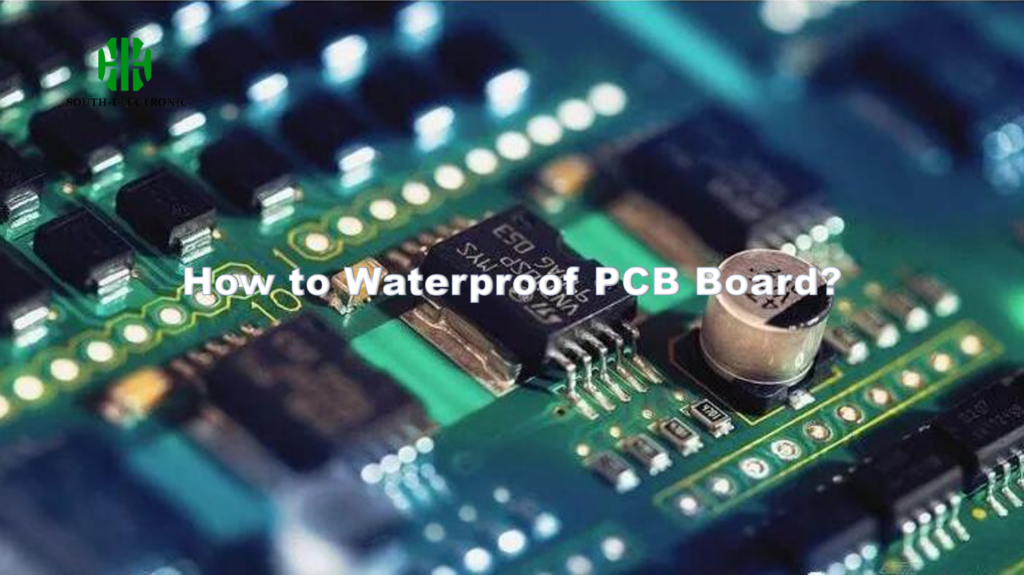
Water ruins electronics fast. Repair costs hurt. Stop this nightmare! Protect your circuits permanently with proper waterproofing methods. I’ll show you how.
True waterproofing blocks all water entry using barriers like conformal coatings or potting. These shield components from moisture, corrosion, and electrical shorts. IP ratings define protection levels for different environments. Proper design prevents failures.

Now let’s explore key aspects. You’ll learn budget solutions and avoid costly errors. Water damage recovery is possible too. Read on for simple steps.
How to Waterproof Your PCB for Under $20?
Spending little saves big. Don’t risk expensive replacements! Affordable materials work well for home projects or prototypes.
Use acrylic spray coatings or silicone sealants. Clean the PCB first. Apply thin layers. Focus on solder points and connectors. Bake for 30 minutes at low heat. Total cost often stays below $20.

Materials and Steps Compared
| Method | Cost | Dry Time | Best For | Limitations |
|---|---|---|---|---|
| Acrylic Spray | $10 | 2 hours | DIY projects | Moderate protection |
| Silicone Gel | $15 | 4 hours | Connectors & gaps | Messy application |
| Epoxy Resin | $20 | 24 hours | Harsh conditions | Permanent, hard to remove |
Acrylic sprays are easiest. I keep a can in my workshop. First clean the PCB with alcohol. Remove dust and oils. Spray lightly from 10 inches away. Cover all copper traces. Avoid thick clumps. Thin layers work better. Heat helps drying. Use a hairdryer on low. Two coats add safety. Silicone suits irregular shapes. Seal edges and connectors. Cure time matters. Rushing causes failures. Test with water droplets after. No shortcuts! Check for bubbles or gaps.
IP Ratings Explained: Which Waterproof Level Does Your PCB Need?
Choosing wrong invites disaster. Confusing numbers waste money. Match ratings to real-world use.
IP ratings define water resistance. First digit is dust protection. Second digit is water protection. IP67 blocks temporary submersion. Outdoor gear often needs IP65. Electronics in dry areas use IP54.

Rating Differences and Uses
| Rating | Water Protection Level | Use Case | Duration |
|---|---|---|---|
| IPX4 | Splashes from all directions | Indoor devices | Accidental |
| IPX5 | Low-pressure water jets | Kitchen gadgets | 3 minutes |
| IPX7 | 1m deep submersion | Outdoor equipment | 30 minutes |
| IPX8 | Deeper/longer submersion | Marine systems | Manufacturer specified |
IP ratings matter for reliability. My garden sensor uses IP67. Rain and sprinklers won’t kill it. Understand your environment first. Bathroom gadgets need IPX5 or more. Splashes come often. Industrial machines require IP68. They face harsher conditions. Remember pressure differences. Deep water forces moisture inside seams. Sealing compounds must handle depth. Testing ensures safety. Many certify with 30-minute water baths. Certification cost varies. Factor this into budgets. Match expectations to reality.
5 Critical Mistakes to Avoid When Designing Waterproof Circuit Boards?
Small errors create big leaks. Save yourself frustration and repair bills. Know these common traps.
Avoid coating connectors, forgetting thermal vents, skipping coatings under components, and ignoring material gaps. Test early using vapor or humidity chambers.

Most Common Errors
| Mistake | Reason | Fix |
|---|---|---|
| Sealing test points | Required for diagnostics | Use removable plugs |
| Trapped moisture | Pockets form under components | Pre-bake boards |
| Wrong coating type | Chemicals dissolve some films | Test material compatibility |
| Ignoring thermal stress | Heat expansion cracks seals | Add flexible sealants |
| Missing edge seals | Water enters through layers | Encapsulate all sides |
Coating over test points was my early blunder. Repairs became impossible. Now I mask them. Another problem is moisture trapped under parts. I bake PCBs at 60°C before coating. This drives out humidity. Material choice matters too. Some coatings dissolve solder mask. Test small patches first. Thermal stress cracks seals during use. Flexible silicone handles expansion better. Board edges need special attention. Potting entire boards helps. Gap design is tricky. Close unneeded holes completely. Use gaskets around openings.
Can a Water-Damaged PCB Be Saved?
Panic sets in after spills. Repair feels hopeless. I’ve saved many boards – learn how.
Yes, if cleaned fast. Remove power immediately. Rinse with distilled water. Dry thoroughly. Use corrosion removers for affected areas. Replace damaged components.

Salvage Steps and Success Rates
| Damage Stage | Salvage Step | Success Chance | Time Required |
|---|---|---|---|
| Fresh spill | Power off > rinse > dry fast | 90% | 2 hours |
| Dried stains | Isopropyl scrub > corrosion spray | 60% | 1 day |
| Corroded traces | Trace repair + component swap | 40% | 2-3 days |
| Severe short | Full diagnostic + part replacement | 10% | 1 week |
Speed is critical. Once a coffee spill killed my prototype. I unplugged within seconds. Rinsed with bottled water. Dried using rice overnight. It worked! Mineral deposits cause future rust. Isopropyl alcohol removes residues. Brush gently under magnification. White vinegar helps against corrosion. Apply briefly then neutralize with baking soda paste. Trace damage needs careful soldering. Jumper wires fix broken paths. Test components individually. Replace shorted chips fast. Some boards won’t recover. Weigh repair cost versus replacement.
Conclusion
Proper coating and smart design create waterproof PCBs. Choose correct IP ratings. Avoid common errors. Act fast if water damage happens. Protection saves money and stress.


