
Screen printing is a versatile technique used in many different industries, but it’s important to keep your screens clean so you can produce high-quality prints and extend the life of your equipment. Here’s a step-by-step guide to cleaning your screens properly so they’re ready for your next print job.
Preparing Your Workspace
First things first, find a well-ventilated, clean area. Cover up anything around you that you don’t want to get wet or dirty. You’ll need a few tools to get started: a soft cloth, a squeegee, a pressure washer, a cleaning solution, and a scrub brush.
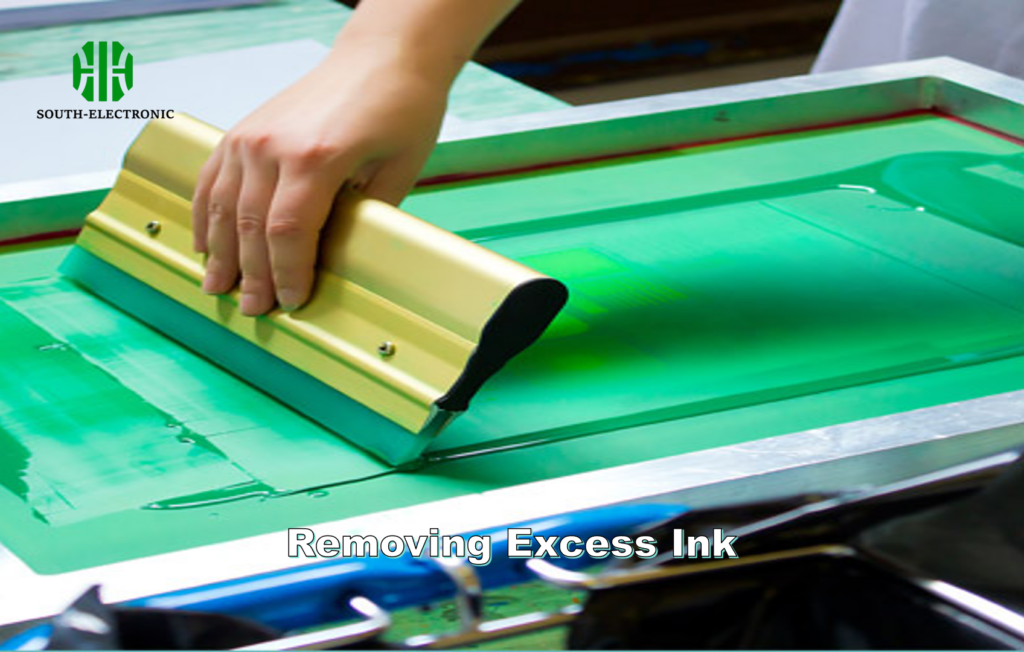
Removing Excess Ink
- Tools Needed: Squeegee, scraper, and rag.
- Process: Start by scraping off any extra ink with a plastic scraper. You want to get off as much ink as you can at this point to avoid buildup later. Be careful not to damage the mesh. If you’re using plastisol ink, remember it doesn’t dry fast, so you can clean it later after you’re done using it.
Applying the Cleaning Solution
- Tools Needed: Spray bottle with cleaning solution, scrubbing pad.
- Process: After you’ve gotten rid of the excess ink, you’ll want to use a screen cleaning solution that works with the type of ink you’re using. If you’re using water-based inks, you might be able to get away with just washing it out with water. But if you’re using plastisol or a more stubborn ink, you’ll want to use a special cleaner like Sgreen® Ink Degrader. Make sure you spray or apply the solution liberally to both sides of the screen.
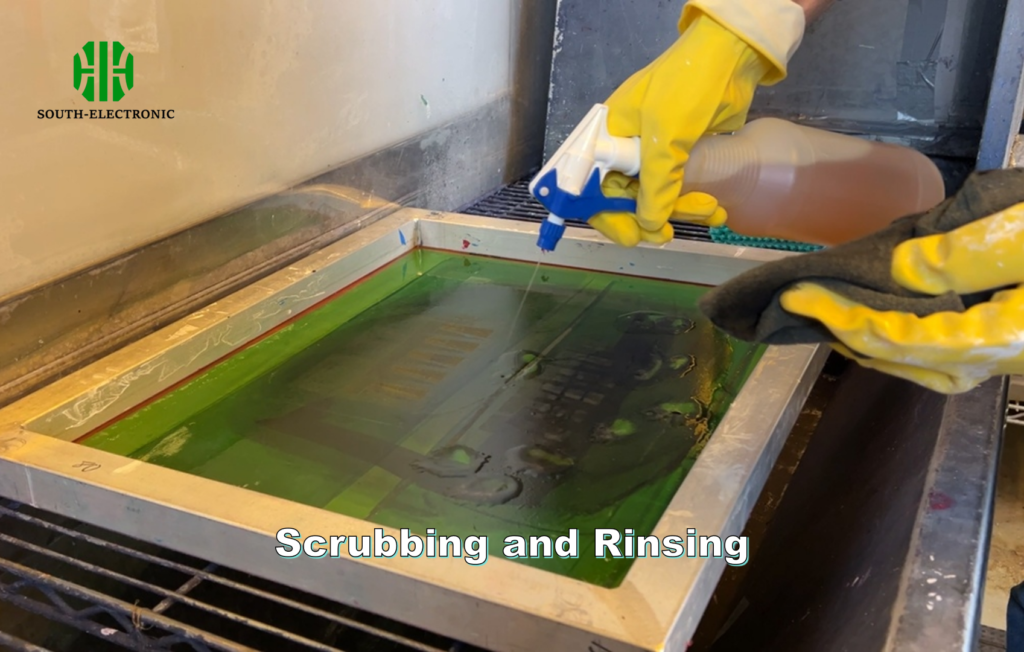
Scrubbing and Rinsing
- Tools Needed: Scrub brush, soft sponge, hose or pressure washer.
- Process: Take your time and gently scrub both sides of the screen, focusing on areas where ink might have dried or built up. After you’ve scrubbed, rinse the screen thoroughly with water. If you can, use a pressure washer, especially if there’s a lot of dried ink. Be careful with mesh tension; loose screens can cause excess ink buildup when you print.
Reclaiming the Screen (Removing Emulsion)
If you need to reuse the screen for a new design, you’ll need to reclaim it by removing the emulsion:
- Tools Needed: Emulsion remover, scrub brush, pressure washer.
- Process: Apply the emulsion remover evenly across both sides of the screen. Let it sit for the recommended time to break down the emulsion, but avoid letting it dry, as that can permanently set the emulsion. Scrub lightly and rinse with a high-pressure washer until all traces are gone.
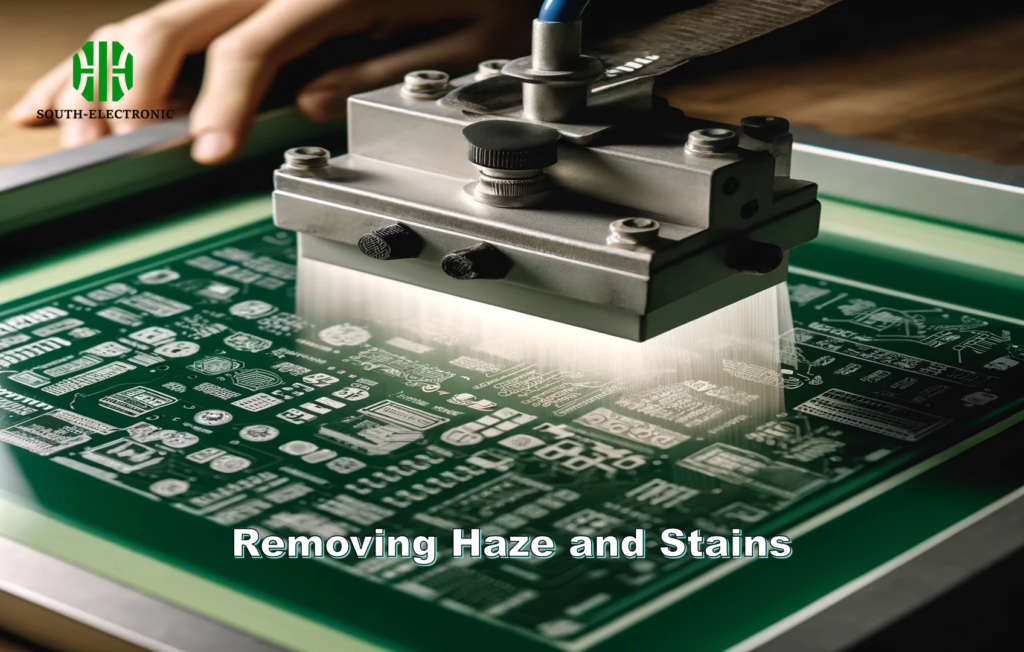
Removing Haze and Stains
After removing the emulsion, some screens may have ghost images or ink stains:
- Tools Needed: Haze remover, soft brush.
- Process: Apply the haze remover and let it sit for 5-7 minutes. Use gentle scrubbing to dislodge the stains, and rinse thoroughly. Residual haze can interfere with future prints if not removed properly.
Degreasing the Screen
This often-overlooked step ensures that your screen is completely free from oils or residues that could affect future prints.
- Tools Needed: Degreaser, scrub brush.
- Process: Apply the degreaser on both sides of the screen, scrub gently, and rinse thoroughly. This step prepares the screen for better emulsion adhesion.
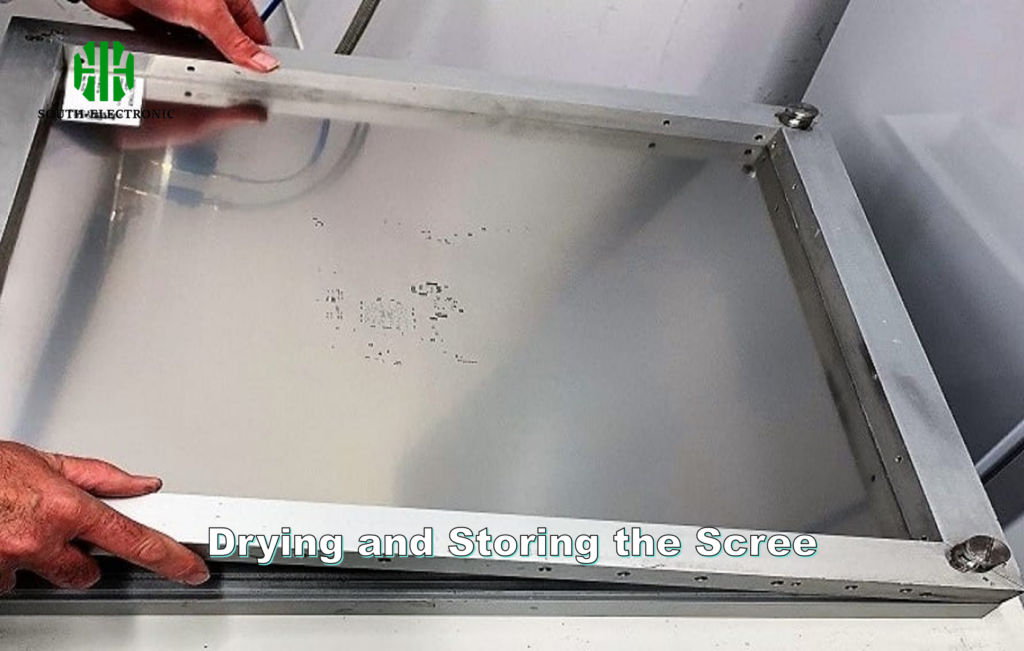
Drying and Storing the Scree
Proper drying is crucial to avoid dust or moisture from damaging the screen:
- Tools Needed: Squeegee, lint-free cloth, drying rack.
- Process: Use a squeegee to get rid of extra water and dry the screen in a dust-free, ventilated place. Don’t use heat to dry it faster, because it could warp the mesh. You can use a fan to move air around, but don’t aim it at the screen or you’ll get dust on it.
Best Practices for Longevity
- Regular Cleaning: Clean your screens after every use to prevent buildup.
- Use the Right Chemicals: Always use cleaners suited to the type of ink and emulsion on your screens.
- Handle with Care: Avoid harsh scrubbing or using excessive pressure during cleaning.
Tools and Techniques
| Task | Tools | Best Technique |
|---|---|---|
| Remove excess ink | Squeegee, scraper | Scrape gently to avoid damaging the mesh |
| Apply cleaning solution | Cleaning solution, spray bottle | Spray generously on both sides of the screen |
| Scrub and rinse | Scrub brush, pressure washer | Scrub gently and rinse thoroughly |
| Reclaim (remove emulsion) | Emulsion remover, pressure washer | Apply remover, let sit, rinse with pressure washer |
| Remove haze and stains | Haze remover, soft brush | Apply remover, scrub gently, rinse thoroughly |
| Degrease the screen | Degreaser, scrub brush | Apply degreaser, scrub both sides, rinse |
Cleaning your screen printing screens properly is critical to producing great prints and making your screens last. Follow these steps and use the right tools to keep your screens in great shape for years to come. You’ll save money, reduce waste, and print better.

