
Want to design your first PCB but feel stuck? Many beginners face confusing tools and hidden costs. Starting feels impossible without spending big money or learning complex software. I remember staring at blank screens too.
Begin by learning basic electronics and circuit diagrams. Then use PCB design software to create schematics and route traces. Finally, review designs and prepare manufacturing files like Gerbers – this saves time and avoids costly errors.
These core steps build your foundation. Now let’s compare essential tools and avoid critical pitfalls every designer faces.
Free vs Paid: Which PCB Design Software Fits Your Project?
Overwhelmed by endless tool options? Free software seems tempting but causes hidden frustration. Projects fail when features don’t match your needs. I nearly quit after choosing wrong tools twice.
Free tools like KiCad work well for simple circuits. Paid tools like Altium handle complex boards but cost much. Match software complexity to your project’s size and needs – simple projects rarely need paid options.

Key Tool Selection Factors
Selecting printed circuit board design software requires understanding three aspects:
| Factor | Free PCB Design | Paid PCB Layout Software |
|---|---|---|
| Project Size | Good under 50 components | Handles 500+ components |
| Learning Curve | Steeper without tutorials | Better support resources |
| Output Options | Limited export formats | Full Gerber+STEP file creation |
Free pcb design suits students and simple projects. For example, Arduino shields work perfectly in KiCad. But complex designs need paid automation – high-speed memory routing isn’t reliable otherwise. Online pcb design tools offer middle ground but suffer with offline work. Budget at least $100/month if handling dense boards professionally. Always test software before committing.
Top 10 PCB Layout Mistakes: Are You Making These Critical Errors?
Seeing your circuit fail after manufacturing? Many errors happen during layout stage. Thin traces or messy placements destroy functionality. My first prototype literally caught fire due to one silly spacing mistake.
Avoid overlapping traces and ignoring clearances. Use design rule checks religiously. Prevent noise by separating analog/digital sections immediately. Proper component placing prevents all heating issues.
Costly Errors Explained
Three deadliest oversight categories kill boards repeatedly:
| Error Type | Result | Prevention Method |
|---|---|---|
| Trace Issues | Short circuits | Check minimum widths/spacing |
| EMI Problems | Signal distortion | Shielding and ground planes |
| Thermal Stress | Component failure | Thermal relief pads + airflow |
Design for pcb reliability means treating electrical paths. Trace angles below 45° cause signal issues – always use curves. Copper balance prevents warping during heating stages. For high-current areas triple-check clearances. Finally, silkscreen labels prevent assembly confusion. Measure thrice before manufacturing.
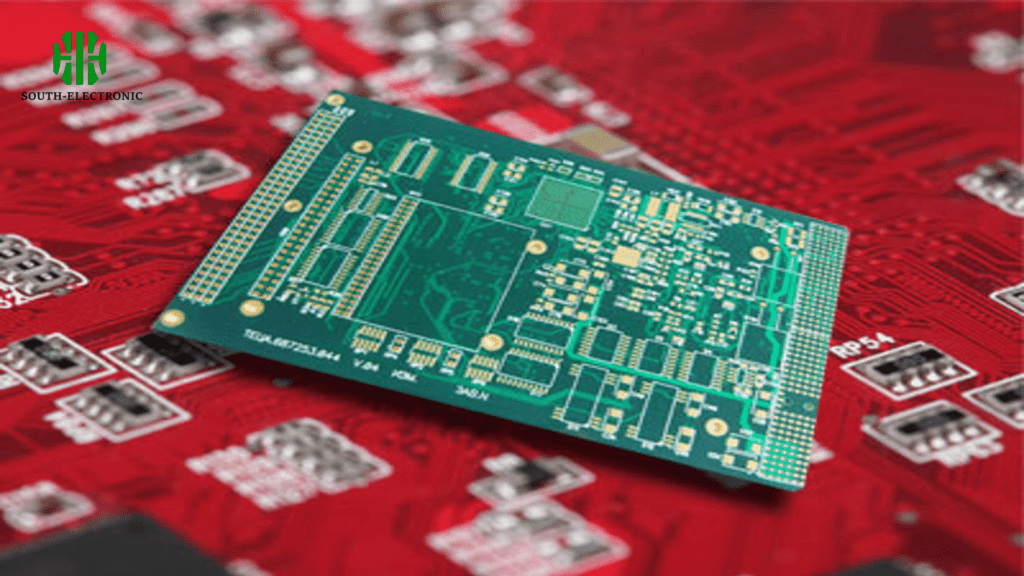
From Schematic to Gerber: How to Prepare Files for Manufacturing Like a Pro?
Getting rejections from fab houses? Incomplete files delay everything. Missing drill holes or wrong layers ruin projects. I wasted $200 on unusable boards once by skipping these steps.
Generate Gerber, drill files, and assembly drawings. Include layer stackups and material requirements. Label everything clearly for assemblers to understand without asking questions.
File Checklist Breakdown
Follow this step sequence for manufacturing-ready output:
| Step | Action | Tools Needed |
|---|---|---|
| Verification | Electrical rule checks (ERC) | Design rule checker |
| Exporting | Generate RS-274X Gerbers + drill | PCB design software |
| Packaging | Add BOM/assembly + readme notes | Compression tool (like ZIP) |
Validate via free Gerber viewers before sending. Ensure annular rings meet manufacturer capabilities – especially for small vias. Differentiate plated vs non-plated holes explicitly. Share board properties like thickness or finish in notes. Double-check soldermask expansion settings.
Conclusion
Learn fundamentals, choose software wisely, avoid common errors, and prepare files properly. This framework launches your design journey successfully.

