

My laptop burned my palm yesterday. Overheating ruins electronics and cuts their life short. PCB heatsinks rescue components from this heat hell.
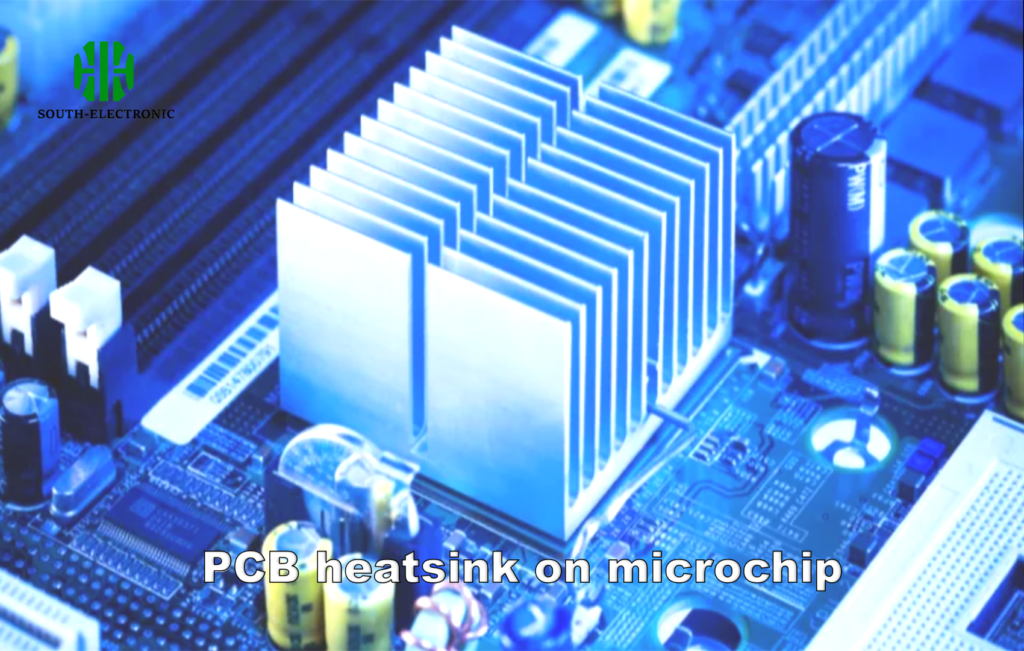
A PCB heatsink is a metal part attached to hot components like CPUs. It works by pulling heat away (conduction) then releasing it into the air (convection). This stops overheating damage and keeps devices running safely under 50 words.
Without proper heatsinks, your gadget becomes a ticking time bomb. Let’s explore how to pick, use, and maintain them wisely.
How to choose the right PCB heatsink for components?
Watching incorrect fan sizes melt GPUs taught me this lesson. Picking the wrong heatsink risks thermal failure. Measure three things first.
Match heatsinks to component power output and PCB space constraints. Use a pcb heatsink calculator for exact heat loads. Prioritize materials like aluminum for balanced cost and conductivity, or copper for peak performance under 50 words.
Key selection metrics explained
| Material | Ideal Use Case | Thermal Conductivity | |
|---|---|---|---|
| Budget Builds | Aluminum | Low-cost LEDs/ICs | ~200 W/mK |
| Power Components | Copper | Processors/GPUs | ~400 W/mK |
| Noise-Sensitive | Ceramic | Medical devices | Medium |
Calculate all heat variables first. List your component’s maximum temperature rating (Tj), ambient air temperature (Ta), and power dissipation (W). Apply the formula: Heatsink’s Thermal Resistance (°C/W) ≤ (Tj-Ta)/W. If your CPU needs 60°C max under 10W load in 30°C room, required resistance is ≤3°C/W. Aluminum often suffices for LED pcb heatsink use, while copper suits power transistors. Fan-equipped options fill tighter spaces. Measure your pcb heatsink pad dimensions twice – 0.5mm errors cause wobbling contact problems.
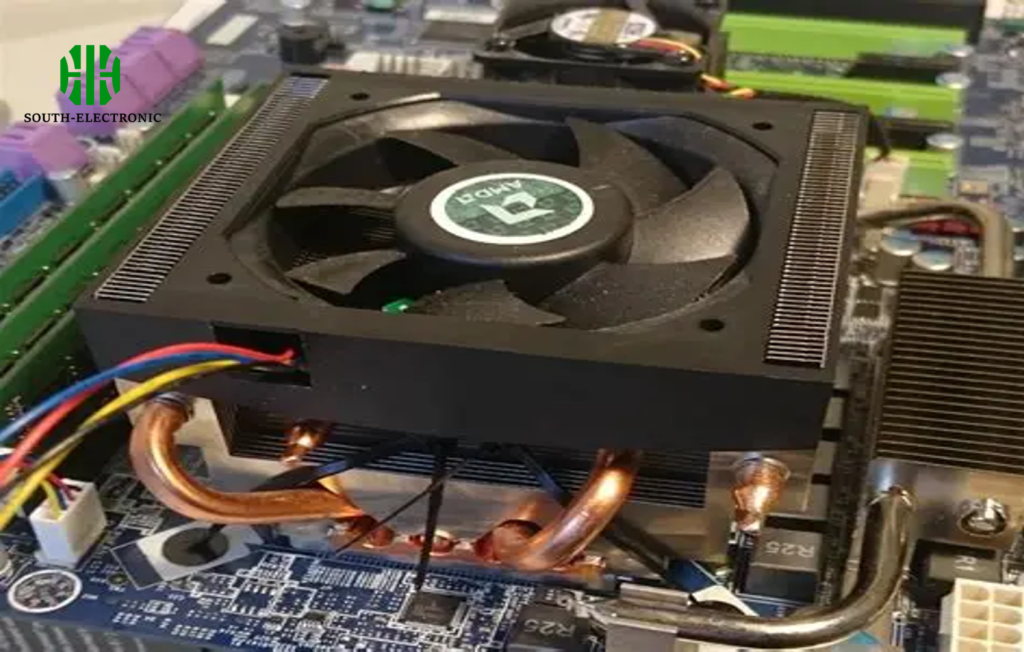
What’s the difference between passive and active PCB heatsinks?
My network router died silently. No fans, no warning. Passive heatsinks lack moving parts, relying on surface design like fins to dissipate heat. Active heatsinks include forced airflow solutions, like pcb heatsink with fan systems that exhaust heat aggressively.
Passive heatsinks use natural airflow without noise, for low-power tasks like charging circuits. Active heatsinks enhance cooling 2-3 times through fans/pumps, vital for gaming PCs or servers where components exceed 100W constantly under 50 words.
Cooling capacity tradeoffs
| Installation Cost | Cooling Power | Maintenance Effort | |
|---|---|---|---|
| Passive Heatsinks | Low | ~15W max | Minimal |
| Active Heatsinks | Medium | Up to 300W | Dust cleaning |
| Hybrid Solutions | High | Versatile | Complex |
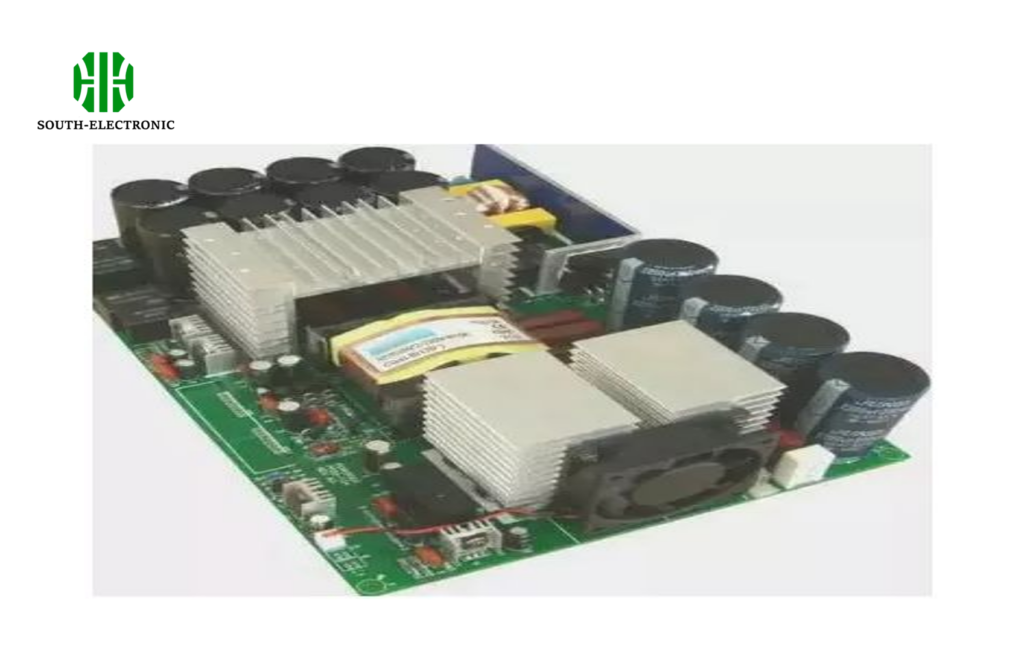
Passive designs win in dust-proof scenarios like set-top boxes. Their quiet operation suits hospitals or offices but handles only modest heat. Active types combat extreme loads better, especially when correctly maintained. Apply pcb heatsink paste properly on copper bases – thin, bubble-free layers outperform thicker applications by 30%. For non-vented enclosures, combine fins with thermal pads. Remember: fans require power connections and generate noise. Test both approaches in your pcb heatsink design phase using thermal cameras.
How to maintain PCB heatsinks? What are tips for improving cooling?
Smearing dusty paste onto a customer’s server taught me maintenance essentials. Dust swallows heatsink efficiency alive.
Clean heatsinks quarterly using compressed air and isopropyl alcohol. Reapply pcb heatsink paste annually. Boost cooling by optimizing airflow paths or switching to copper bases for led pcb heatsink setups. Monitor temperatures actively to detect degradation under 50 words.
Performance upgrade checklist
| Action | Tools Required | Expected Gain |
|---|---|---|
| Dust Removal | Compressed air can | 10-15% cooling |
| Thermal Paste Renewal | Isopropyl & scraper | Up to 30% |
| Airflow Adjustment | Airflow meter | 5-10% |
| Material Swap | Soldering kit | 20-50% |
Implement basic steps first. Dust accumulates like insulation blankets blocking heat transfer, so blow vents routinely without touching delicate fins. Upgrading thermal paste restores conductivity lost to micro air gaps. Properly applied paste improves temperature drops by 8°C measured at the component. For hotspots exceeding 85°C, consider materials beyond aluminum that your original pcb heatsink design used. Conduct heat audits using infrared thermometers monthly when testing new enclosures or placements. Active exhaust fans push dust aggressively, so pair them with removable filters.
Conclusion
PCB heatsinks convert destructive heat into safe airflow through clever physics. Install them correctly and maintain diligently for long hardware life. Cool components work flawlessly.

