

Struggling with messy copper traces ruining your circuit boards? Wasted materials drain your time and budget. Discover the precise moments professional etching becomes essential for success.
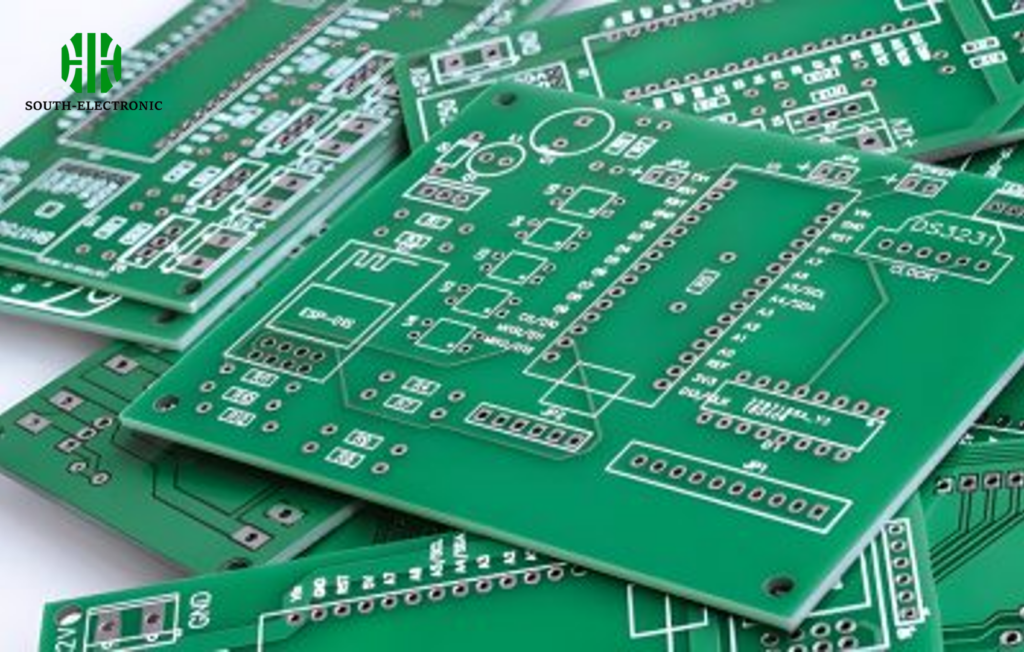
Use PCB etching when creating custom circuit boards requiring precise copper removal for traces/pads. Ideal after transferring designs to copper-clad boards but before component assembly – typically for prototyping or small-batch production needing affordable, high-precision circuitry.
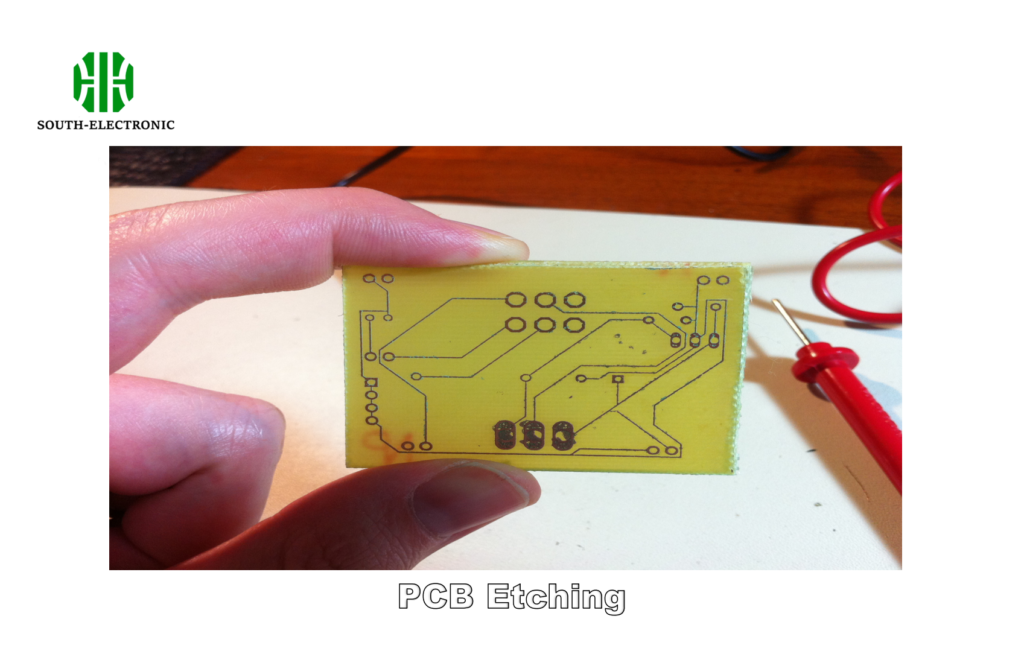
Understanding the right application saves resources and prevents headaches. Now uncover practical solutions to etching challenges you will inevitably face.
How to Troubleshoot Common PCB Etching Problems?
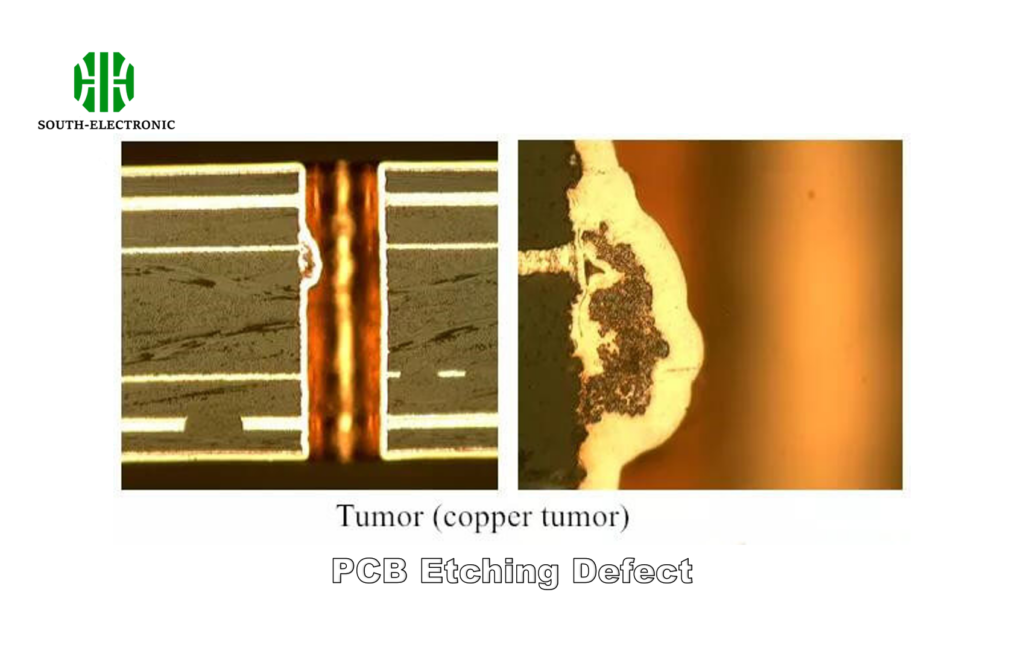
Frustrated by incomplete traces or damaged boards? Failed etching halts projects and wastes materials. Learn quick fixes for recurring nightmares.
Check tray agitation, solution freshness, and exposure time first. Weak agitation causes uneven etching. Expired chemicals slow copper removal. Overexposure eats essential traces.
Critical Troubleshooting Steps
Three failure patterns plague DIY printed circuit board etching:
| Problem Type | Immediate Action | Prevention Tip |
|---|---|---|
| Partial Etching | Increase agitation | Use heated solution (45°C) |
| Over-Etched Traces | Reduce time by 30% | Apply nail polish on delicate areas |
| Uneven Patterns | Clean copper surface | Scrub board pre-process |
Aggitation issues cause 60% of failures. Your solution must flow over copper consistently. Move the container gently every two minute. Never let the board sit stagnant.
Solution exhaustion secretly sabotages results. Ferric chloride gets exhausted after three boards per liter. Always test with scrap copper before etching your design.
Timing mistakes destroy precision traces. Different temperatures change etching speed. Always check manufacturer guidelines. Better to check often than to guess.
Rapid problem-solving ensures successful circuit board etching every time.
What Do You Really Need in Your Home PCB Etching Kit?
Wasting money on unnecessary tools? Incomplete kits cause dangerous mishaps. Optimize your essentials for reliable results.
Core items are etching solution, plastic trays, safety gear, and copper boards. Include rubber gloves, goggles, acid-resistant containers, and transfer paper for circuit designs.
Smart Kit Composition
Every effective pcb board etching kit requires:
| Category | Essential Items | Optional But Helpful |
|---|---|---|
| Safety | Nitrile gloves, goggles | Apron, ventilation mask |
| Materials | Copper-clad board | Multiple board sizes |
| Chemicals | PCB etching solution (500ml) | Spray bottle for clean-up |
| Tools | Plastic tweezer, trays | Dedicated stirring rod |
Chemical choices dictate results. Ferric chloride works reliably but stains everything. Alternative citric acid solutions help beginners avoid dangerous splash risks.
Safety preparation prevents emergencies. Designate space permanently away from children and pets. Keep vinegar nearby to neutralize spills instantly.
Surface prep tools dramatically improve quality. Fine steel wool cleans better than sandpaper. Use distilled water when rinsing to prevent mineral deposits on copper.
Proper equipment makes circuit board etching safer and more predictable.
Can PCB Milling Replace Chemical Etching for Your Prototyping Needs?
Choosing between noisy machines or toxic chemicals? Both approaches have hidden trade-offs affecting project outcomes.
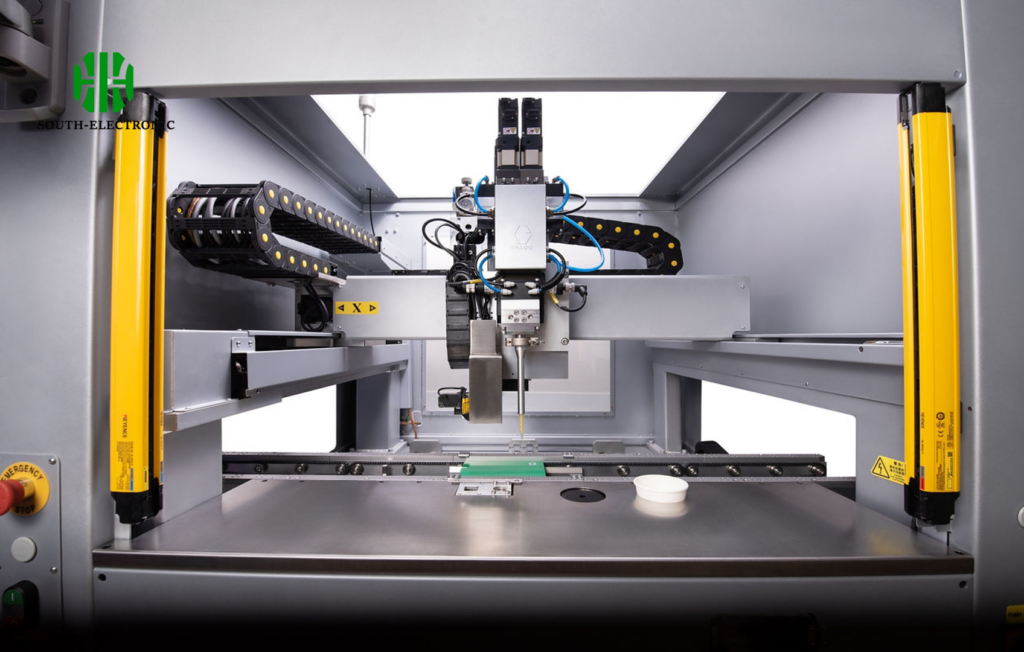
Milling suits metal-heavy boards needing instant results. Chemical etching better fits complex designs. Milling costs 3x more but requires no disposal of toxic waste.
Critical Comparison Breakdown
| Prototyping Factor | PCB Milling | Chemical Etching |
|---|---|---|
| Setup Time | 15-minute calibration | 30-minute chemical prep |
| Detail Precision | 0.2mm minimum trace width | 0.1mm achievable |
| Operational Costs | $8 per board (bit wear) | $1.20 per board |
| Toxic Materials | None | Chemical disposal needed |
Deadline projects favor milling. When needing a same-day circuit board with minimal preparation steps, the milling wins. But complex multi-layer boards get destroyed easily this way.
Environmental concerns make etching problematic. Proper disposal of pcb etching solution requires certified waste centers. Milling creates recyclable copper dust instead.
Budget calculations reveal unexpected costs. Etching seems cheaper initially. However replacement chemicals and ruined boards add up quickly. Milling bits cost more but last 30-40 boards.
Conclusion
Use PCB etching when needing high-detail, affordable prototyping. Prepare proper kits and troubleshooting knowledge. Consider milling for urgent, simple boards without chemicals.

