
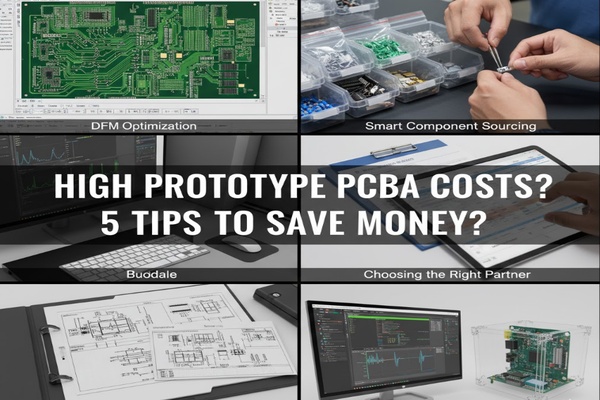
High Prototype PCBA Costs? 5 Tips to Save Money?
Suffering from high prototype PCBA costs[^1]? It's a common pain point. You need solutions, and fast, to protect your budget and project timeline.
High prototype PCBA costs often stem from complex designs, inefficient manufacturing processes, and poor component choices. By optimizing your design, collaborating with manufacturers, and smart procurement, you can significantly reduce expenses.

I've been there, facing unexpected budget drains on critical projects. It feels like every penny counts, especially during the prototyping phase. Let me share some strategies I've learned to keep those costs in check and ensure your project stays on track without sacrificing quality.
What Key Factors Determine Your PCBA Budget?
Prototype PCBA costs eating your budget? Understanding the key drivers is essential. Without this knowledge, you're just guessing where to cut.
Your PCBA budget is largely determined by design complexity, component cost and availability[^2], and the chosen manufacturing/assembly services[^3]. Each element adds significantly to the final price tag.

When I first started designing boards, I didn't fully grasp how much each decision impacted the final cost. It wasn't just the components; every layer, every tiny trace, added up. For instance, a complex, multi-layered board with fine-pitch components naturally costs more to fabricate and assemble. Then there's the component bill of materials (BOM)[^4] – using exotic or hard-to-find parts can skyrocket expenses due to limited supply or minimum order quantities. Finally, the assembly house you choose and their offered services, like advanced testing or quick turns, directly affect the overall price. It's a careful balance of desired performance versus available budget.
How to Avoid Pitfalls and Obtain the Most Cost-Effective Components?
Struggling to find affordable components without compromising quality? Many designers face this exact dilemma, leading to budget overruns.
To avoid pitfalls and get cost-effective components, focus on early supplier engagement[^5], design for common parts, and leverage volume discounts where possible. Strategic procurement saves money.
I once had a prototype stalled because a crucial, specialized component was on backorder and incredibly expensive from the only supplier. This taught me a valuable lesson: proactively involve your manufacturer or a trusted component distributor during the design phase. They can suggest alternative, more readily available, and cheaper parts that meet your specifications. I now always prioritize common, industry-standard components over highly specialized ones whenever possible. Also, consider the total cost of ownership, not just the unit price. A slightly more expensive component might have better reliability, reducing rework costs later. Looking at the market for similar parts and comparing datasheets helps immensely.
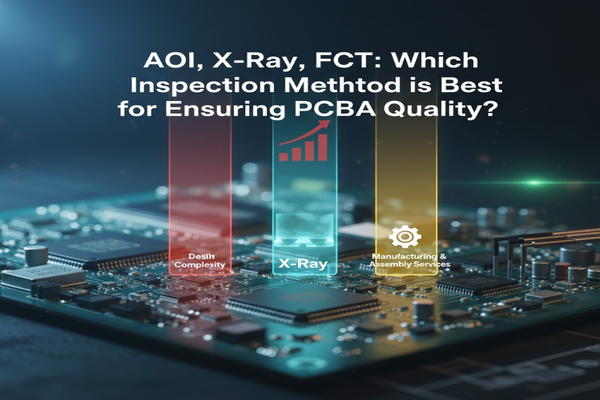
AOI, X-Ray, FCT: Which Inspection Method is Best for Ensuring PCBA Quality?
Confused about which PCBA inspection method offers the best quality assurance? Choosing the wrong one can lead to costly failures and delays.
The best PCBA inspection method depends on your design’s complexity, defect types, and budget. AOI is good for surface defects, X-ray for hidden solder joints, and FCT for functional validation.
I've learned that overlooking proper inspection is a false economy. A board might look perfect, but hidden issues can cripple a product. Automated Optical Inspection (AOI)[^6] is my go-to for catching common surface-mount defects like incorrect component placement or solder bridges. For more advanced designs with BGAs or hidden solder joints, X-ray inspection[^7] is indispensable—it literally sees through components. Functional Circuit Test (FCT)[^8], however, is the ultimate gatekeeper, ensuring the board actually works as intended. I often use a combination: AOI for high-speed primary checks, X-ray for critical complex areas, and FCT for final validation.
| Inspection Method | Primary Use | Pros | Cons |
|---|---|---|---|
| AOI (Automated Optical Inspection) | Solder paste, component placement, polarity, short circuits | Fast, cost-effective for visible defects | Cannot see hidden joints, needs good lighting |
| X-Ray Inspection | Hidden solder joints (BGAs, QFNs), voiding | Sees through components, excellent for complex boards | More expensive, slower, does not check electrical function |
| FCT (Functional Circuit Test) | Electrical functionality, performance | Verifies end-product operation | Requires custom fixtures, usually last step |
My advice is to talk to your manufacturer about their inspection capabilities and align them with your product's requirements and risk tolerance. Sometimes, investing a bit more in robust inspection saves huge amounts in recall or repair costs down the line.
Conclusion
By optimizing design, choosing components wisely, and leveraging manufacturing expertise, you can significantly cut prototype PCBA costs[^1], ensuring project success.
[^1]: Understanding the factors affecting costs can help you make informed decisions to save money on your projects. [^2]: Discover how component choices can affect your overall costs and find ways to optimize your procurement. [^3]: Learn about various services that can help reduce costs while maintaining quality in your PCBA projects. [^4]: Understanding BOM can help you make better component choices and avoid unnecessary expenses. [^5]: Engaging suppliers early can lead to cost savings and better component availability for your projects. [^6]: Learn how AOI can enhance quality assurance and potentially save costs by catching defects early. [^7]: Discover how X-ray inspection can help identify hidden defects, ensuring higher quality and reliability. [^8]: Understanding FCT can help ensure your final product works as intended, preventing costly recalls.

