
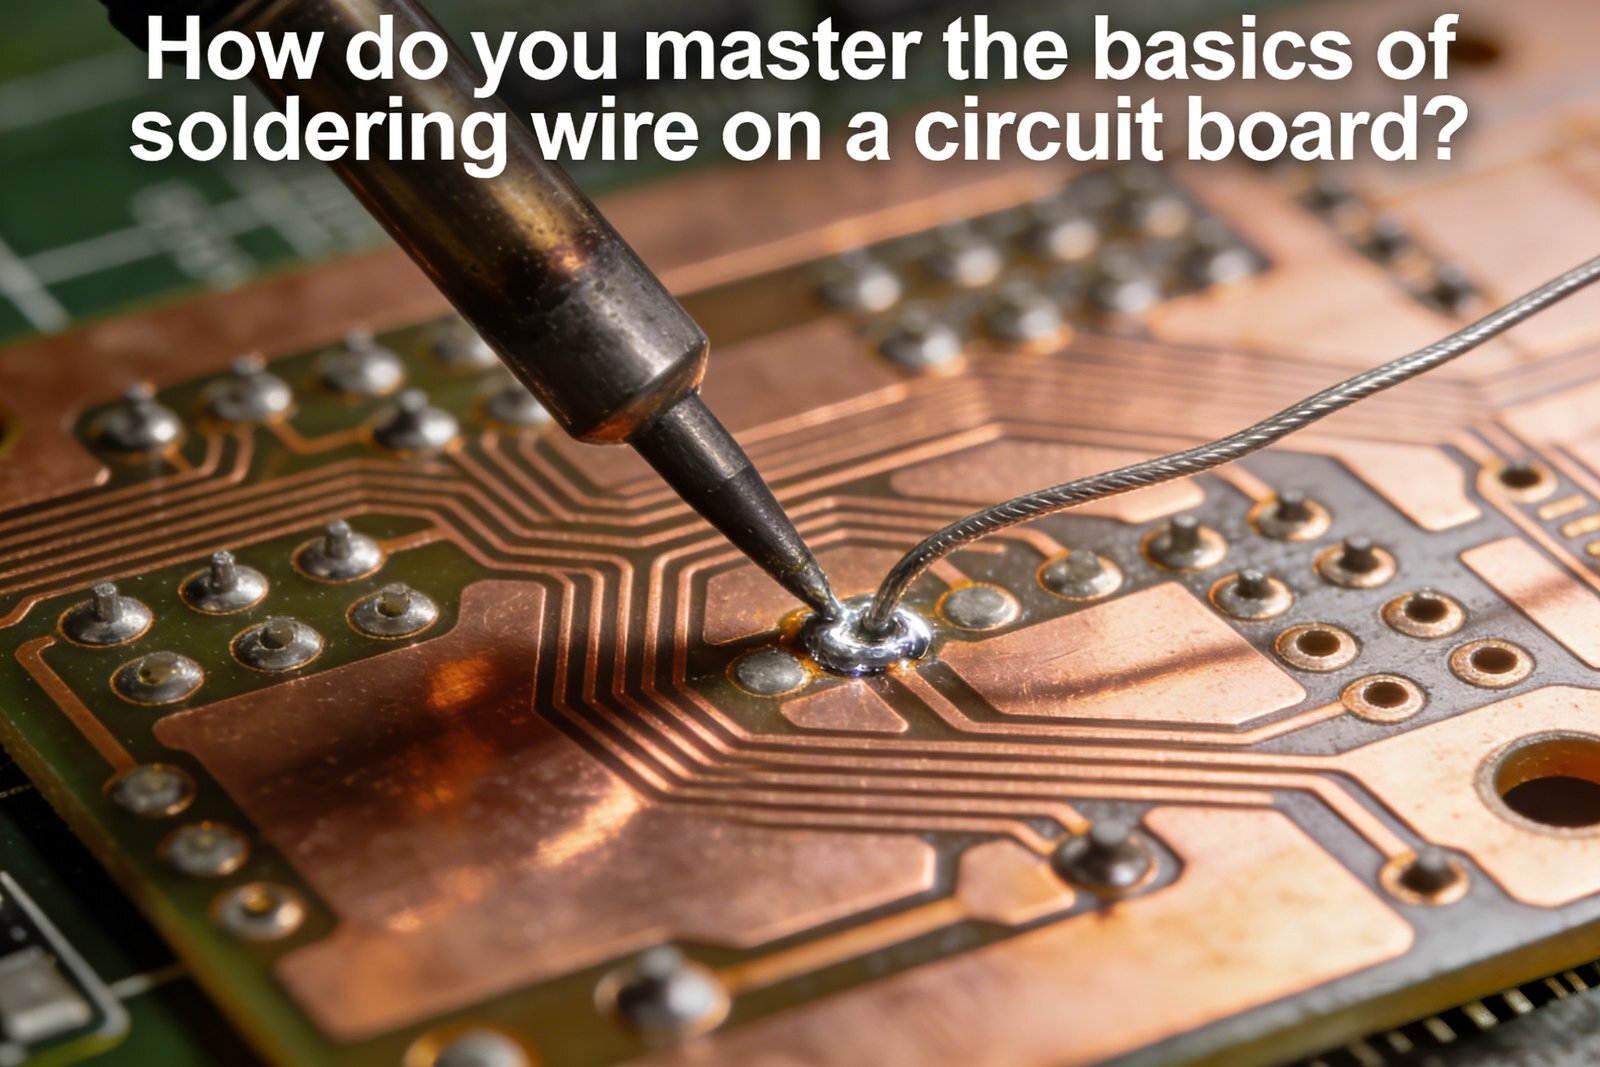
Soldering can seem tricky, but mastering the basics will empower you. Don't let confusion hold you back from creating amazing projects.
To solder wires on a circuit board effectively, you need the right tools and materials. These include a soldering iron, solder wire, flux, wire strippers, and a PCB stand. Having quality tools is crucial for successful soldering.
It's easy to feel overwhelmed by all the information about soldering. But let me assure you, once you have everything set up correctly and practice a bit, you’ll feel confident.
What tools and materials are required for soldering?
Having the right tools makes all the difference. A good soldering iron, typically 25-60W and with temperature control, is essential.
The main tools include a soldering iron, solder wire (60/40 tin-lead alloy or lead-free), rosin-core solder for flux, wire strippers, and a stable PCB stand. Additional tools like a desoldering pump, multimeter, and cleaning supplies can enhance your soldering experience.
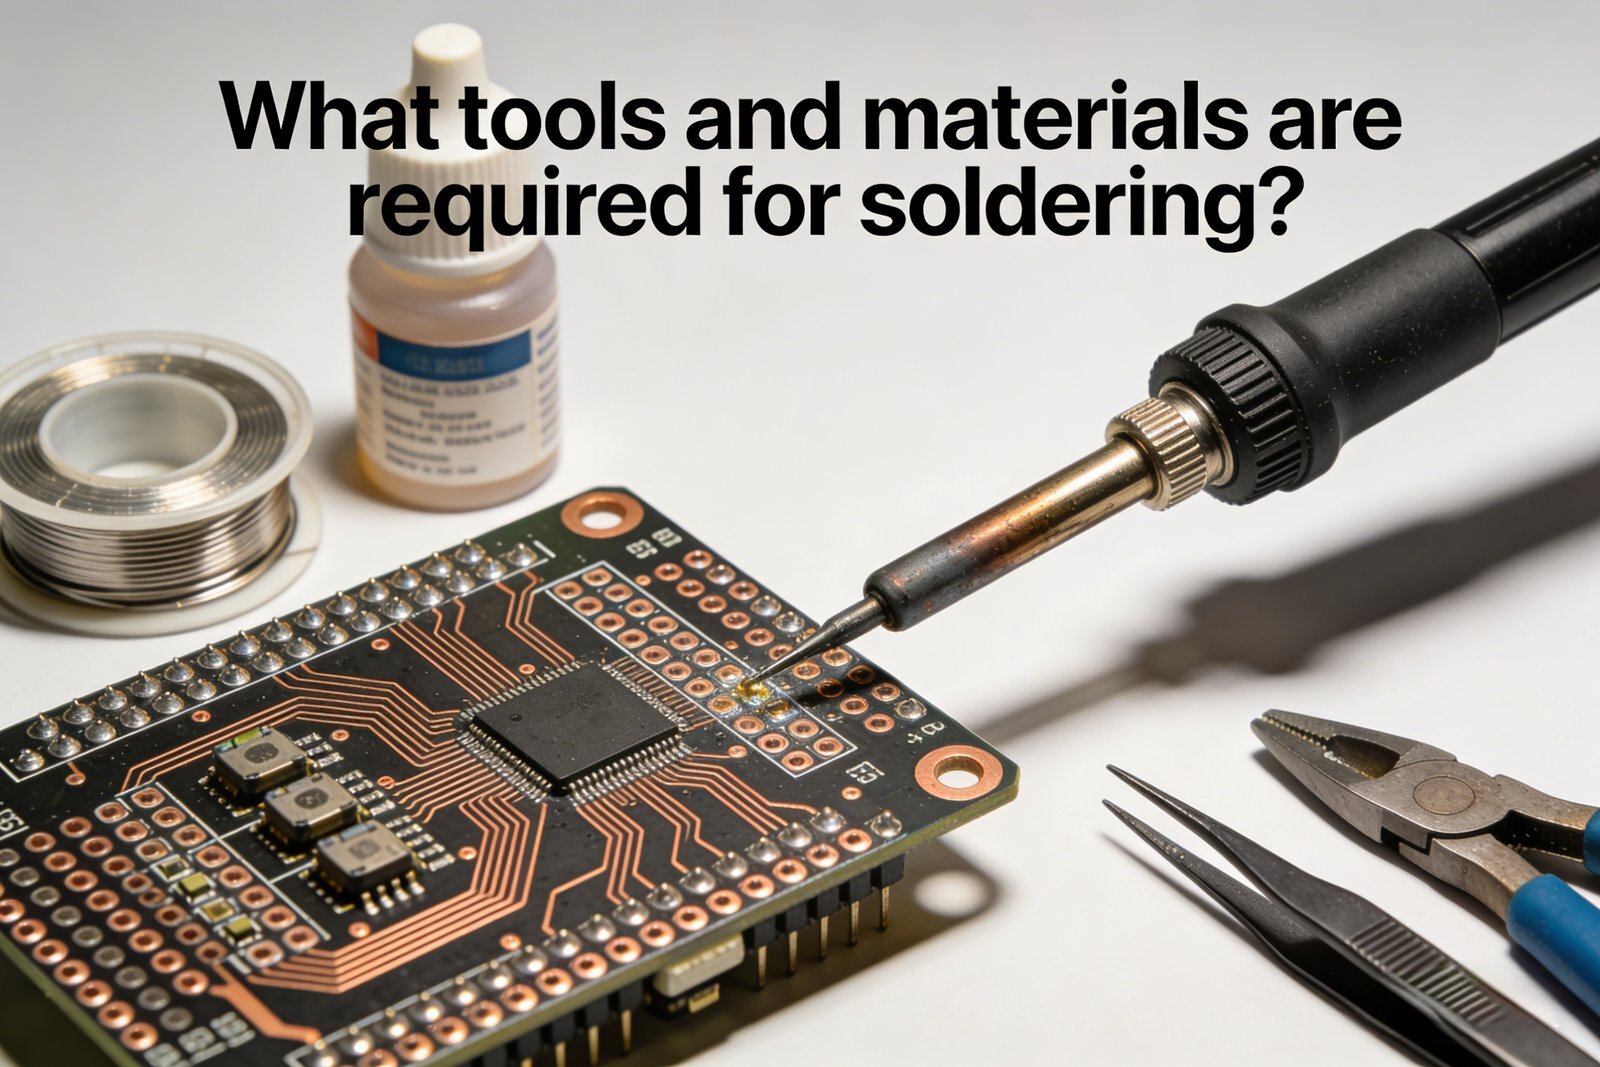
In more detail, the necessary tools can be divided into two categories: essential and optional. Here’s a table to illustrate:
| Category | Tools |
|---|---|
| Essential | Soldering Iron, Solder Wire, Flux, Wire Strippers, PCB Stand |
| Optional | Desoldering Pump, Multimeter, Cleaning Sponge, Magnifying Aids |
Using high-quality solder and tools makes your solder joints cleaner and stronger. Always check your soldering iron’s tip. It should be clean and tinned before starting. If you don't clean it well, your joints might not hold up.
What is a step-by-step guide for soldering wires on circuit boards?
Soldering doesn’t have to be intimidating. With a well-described step-by-step guide, you can practice confidently.
First, gather your tools and materials. Ensure your work area is clean and well-lit. Next, strip the wire ends to expose the metal, then heat the soldering iron. Touch the iron tip to the pad and the wire simultaneously. Add solder until it flows and forms a small, smooth joint.
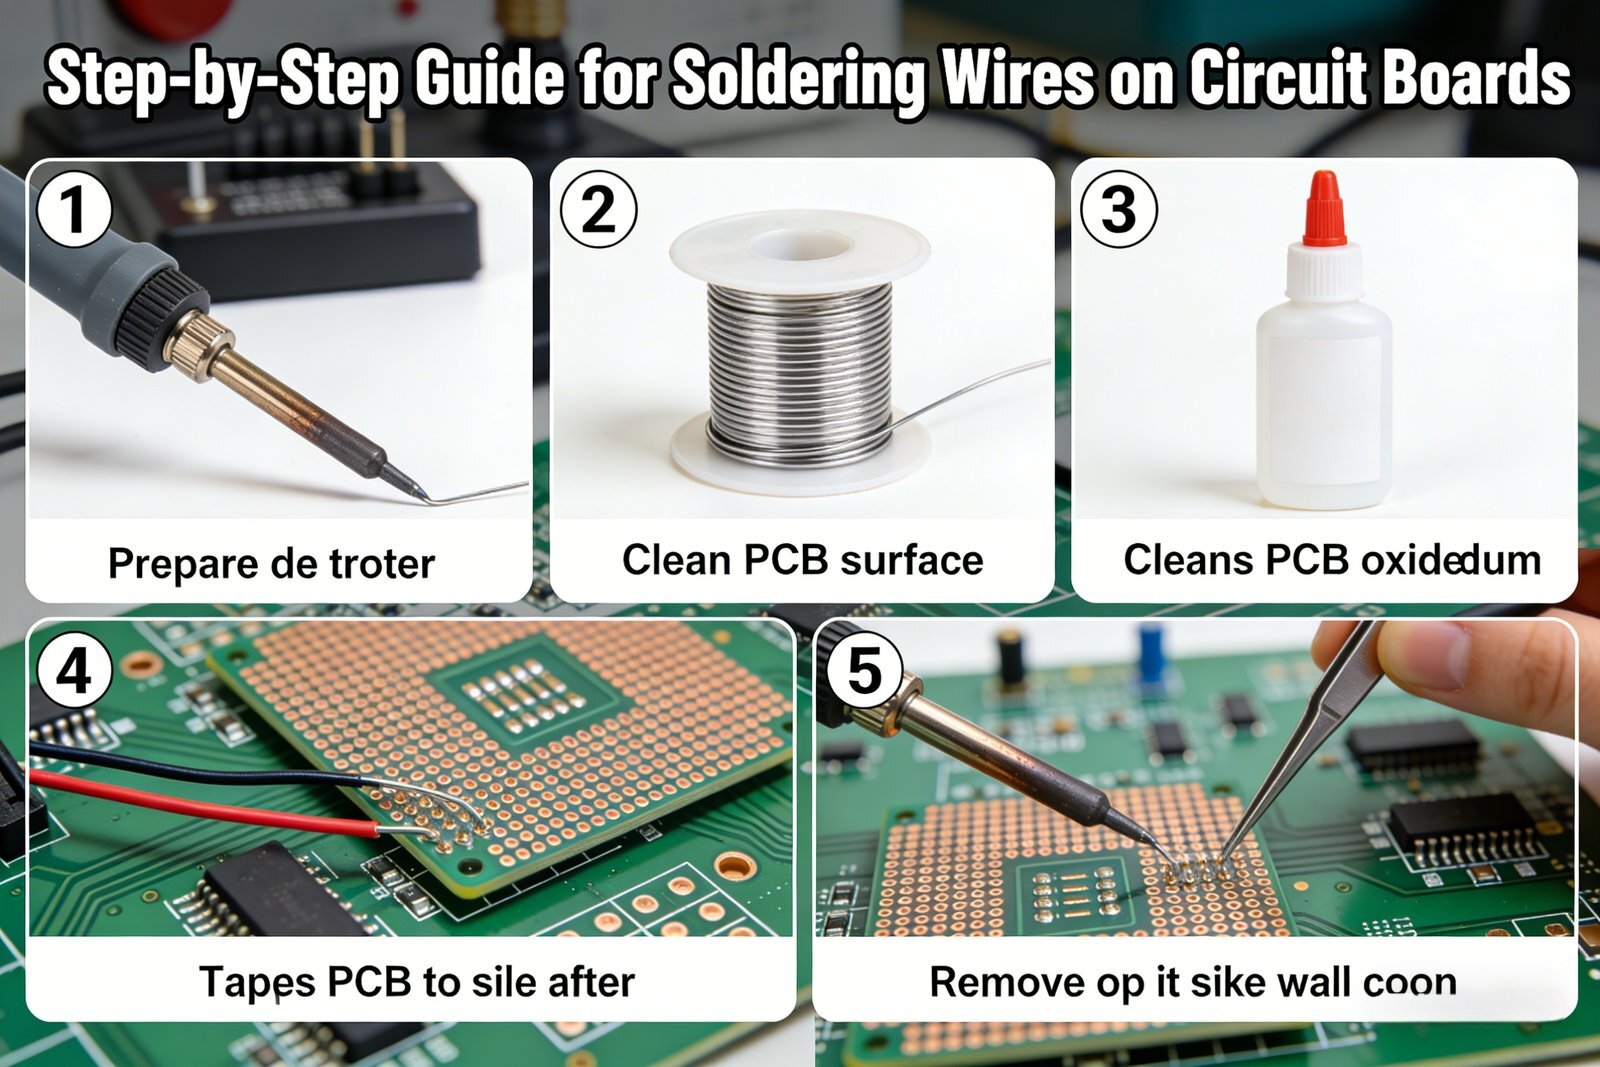
Let's break down the soldering process into clear steps:
- Preheat the Soldering Iron: Allow the iron to reach its working temperature (usually 350°C).
- Prepare the Wire: Strip about 1/4 inch of insulation off the wire.
- Position the Wire: Place the wire on the PCB. Ensure it lines up with the pad.
- Heat the Joint: Touch the soldering iron tip to both the PCB pad and the wire for a second.
- Apply Solder: After warming, feed solder into the joint. Remove the solder and iron.
- Allow to Cool: Wait for the solder to cool and harden.
Practicing these steps will help you improve your technique. I remember struggling at first, but with repetition, I learned to make smooth, solid joints.
How do you troubleshoot common soldering problems?
Even the best can encounter issues in soldering. Knowing how to troubleshoot these problems can save you a lot of frustration.
If you find that your solder joints are not adhering, it often means the surfaces are not clean or the iron isn’t hot enough. Be sure you're using the right amount of solder. If joints appear dull or crumbly, they might be cold solder joints. Always ensure you heat both the wire and pad sufficiently before applying solder.
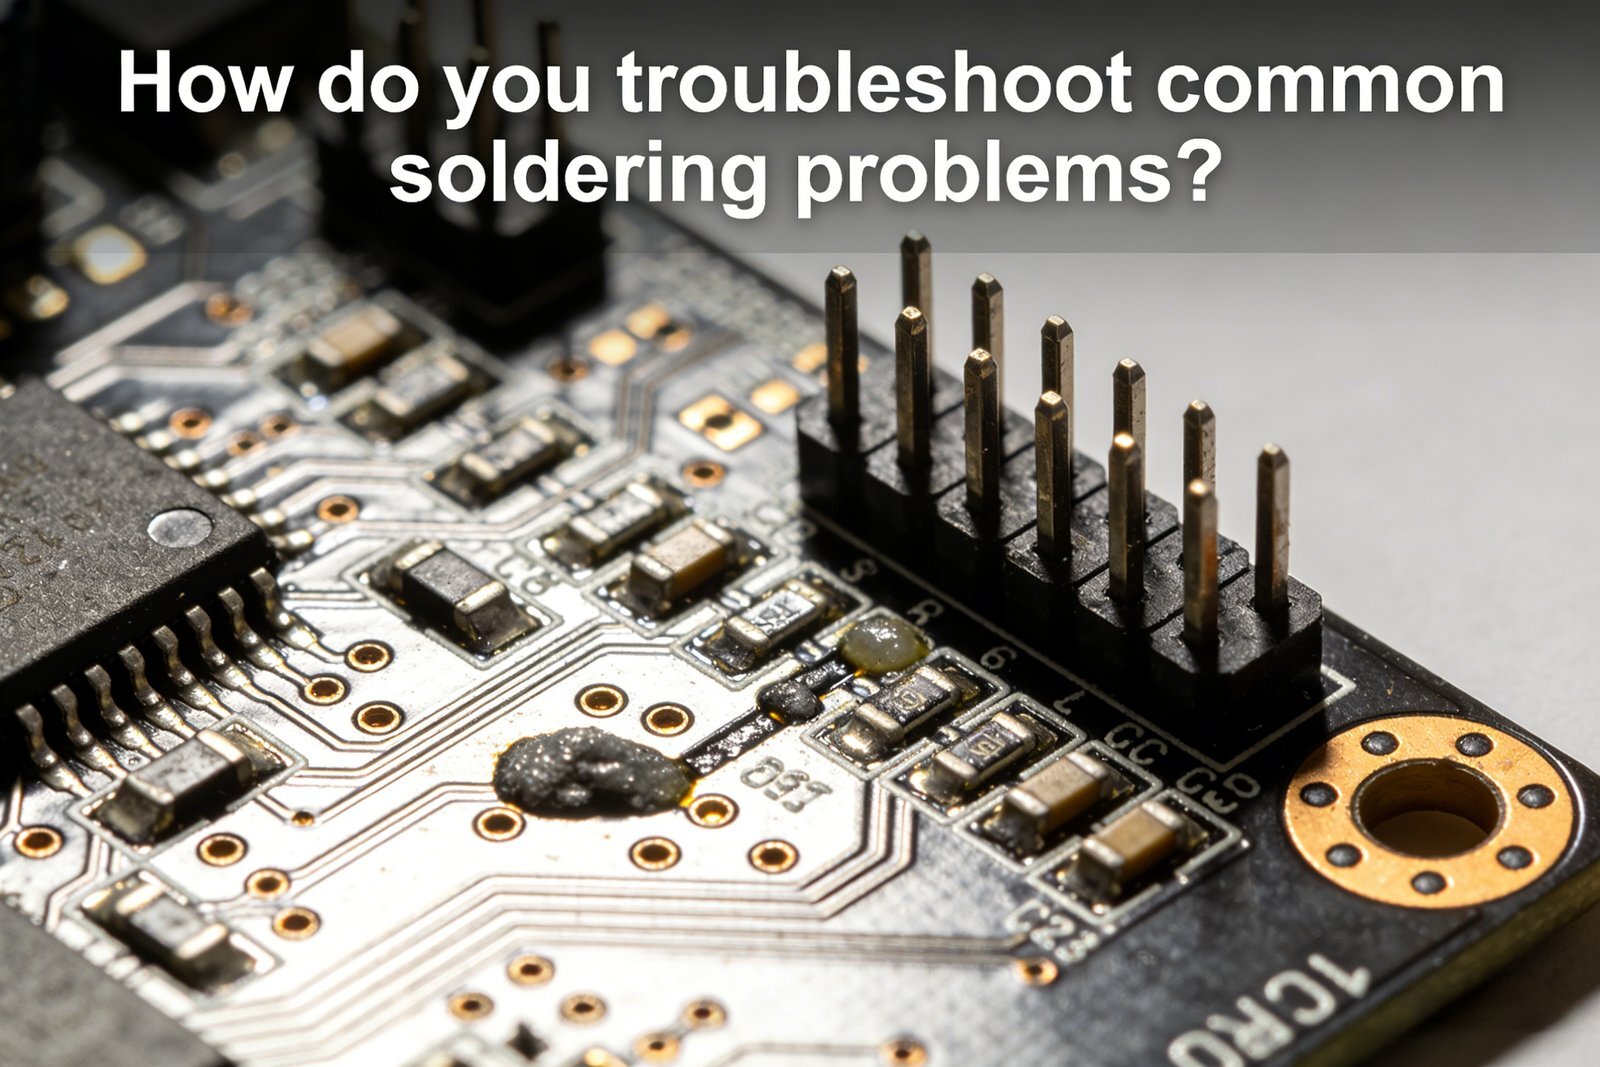
Common soldering issues can usually be categorized as follows:
| Problem | Possible Cause | Solution |
|---|---|---|
| Cold Solder Joint | Insufficient heat or poor contact | Ensure the iron temperature is correct and heat both parts. |
| Dull Appearance | Cold joint or incorrect solder used | Reheat and add more solder if needed. |
| Solder Balling | Insufficient cleaning or poor flow | Clean the surfaces and reapply solder. |
| Bridge Connections | Excess solder creates unintended connections | Use a desoldering pump or wick to remove excess solder. |
By understanding these problems, you can become a more skilled solderer. With practice, troubleshooting will become second nature.
Conclusion
Mastering soldering involves the right tools, a clear process, and practice.


