
How to Install an IC Chip on a PCB?
When it comes to building or repairing electronics, installing an IC chip on a PCB is a fundamental skill. Installing an IC chip on a PCB involves precise steps for a secure and functional connection. Begin by aligning the chip with the PCB pads, then solder the pins carefully using a soldering iron. Ensure each pin is properly soldered without creating bridges. Verify the connections with a multimeter, checking for continuity and shorts. Clean the board to remove any flux residues. This process, though intricate, is essential for the chip’s reliable performance in your electronic projects.
What You Will Need
Before you start, ensure you have the following tools and materials:
- IC chip
- PCB (Printed Circuit Board)
- Soldering iron and solder
- Medical tweezers
- Soldering paste
- Solder wick
- Microscope (optional but recommended)
- Anti-static wrist strap

Step 1: Preparing the PCB and IC Chip
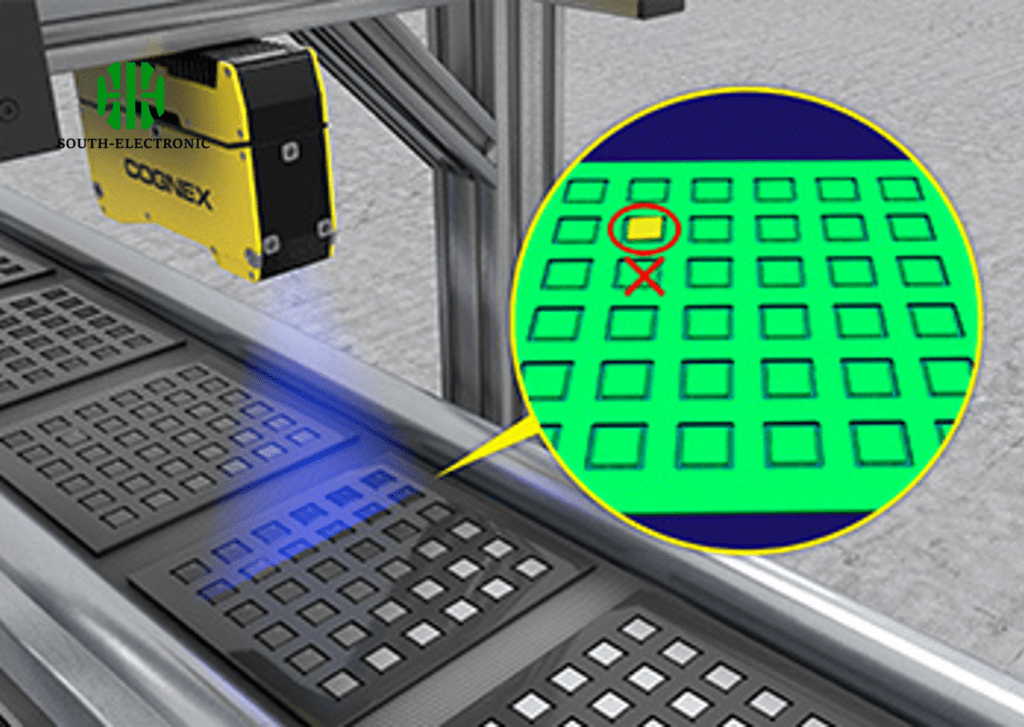
- Inspect the PCB and IC Chip:Make sure the PCB and IC chip are clean and free from any contaminants. Any dirt or oil can interfere with the soldering process.
- Align the IC Chip:To install the chip in the circuit board, orient it so that the metal fin on the back of the chip lines up with the heavy bar printed on the PCB outline. The heavy bar in the outline represents the fin, so you just need to make sure the actual fin is oriented on the side indicated on the outline.
Step 2: Placing the IC Chip on the PCB
- Use Medical Tweezers:Clamp the IC with medical tweezers and place it on the wiring diagram of the IC on the PCB circuit board.
- Fix the Position:Fix it in place at the pointed position. Ensure it is properly aligned with the PCB diagram.
- Heat the Pre-Soldered Layer:Use a soldering iron to heat the pre-soldered layer until the soldering wire melts before soldering the wire.

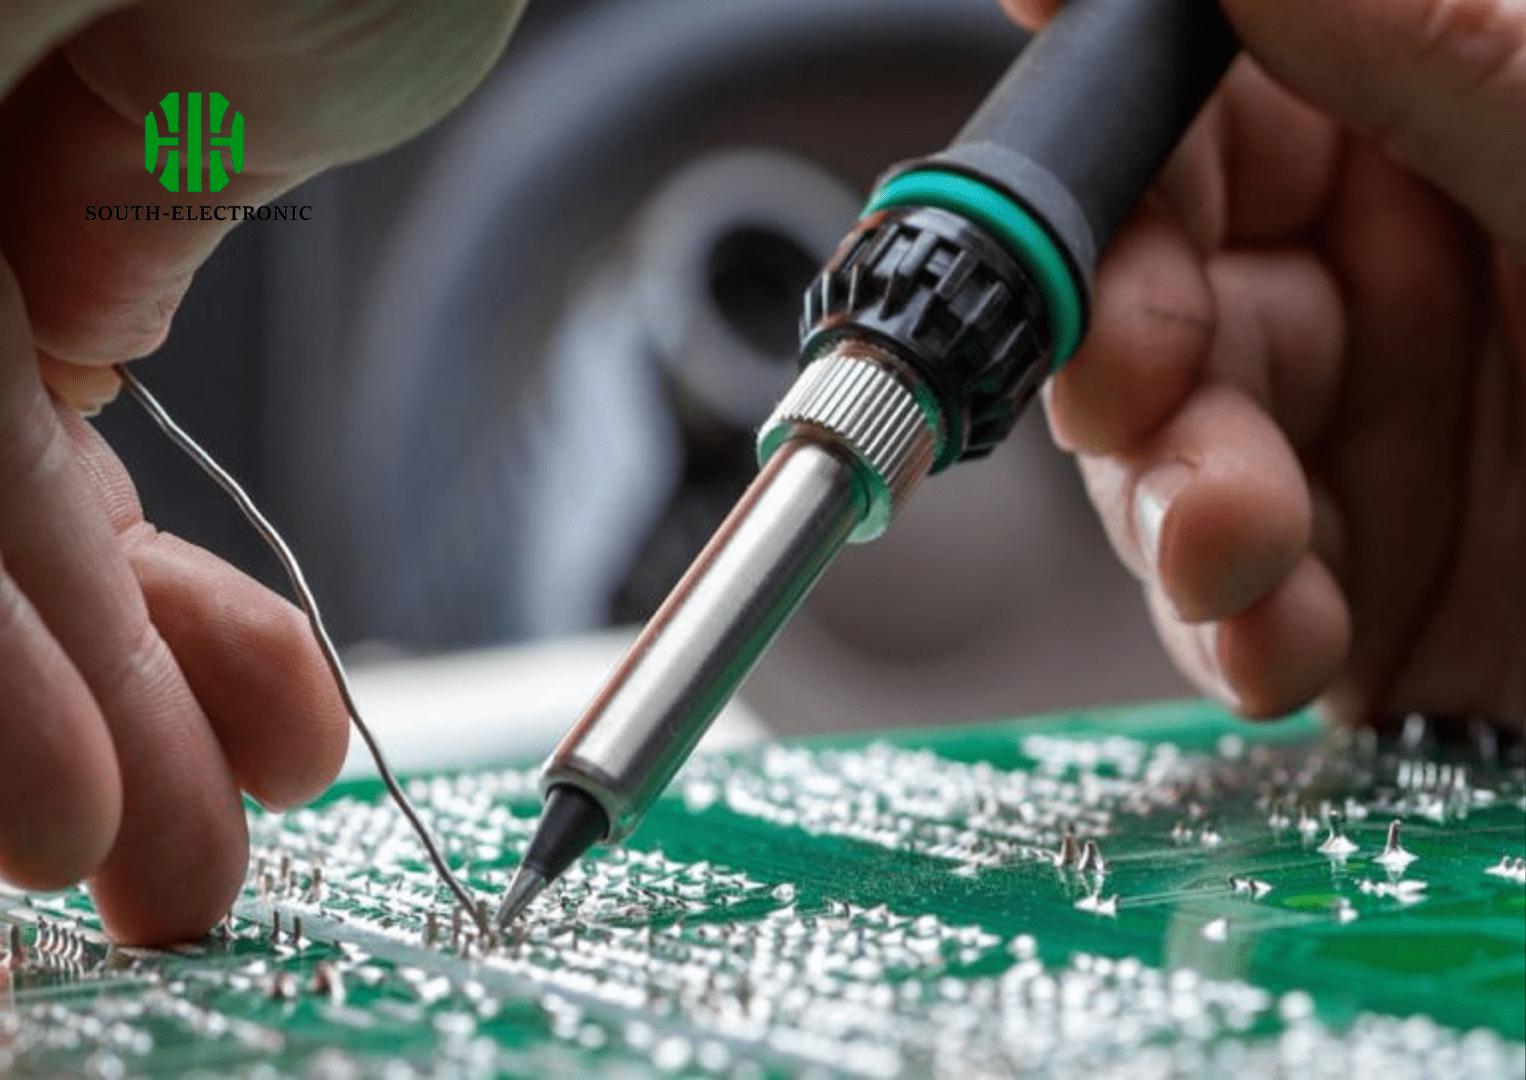
Step 3: Soldering the IC Chip
- Apply Soldering Paste:Apply a small amount of soldering paste to the solder pads on the PCB.
- Place the IC Chip:Carefully place the IC chip onto the solder pads using tweezers.
- Solder the Pins:Heat each pin of the IC chip with the soldering iron until the solder melts and forms a connection between the pin and the pad.
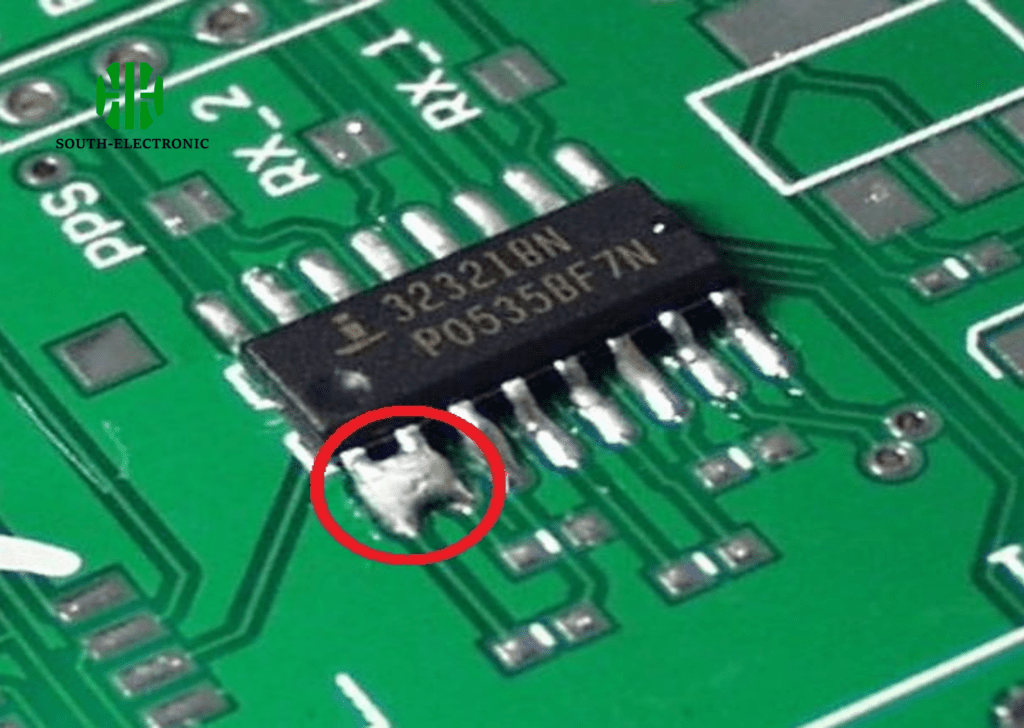
- Inspect the Solder Joints:Inspect the solder joints under a microscope to ensure they are clean and free of shorts.
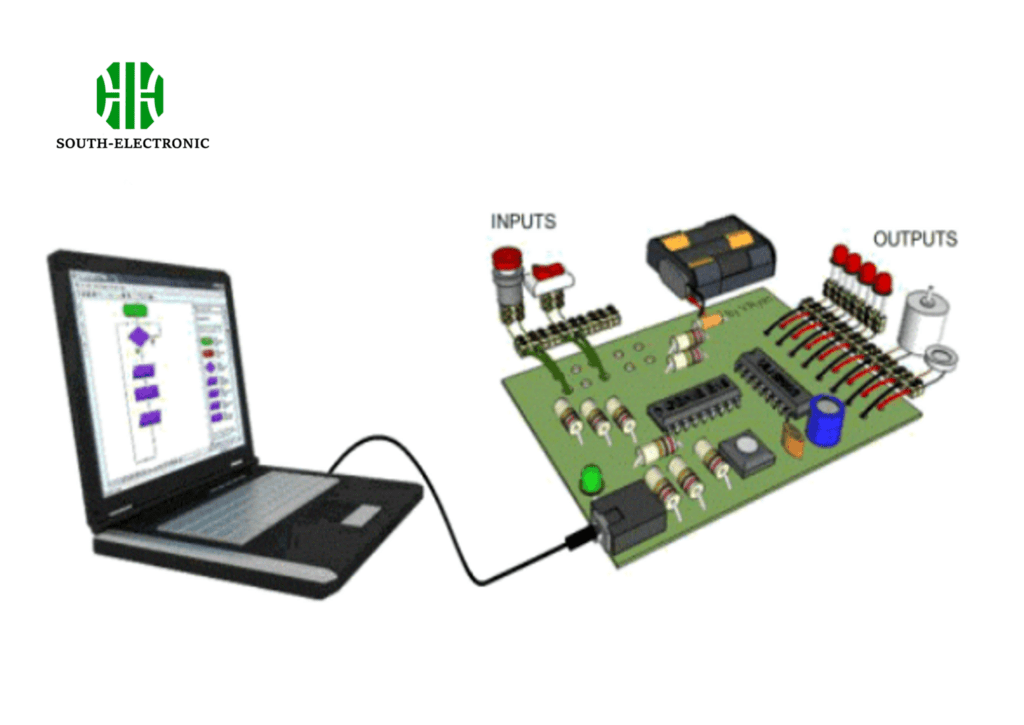
Step 4: Programming the IC Chip
Switch on power to the unit and wait for the LED to turn green. Program should indicate that it is ready. Place the chip in the programmer in the proper orientation. Check that EPROM has been erased. Press the Program button. LED on device should turn orange. LED will turn green again once programming is complete.
| Step | Action | Description |
|---|---|---|
| 1 | Power on | Switch on power to the unit |
| 2 | Ready check | Wait for the LED to turn green |
| 3 | Insert IC | Place chip in the programmer |
| 4 | Erase check | Ensure EPROM is erased |
| 5 | Program | Press the Program button |
| 6 | Complete | LED turns green again |
Step 5: Additional Tips and Tricks
- Using an IC Socket:An IC socket can be used to make the IC removable. This is useful for testing or replacing the IC without soldering.
- Removing SMD ICs:If you need to remove an SMD IC, use a solder wick to remove excess solder from the pins before gently lifting the IC off the board.
- Choosing the Right Soldering Kit:Ensure you have a quality soldering kit that includes a temperature-controlled soldering iron, solder paste, and a good set of tweezers.Soldering Kit ComponentImportanceTemperature-controlled soldering ironEnsures precise heatingSolder pasteHelps in creating strong jointsTweezersEssential for handling small components
| Soldering Kit Component | Importance |
|---|---|
| Temperature-controlled soldering iron | Ensures precise heating |
| Solder paste | Helps in creating strong joints |
| Tweezers | Essential for handling small components |
Summary
Installing an IC chip on a PCB may seem daunting, but with the right tools and knowledge, it can be a straightforward process. Follow the steps outlined in this guide, and you’ll be on your way to successfully completing your electronic projects. Remember to always handle components with care and ensure all connections are secure for optimal performance.


