Frustrated by confusing jargon in electronics? You're not alone. Understanding PCB manufacturing versus assembly is crucial for any project. Don't let these terms trip you up.
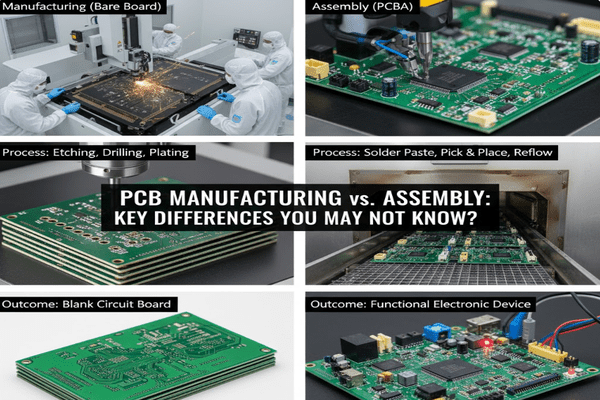
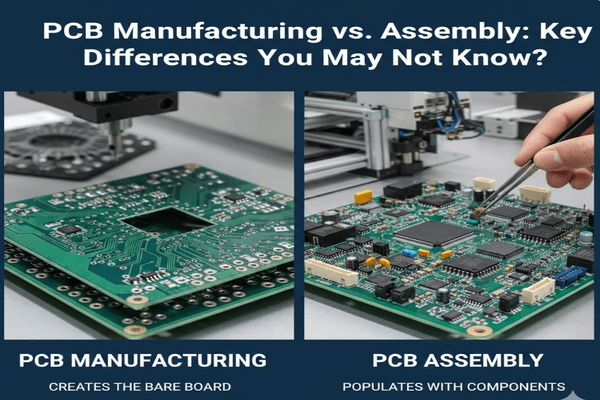
PCB manufacturing[^1] creates the bare circuit board, while PCB assembly[^2] populates it with electronic components, making it functional. Manufacturing builds the empty structure; assembly adds the working parts.
Navigating the world of printed circuit boards can feel like deciphering a secret code. But once you grasp the fundamental distinctions between manufacturing and assembly, the whole process becomes much clearer. Let's break down these essential concepts, as I’ve learned through years of tinkering and building.
What is PCB Assembly?
Confused about what happens after the bare board is made? You've got the raw canvas, but how does it become a masterpiece? Let's explore the magic of assembly.
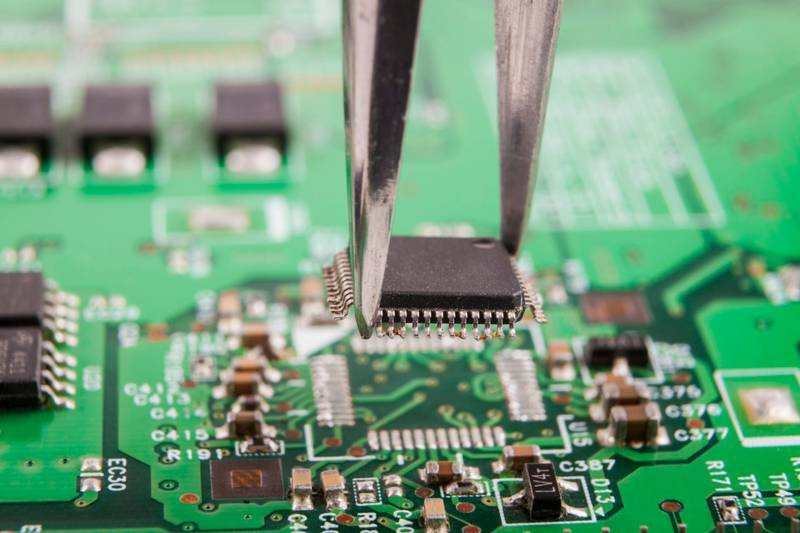
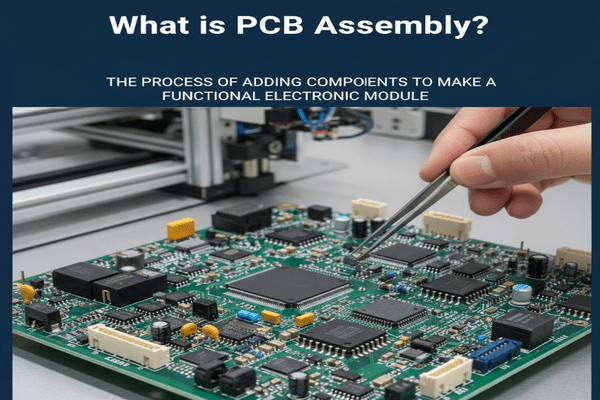
PCB assembly is the process of soldering electronic components[^3] onto a bare printed circuit board, transforming it into a functional electronic module. It's where your design truly comes to life.
When I first started in electronics, I imagined boards just magically appearing with all their parts. I quickly learned that assembly is a distinct and intricate process, far more nuanced than I initially thought. It takes the blank canvas from manufacturing and meticulously adds every resistor, capacitor, and integrated circuit. This stage is critical because it dictates how well your device will perform. Without proper assembly, even the best-designed PCB is just a piece of fiberglass and copper, a beautifully designed but inert sculpture. My initial projects often had issues that, upon close inspection, were traced back to poor soldering during assembly. It taught me the immense value of this step, highlighting the need for precision and attention to detail. This process starts with applying solder paste, followed by robotic component placement[^4], and then reflow soldering[^5] to create electrical connections. The input for assembly is the manufactured bare board, along with a Bill of Materials (BOM)[^6] listing every component, and surface mount technology (SMT)[^7] data for automated placement. The output is a fully populated, tested circuit board, ready for its final application, often undergoing rigorous inspection methods like Automated Optical Inspection (AOI)[^8] or X-ray inspection[^9] to ensure every connection is flawless.
The Stages of PCB Assembly Explained
PCB assembly is not a single step but a series of precise operations, each vital for the final product.
| Stage | Description | Key Technology/Process |
|---|---|---|
| Solder Paste Application | Solder paste is stenciled onto designated pads where components will be placed. | Solder paste printer, stencil |
| Component Placement | Robotic arms precisely pick and place components onto the solder paste. | Pick-and-place machines (SMT) |
| Reflow Soldering | Boards pass through an oven, melting solder to form robust electrical connections. | Reflow oven, thermal profiling |
| Inspection & Testing | Visual inspection, X-ray inspection, and functional tests ensure quality and performance. | AOI, X-ray inspection, Functional Testers |
| Through-Hole Soldering | For components with leads, manual or wave soldering is performed. | Wave soldering, manual soldering |
How to Choose the Right Manufacturer and Assembler?
Overwhelmed by choices when looking for a partner? Picking the wrong one can sink your project before it starts. How do you make the right call?
Choosing the right PCB manufacturer and assembler involves evaluating their capabilities, quality certifications, cost-effectiveness, and communication to ensure your project's success.
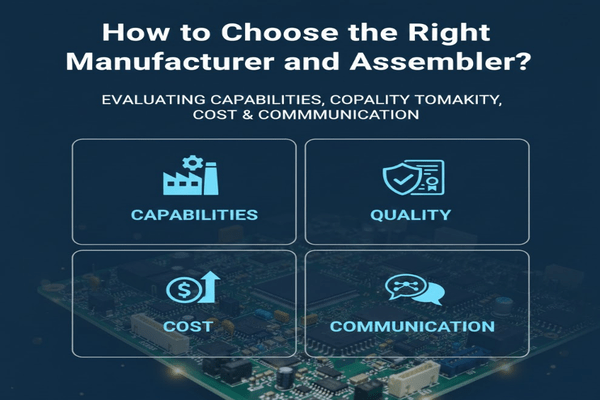
I've learned the hard way that not all manufacturers and assemblers are equal. Early in my career, I focused purely on cost, often overlooking critical factors, only to face delays and quality issues that ultimately cost me more in terms of time and money. Now, my approach is much more strategic. It's about finding a partner who not only understands my specific technical needs but also aligns with my project's timeline and budget constraints. A good relationship with your supplier is as vital as the technical specifications; you're not just buying a product; you're investing in a long-term partnership that can make or break your project. This means delving into their specific certifications, understanding their lead times for both prototyping and mass production, and critically assessing their communication channels. For me, asking for references and touring their facilities (if possible) has often proven invaluable in gauging their commitment to quality and service.
Key Considerations for Manufacturer and Assembler Selection
Making an informed decision requires looking at several critical aspects beyond just the price tag.
| Factor | Manufacturing Focus | Assembly Focus |
|---|---|---|
| Specialization | Ability to handle high layer counts, specific material types (e.g., rigid-flex), and complex impedance control. | Expertise with diverse component packages (e.g., 0201, BGA, QFN), fine-pitch components, and mixed technology. |
| Quality Certifications | ISO 9001, IPC-A-600 (for bare boards), UL certification for materials. | IPC-A-610 (for assembled boards), ISO 13485 (for medical devices), AS9100 (for aerospace). |
| Lead Times & Capacity | Realistic fabrication times for prototypes and production runs, ability to scale. | Component procurement efficiency, assembly line capacity, and turnaround for different order sizes. |
| Cost Structure & Transparency | Clear breakdown of tooling, NRE, per-board costs, and material surcharges. | Pricing models for component placement, testing, rework, and potential component shortages. |
| Communication & Support | Responsiveness to design changes, technical support for DFM (Design for Manufacturability) feedback, and clear project updates. | Clarity on Bill of Material (BOM) discrepancies, Design for Assembly (DFA) recommendations, and post-assembly support. |
What Factors Affect PCB Manufacturing and Assembly Costs?
Struggling to budget your PCB project? Costs can quickly spiral out of control if you don't know the drivers. What really impacts the price?
PCB manufacturing costs are affected by board size, layers, material, and complexity, while assembly costs depend on component count, package types, and testing requirements.
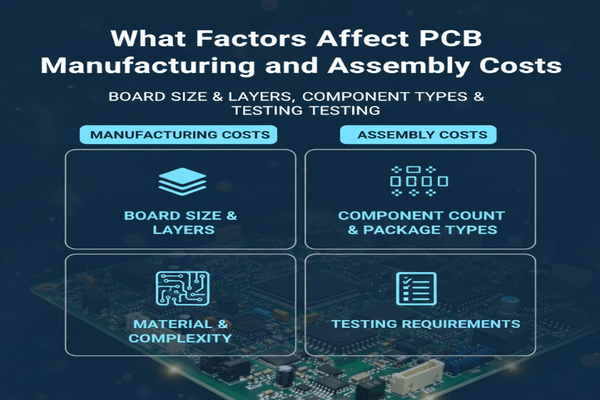
I remember the initial shock of receiving my first PCB quote. It was far higher than I expected, and I couldn't understand why! I soon realized that every single decision made during the design phase, from the number of layers in the board to the type of surface finish, has a direct and often significant financial consequence. It’s a delicate balance between achieving the desired performance, ensuring reliability, and staying within budget. Understanding these cost drivers isn't just for budgeting; it's also about making smart design choices that optimize both function and expense. It forces me to think critically about whether a certain feature is truly necessary or if a more cost-effective alternative exists. For instance, opting for a standard FR4 material instead of a specialized high-frequency laminate can save a fortune if the application doesn't strictly require it. It’s about getting the most bang for your buck without compromising essential quality.
Cost Drivers in Detail for Both Processes
Each stage, from raw material to a finished product, has its own set of factors influencing the final price tag.
| Cost Driver | Manufacturing Impact | Assembly Impact |
|---|---|---|
| Board Complexity & Layers | Higher layer counts, smaller trace widths/spaces, blind/buried vias significantly increase fabrication difficulty and cost. | Complex routing requiring more vias, denser component placement can increase assembly time and risk. |
| Board Size & Shape | Larger boards use more material, custom shapes require specialized tooling. | Larger boards mean more components, increasing placement time; unusual shapes can hinder panelization. |
| Material Type | Standard FR4 is cheapest; high-frequency, flexible, or high-Tg materials are more expensive. | Availability and cost of specialized components, including passive components, ICs, and connectors. |
| Surface Finish | HASL (Hot Air Solder Leveling) is common; ENIG (Electroless Nickel Immersion Gold) is pricier but offers better flatness. | Compatibility of component pads with the chosen board finish (e.g., lead-free soldering processes). |
| Component Count & Type | (N/A for bare board manufacturing) | More components, especially fine-pitch (e.g., BGA, QFN), micro-BGA, or custom parts, drive up placement and inspection costs. |
| Volume & Turnaround Time | Higher volumes generally lead to lower per-unit costs; expedited production costs extra. | Mass production benefits from automation; quick-turn prototypes often incur higher setup costs. |
| Testing Requirements | Electrical Test (ET) for bare boards; more stringent tests increase cost. | Automated Optical Inspection (AOI), X-ray inspection, In-Circuit Test (ICT), and Functional Test (FCT) add significant cost. |
How to Ensure the Quality of PCB Manufacturing and Assembly?
Worried about your boards failing after production? Quality control is paramount, but how do you really guarantee it? What steps are essential?
Ensuring quality in PCB manufacturing and assembly involves strict adherence to design specifications, rigorous testing at each stage, and selecting certified, reputable suppliers.
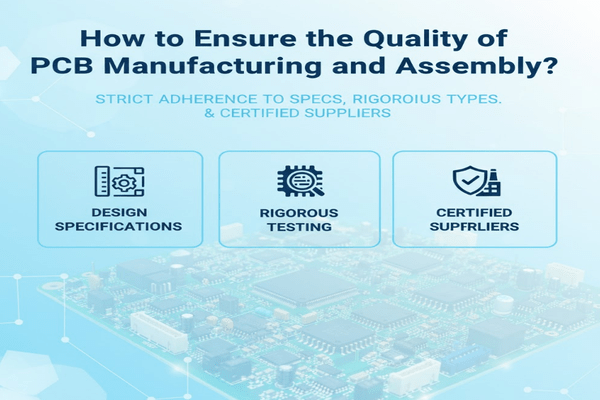
My early experiences taught me that quality isn't an afterthought; it must be built into every step of the process. A faulty PCB can lead to product recalls, reputational damage, and, in some cases, catastrophic system failures, all of which mean significant financial losses and eroded trust. I've personally spent countless hours debugging issues that could have been prevented with better quality assurance during manufacturing and assembly. It's about proactive measures, not just reactive fixes. My goal is always to prevent problems before they even have a chance to appear, rather than scrambling to fix them after the fact. This involves everything from meticulous design reviews to selecting suppliers with proven track records and robust quality management systems. I believe that an ounce of prevention in the early stages is worth a pound of cure down the line.
Quality Assurance Throughout the Entire Process
From the initial design to the final assembled product, rigorous quality checks are non-negotiable for reliable electronics.
| Stage | Key Quality Measure | Purpose |
|---|---|---|
| Design Phase | Design for Manufacturability (DFM), Design for Assembly (DFA), Design for Test (DFT) reviews. | Identifies and mitigates potential manufacturing/assembly issues early, optimizes for production. |
| PCB Manufacturing (Bare Board) | In-process inspections, Electrical Test (ET), Automated Optical Inspection (AOI) for bare boards, dimensional checks. | Verifies copper integrity, shorts, opens, precise hole placement, and layer registration. |
| Component Sourcing & Incoming | Component authentication, quality checks, and inventory management, supplier audits. | Ensures components meet specifications, prevents counterfeit parts. |
| PCB Assembly (Populated Board) | Solder Paste Inspection (SPI), AOI, X-ray inspection for solder joints, first article inspection. | Guarantees correct component placement, solder quality, and verifies BGA/QFN connections. |
| Post-Assembly & Final Testing | Functional Test (FCT), In-Circuit Test (ICT), environmental stress testing (e.g., thermal cycling, vibration). | Validates overall circuit functionality, checks for component faults, assesses long-term reliability. |
| Supplier & Process Control | IPC standards adherence, ISO 9001 certification, statistical process control (SPC), regular audits. | Ensures consistent manufacturing and assembly quality, maintains best practices. |
Conclusion
Understanding the difference between PCB manufacturing and assembly is crucial for successful electronic projects. It impacts your design, budget, and overall product quality.
[^1]: Explore this link to gain a deeper understanding of the PCB manufacturing process and its significance in electronics. [^2]: Learn about PCB assembly to understand how electronic components are integrated into circuit boards. [^3]: Discover various soldering techniques that ensure reliable connections in PCB assembly. [^4]: Explore the methods and technologies used for precise component placement on PCBs. [^5]: Understanding reflow soldering is essential for grasping the assembly process of PCBs. [^6]: Understanding BOM is crucial for managing components and costs in PCB projects. [^7]: Explore SMT to learn about modern assembly techniques that enhance PCB efficiency. [^8]: Learn how AOI ensures quality control in PCB assembly and manufacturing. [^9]: Learn how X-ray inspection helps in verifying solder joints and component placement.