
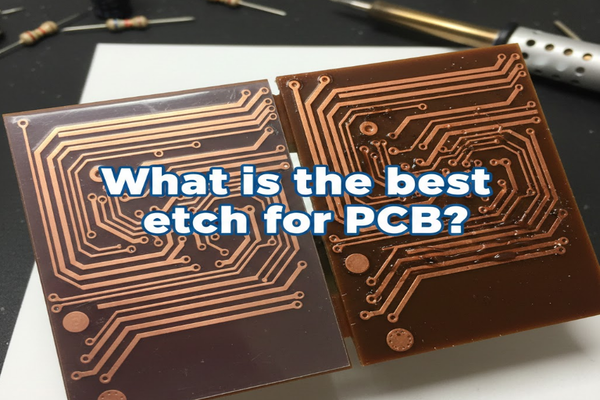
Are you struggling with unclear PCB traces? Do your DIY electronics projects look messy? You need the right etchant to get sharp, clean results.
The best PCB etchant depends on your needs. For most hobbyists, sodium persulfate[^1] offers a cleaner, safer option. Industrial users often prefer cupric chloride[^2] for its efficiency and regenerability.
Let's dive into the world of PCB etching. This guide will help you understand the different options. You will find the best etchant for your specific project.
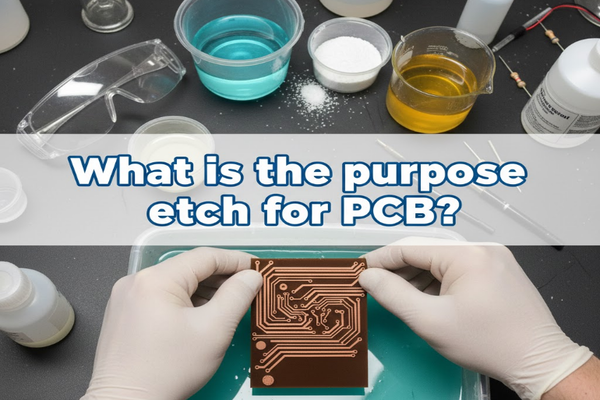
What is the purpose of etch?
Are your circuit board designs perfect, but the actual board looks bad? Poor etching can ruin your hard work. Understanding etching's purpose is key to great PCBs.
Etching removes unwanted copper from a PCB. This leaves only the desired circuit traces. It defines the electrical pathways on your board.
I remember my first few attempts at making PCBs. My traces were always too thick or shorted. I learned quickly that etching is not just about removing copper. It is about precision and control. Without proper etching, your meticulously designed circuit is just a copper-clad board. The etchant selectively dissolves exposed copper. It leaves behind the areas protected by a resist. This process creates the conductive paths and pads your components connect to. It makes your circuit work.
Why Etching Matters
Etching is crucial for several reasons:
- Functionality: It forms the circuit. Without it, there is no electrical connection.
- Precision: It creates fine lines and small pads. This allows for complex designs.
- Reliability: Clean, well-defined traces reduce the chance of shorts or open circuits.
- Component Mounting: Proper etching ensures pads are ready for soldering.
Etching Methods Overview
| Method | Description | Common Use |
|---|---|---|
| Wet Etching | Uses liquid chemicals to dissolve copper. | Most common for all scales. |
| Dry Etching | Uses plasma or gases to remove copper. | Industrial, fine-line PCBs. |
| Laser Etch | Uses a laser to remove copper or ablate resist. | Prototype, special applications. |
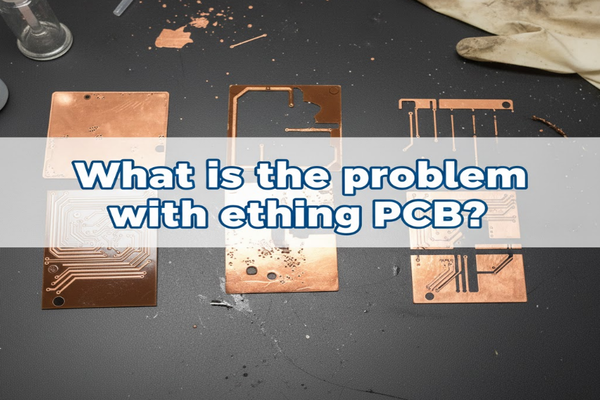
What is the problem with etching PCB?
Do you ever get frustrated with uneven etching? Are your traces dissolving too fast or too slow? Etching PCBs can present many challenges.
Many problems can arise during PCB etching. These include under-etching[^3], over-etching[^4]g](https://www.ipc.org/system/files/technical_resource/E38%26S11-02%20-%20Erich%20Schlaffer.pdf)[^5], and safety concerns[^6]. Understanding these helps you avoid mistakes.
I once had a batch of boards where half the traces were gone. The other half were still connected to each other. It was a nightmare. This taught me that temperature and agitation are not just suggestions. They are critical. Etching problems often stem from inconsistent conditions. Factors like etchant concentration, temperature, and agitation directly impact the etch rate. If these are not controlled, you get poor results. Environmental concerns and personal safety are also big issues. Many etchants are corrosive. They need careful handling and disposal.
Common Etching Issues
- Under-etching: Not enough copper removed. This leads to short circuits.
- Over-etching: Too much copper removed. Traces become thin or break.
- Uneven Etching: Parts of the board etch faster than others. This is often due to poor agitation.
- Resist Breakdown: The protective layer fails. This allows etchant to attack desired traces.
Factors Affecting Etching
| Factor | Impact on Etching |
|---|---|
| Etchant Temperature | Higher temps increase etch rate, lower decrease. |
| Agitation | Improves etch consistency and speed. |
| Etchant Concentration | Affects etch rate; too weak, too slow; too strong, aggressive. |
| Copper Thickness | Thicker copper takes longer to etch. |
| Resist Quality | Poor resist leads to unwanted copper removal. |
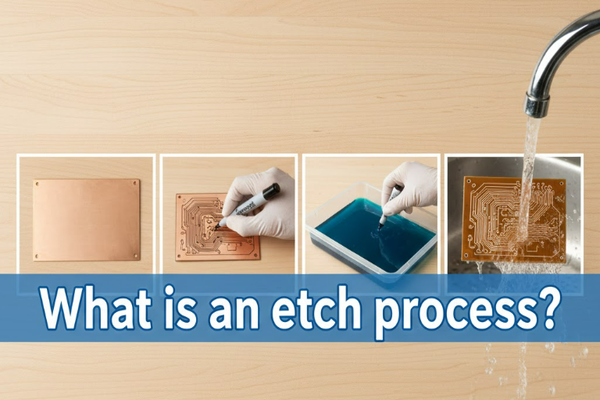
What is an etch process?
Do you find the steps for etching confusing? Are you unsure which order to do things? A clear etch process makes all the difference.
An etch process involves preparing the PCB, applying a resist, and then immersing it in an etchant. This removes unwanted copper. Finally, you clean the board.
I remember the first time I followed a detailed etching guide. It made my boards look so much better. Before that, I just winged it. The results were always hit or miss. Following a clear process helps ensure repeatable, high-quality results. The etch process starts even before you touch the etchant. It begins with preparing your copper-clad board. You clean it thoroughly to ensure good adhesion of the resist. The resist acts as a barrier, protecting the copper you want to keep. After applying and developing the resist, the board goes into the etchant. Here, the unprotected copper dissolves. Finally, you remove the resist and clean the board.
Steps in the Etching Process
- Board Preparation: Clean the copper surface. Remove oils and oxides. Use abrasive pads and detergent.
- Resist Application: Apply a protective layer. This can be toner transfer, photoresist, or paint.
- Resist Development (if needed): For photoresist, expose it to UV light and develop. This removes unexposed resist.
- Etching: Immerse the board in the etchant. Agitate gently. Monitor the process.
- Rinsing: Remove the board from the etchant. Rinse thoroughly with water.
- Resist Removal: Remove the protective resist layer. Use appropriate solvents or developers.
- Final Cleaning: Clean the board to remove any chemical residues.
Etchant Options and Their Processes
| Etchant Type | Process Nuances | Key Considerations |
|---|---|---|
| Ferric Chloride[^7] (FeCl₃) | Immerse, agitate, warm for faster etch. Dark color obscures view. | Toxic, stains, challenging to dispose. |
| Sodium Persulfate (Na₂S₂O₈) | Immerse, agitate, warm for faster etch. Clear solution. | Less toxic, easier to see progress. |
| Cupric Chloride (CuCl₂) | Regenerable system, often used in industrial settings. | Requires regeneration system, complex for hobbyists. |
| HCl/H₂O₂ | Fast etch, produces fumes. Use with good ventilation. | Dangerous fumes, not recommended for beginners. |
How to use etch and clean?
Are you worried about safely handling etchants? Do you want to know how to clean up afterwards? Proper use and cleaning are vital for safety and good results.
Using etchants involves safety gear, correct temperature, and agitation. Cleaning up requires neutralizing residues and safe disposal. Always prioritize your safety.
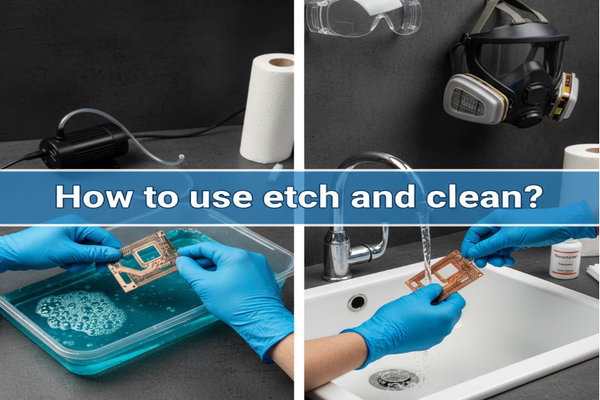
I learned the hard way about not wearing gloves. My hands were stained for days after using ferric chloride. It taught me that safety is not optional. It is the first step. You need to protect yourself and your workspace. When using any etchant, always wear gloves, eye protection, and old clothes. Work in a well-ventilated area. My personal setup has always included a dedicated etching tub and a wash station ready. This lets me quickly rinse off any splashes. After etching, cleaning is also important. You must neutralize the etchant residue and dispose of it responsibly.
Safe Etchant Use Guide
- Personal Protective Equipment (PPE):
- Gloves: Nitrile or chemical-resistant gloves are a must.
- Eye Protection: Safety goggles protect your eyes from splashes.
- Apron/Old Clothes: Protect your skin and clothing.
- Ventilation: Work in a well-ventilated area or outdoors. Fumes can be harmful.
- Temperature Control: Maintain the recommended temperature for your etchant. This ensures consistent etching.
- Agitation: Gently rock the etchant tray or use a bubbler. This ensures fresh etchant contacts the copper.
- Monitoring: Watch the board carefully. Remove it as soon as all unwanted copper is gone.
Cleaning and Disposal
- Neutralization:
- Ferric Chloride: Neutralize with baking soda (sodium bicarbonate) until pH is neutral.
- Persulfates: Often can be diluted and flushed, but check local regulations.
- HCl/H₂O₂: Neutralize with baking soda.
- Rinsing: Rinse the etched board and any tools thoroughly with water.
- Disposal: Do not pour spent etchant down the drain. Collect it in a sealed container. Dispose of it according to local hazardous waste guidelines. Check with your local waste management facility.
Etchant Comparison for Hobbyists
| Etchant | Pros | Cons | Safety Notes |
|---|---|---|---|
| Ferric Chloride | Inexpensive, readily available. | Stains, toxic fumes, difficult disposal. | Always use PPE, good ventilation. |
| Sodium Persulfate | Cleaner, less toxic fumes, clear solution. | More expensive than FeCl₃. | Less hazardous, but still requires PPE. |
| Vinegar/H₂O₂/Salt | Very low toxicity, easy to find. | Very slow etch rate, weak for fine traces. | Safest DIY option, good ventilation still wise. |
Conclusion
Choosing the right etchant makes all the difference for your PCB projects. Consider safety, disposal, and the quality of your desired traces.
[^1]: Explore the advantages of sodium persulfate for cleaner and safer PCB etching. [^2]: Learn why industrial users favor cupric chloride for its efficiency and regenerability. [^3]: Discover the common issues of under-etching and how to avoid them. [^4]: Find out the consequences of over-etching and how to achieve optimal results. [^5]: Understand the critical role of etching in defining electrical pathways on PCBs. [^6]: Explore important safety measures to take when working with PCB etchants. [^7]: Explore the benefits and drawbacks of using Ferric Chloride in PCB etching.

